How to Build a Simple Box-Joint Sled
The strength and style of finger joints come easy with the straightforward sled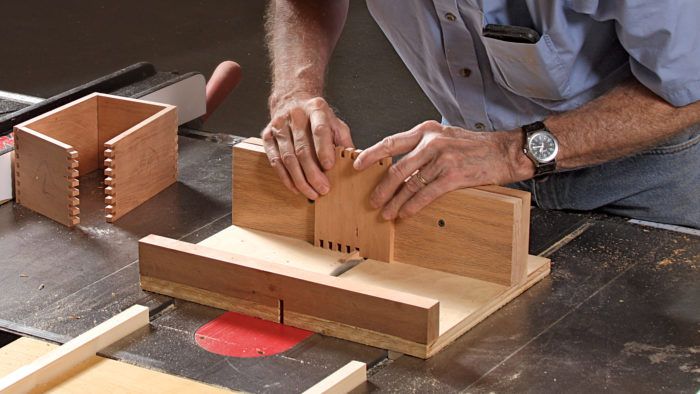
Synopsis: Doug Stowe’s box-joint sled makes quick work of finger joints and it’s easy to build. It starts with a small crosscut sled for the tablesaw. An adjustable board with a hardwood pin glued into it is attached to the fence, and after it is fine-tuned to cut perfect sized finger joints, can be reused time and again with the same blade. Stowe shows how to make the sled and how to use it to cut test joints, fine-tune the fit, and make perfect box joints every time.
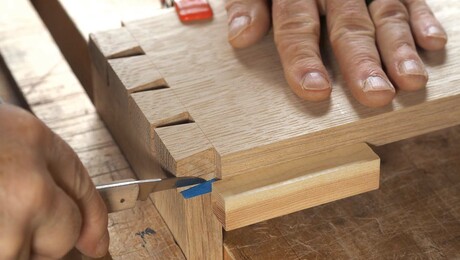
Finger joints, also called box joints, are incredibly strong thanks to all their long-grain glue surface interlocking finger by finger. But these joints have distinct advantages beyond strength. Once you have a jig set up, they are quite quick to make. And the pattern of end grain vs. side grain at the corners creates a pleasing visual rhythm. The joint also can be scaled up, as in some Greene and Greene pieces. Luckily, finger joints offer all this while being very easy to cut.
While you can make finger joints using a jig clamped to the miter gauge of your tablesaw, a dedicated sled is the better choice. Because it has two runners instead of the gauge’s one, it provides a more stable and reliable platform.
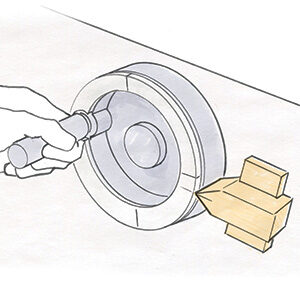
A standard combination blade will work, but if using a single blade, I prefer rip blades because of their flat top, which leaves a cleaner joint than a combo blade’s alternate top bevel. Similarly, for fingers wider than a standard sawblade’s 1⁄8-in. kerf, you can use a regular dado stack, but I like box-joint blade sets, which come with a pair of blades that leave a flat-topped kerf in two fixed widths. Alternatively, you can send a typical dado stack to a saw sharpener to have the teeth ground flat on top.
Start by building a small crosscut sled, making sure the fence is square to the blade. Clamp a board to its fence and cut a kerf in it. Remove the board and fit a hardwood pin into the kerf. A tight fit is best. Glue the pin in place.
Before you clamp the pin board back into place against the fence, grab an offcut from the pin stock. Because the pin’s width matches the kerf—and the fingers—this will help you zero in on the joint spacing. Push the offcut against the side of the sawblade, and slide the pin board over until the pin abuts the offcut. Clamp the pin board here.
I advise making a run of fingers on two scrap boards to dial in the spacing and make sure the final fit is consistently tight. Align one corner of a board against the pin and make the first cut. Then fit that first notch over the pin to make the second cut. Continue walking the fingers over until you’ve finished that edge. Repeat these steps on a second board.
For the full article, download the PDF below.
From issue #267—Mar/Apr 2018
Watch Doug build a finger-jointed box in his video workshop Basic Box Making.
More on FineWoodworking.com:
- Where Tenons Meet, Box-Joint Fingers Add Strength
- Build a Router Table Box-Joint Jig
- Pinned Box Joints – Interlocking joinery adds visual interest and mechanical strength
- Workshop Tip: Cut Cauls when Cutting Box Joints
Fine Woodworking Recommended Products
Pfiel Chip Carving Knife

Veritas Precision Square
Leigh Super 18 Jig







Log in or create an account to post a comment.
Sign up Log in