Marquetry in Williamsburg
Tim Killen tries his hand at marquetry, of course with an assist from SketchUp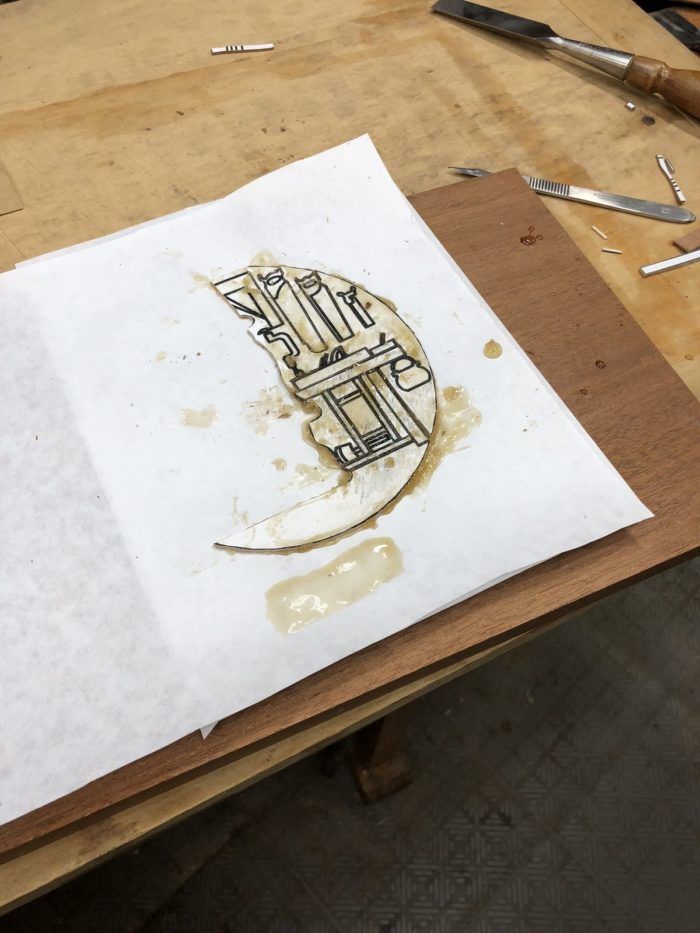
Each year I attend the January Colonial Williamsburg conference, Working Wood in the 18th Century. Following those annual events, I have written here in Design. Click. Build on a conference subject. Usually that means showing the SketchUp modeling of an 18th C. piece of furniture demonstrated on stage.
This year, my subject is a process, not a piece of furniture. Well, it involves a piece of furniture – a Tool Chest built by an unknown English cabinetmaker. Jane Rees, a guest speaker, showed pictures of an old tool chest lid, elaborately decorated with marquetry. These are her pictures – they are copyrighted, and I have her permission to use them in this blog.
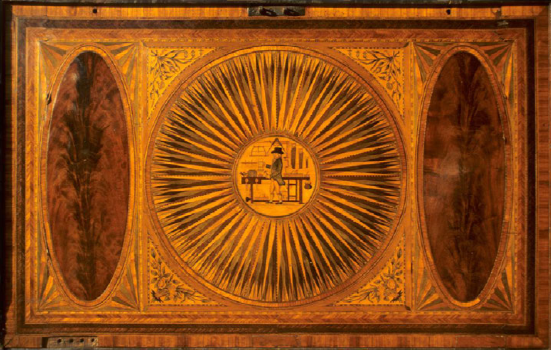
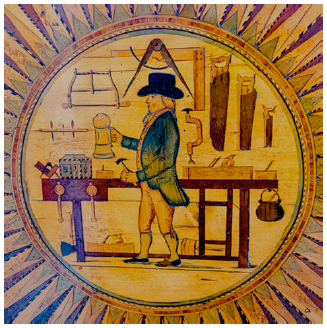
The first picture is of the inside face of the lid, and the second is a close-up view of the marquetry design in the center of the lid.
Also presenting at the conference was Patrick Edwards, and it was his job to show how to reproduce this elaborate circular marquetry design. It was an amazing demonstration and a very entertaining/informative presentation of the French process of marquetry.
I have not done marquetry and this conference motivated me to try it – but with a twist–no French method with their special machines and tools. Also, I felt that SketchUp could likely substitute for some of the traditional methods and help me develop a different process.
My first step was to produce the marquetry design in SketchUp by importing the picture and tracing over the shapes. Both David Richards and I have shown several blog posts on how to use the SketchUp Tools to trace shapes and designs. So, I will not repeat that process here, but show you the result of my trace over in the following pictures.
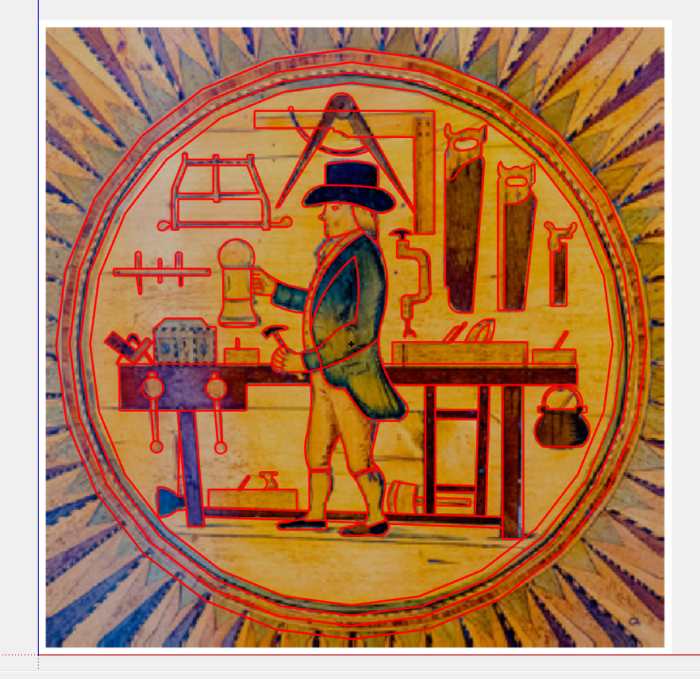
The above picture shows the imported photo image in SketchUp with red trace over lines of the various shapes of tools, workbench, glue pot, mallets, planes, beer stein, etc. I scaled up the photo 100 times actual size. I find this helps while using the Arc Tool – that is, I don’t have to change Number of Sides to accommodate very small arcs. Also, I change the color to Red, so the trace over is much easier to see when working with that picture background.
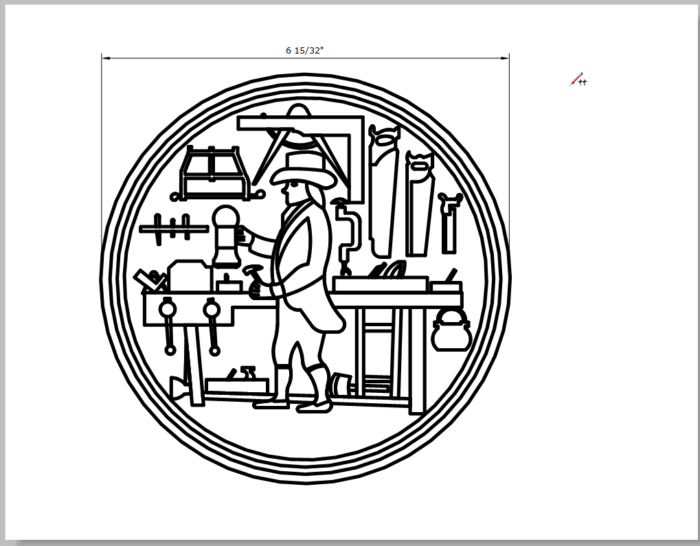
Here is the SketchUp view of the design without the picture background and normal black lines. This is full size in SketchUp – about 6 1/2 inches in diameter.

I then used Layout (SketchUp companion app) and increased line weight. I thought fatter lines would help in the sawing of the marquetry pieces, in that I could place the saw kerf on each side of the center of the line, and achieve better fitting parts.
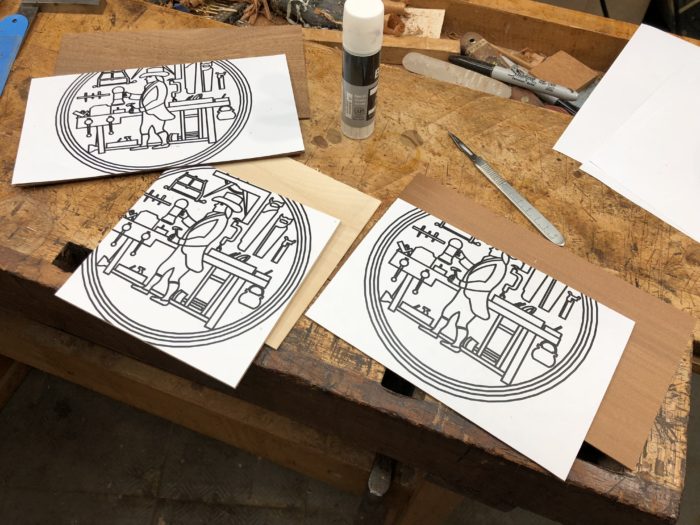
Then I cut three veneers at 1/16-in. thickness and pasted the printed design on each of these veneers. In SketchUp or Layout it is normal to print “flipped” or mirrored images. Note that for this “test” I was not intending to make the entire design, so I chose a small part of the image.
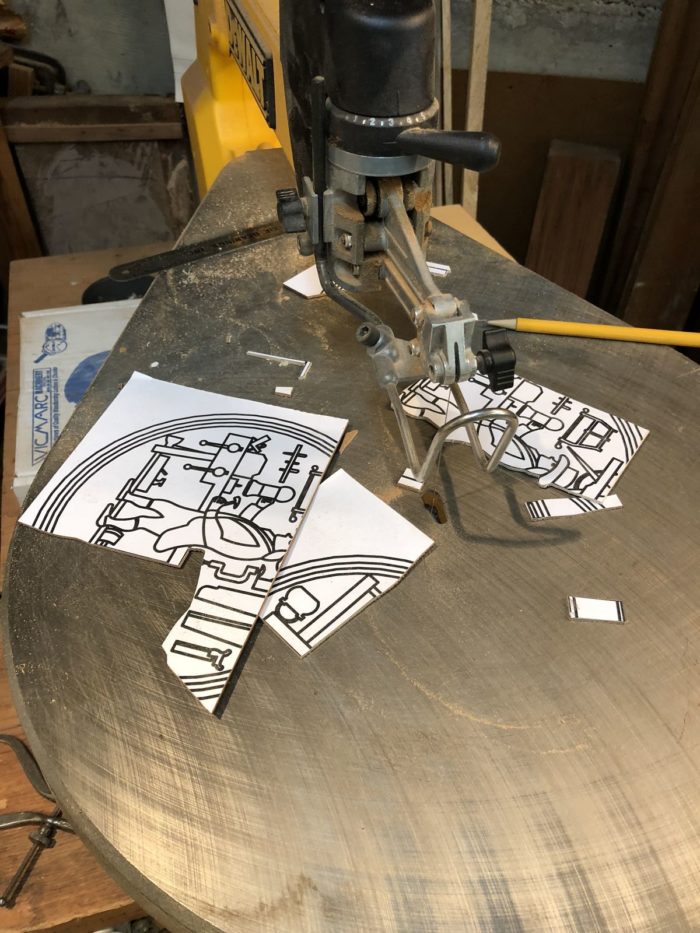
The next step was to cut the pieces – I used the scroll saw with a jeweler’s blade.
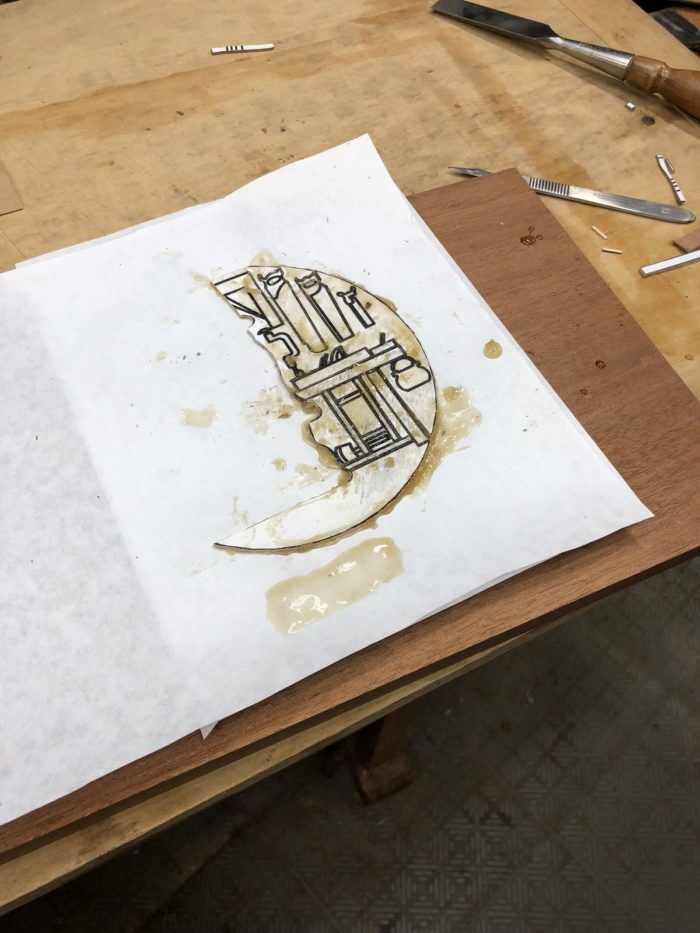
I used hot hide glue to assemble the “puzzle” on de-waxed butcher paper. It’s nice that the glue did not penetrate the back side of the paper and stick to my workbench.
Then I embedded the assembly in a recess created in thick block of mahogany (using hot hide glue on both faces of the assembly). The last step is using the toothing plane to flatten the pattern. I did not make a special “mastic” to fill the gaps, as the hide glue already does this to my satisfaction.
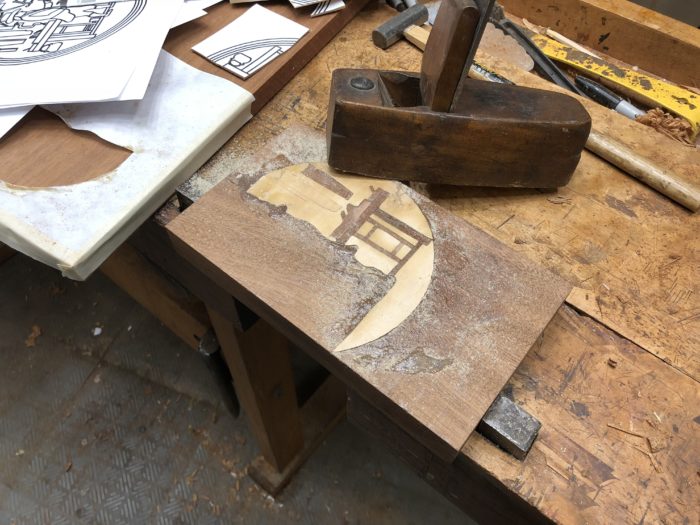
I’ve created a video for this process that you can access here.
Tim
@KillenWOOD
Fine Woodworking Recommended Products

Bahco 6-Inch Card Scraper
Whiteside 9500 Solid Brass Router Inlay Router Bit Set




Log in or create an account to post a comment.
Sign up Log in