Modifying a shaving horse for carving bowls
A bowl horse is relatively simple and can be made with dimensional lumber or even rough tree parts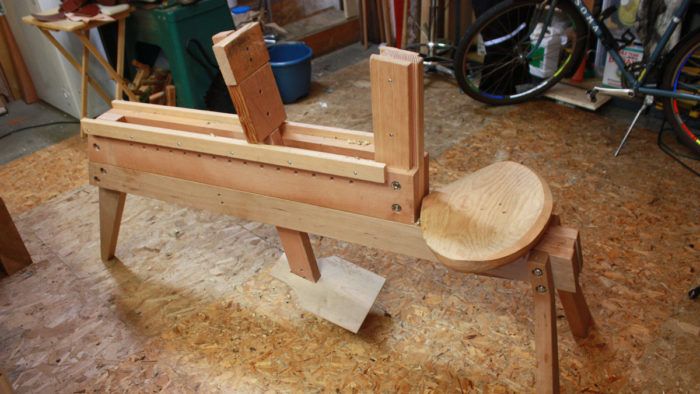
Why do you need a bowl horse?
I got the idea for a bowl horse from David Fisher’s blog post – A Horse of a Different Kind. Dave’s bowl making has intrigued me for several years now and prompted me to take a bowl making class from Danielle Rose Byrd.
When I make a bowl, I use a variety of steps and work-holding strategies. I usually remove the inside of the bowl first. After that I work on the outside of the bowl using an ax, then a drawknife, and finally a spokeshave or other finishing tools.
I need to hold my bowl in a way that allows me to clean the outside of the bowl blank and finally the bowl itself after rough work. Clamping the bowl end-to-end while sitting on my bowl horse worked far better than any other options I was able to come up with.
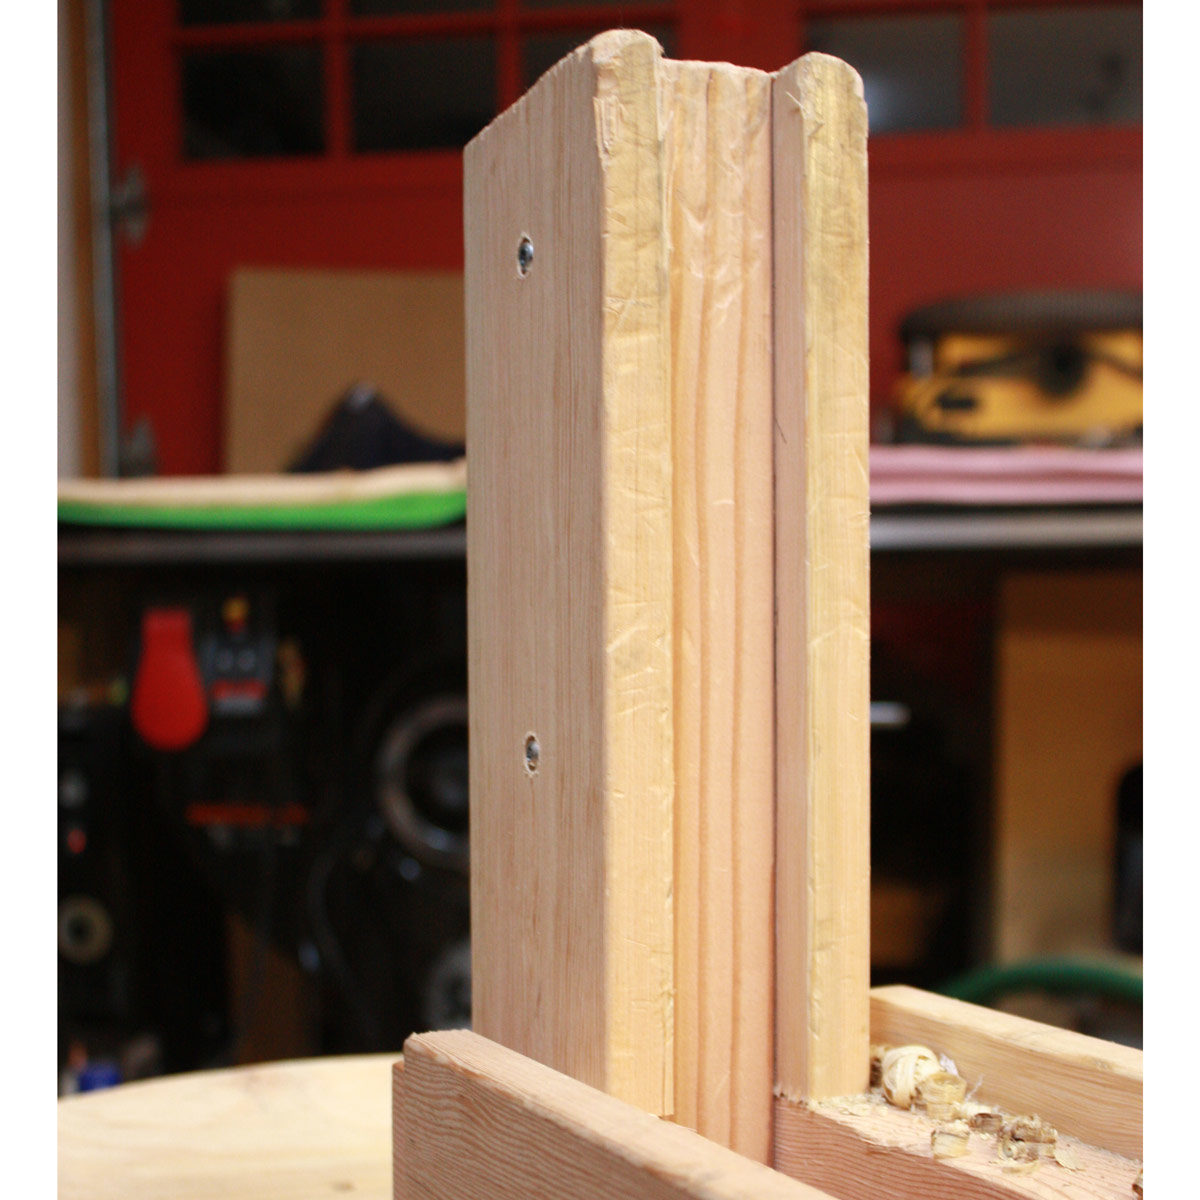
A bowl horse is relatively simple and can be made with dimensional lumber or even rough tree parts such as David used to make his. I mounted the rails of my bowl horse directly onto my shaving horse. Attached to the rails is a swing arm that clamps the bowl against the dumbhead when I push on the treadle with my feet. There really isn’t a whole lot to it, but it has become an essential tool when I’m carving bowls.
The foundation
The foundation of the bowl horse consists of two 2×6 rails that run the length of the bowl horse accessory. I used two spacer blocks, front and back to seat and center the rails on top of the shaving horse.
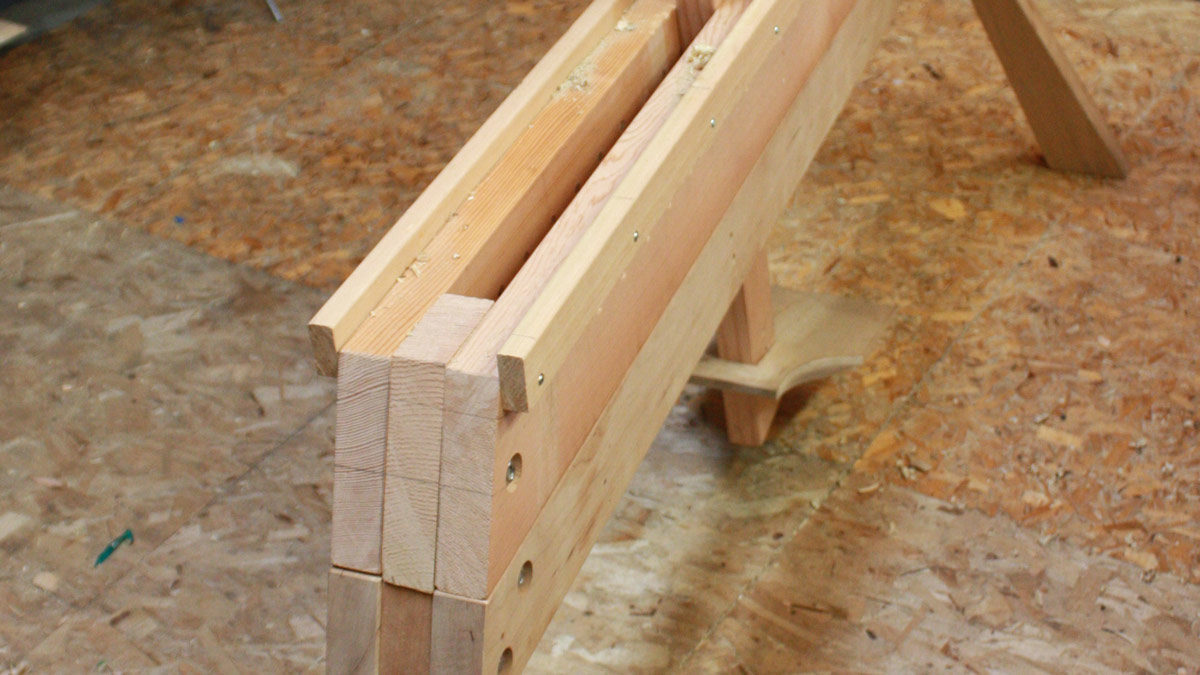
To match my existing shaving horse, I added a bevel to the rails and front spacer block. I drilled and countersunk 4-in. carriage bolts that hold everything together.
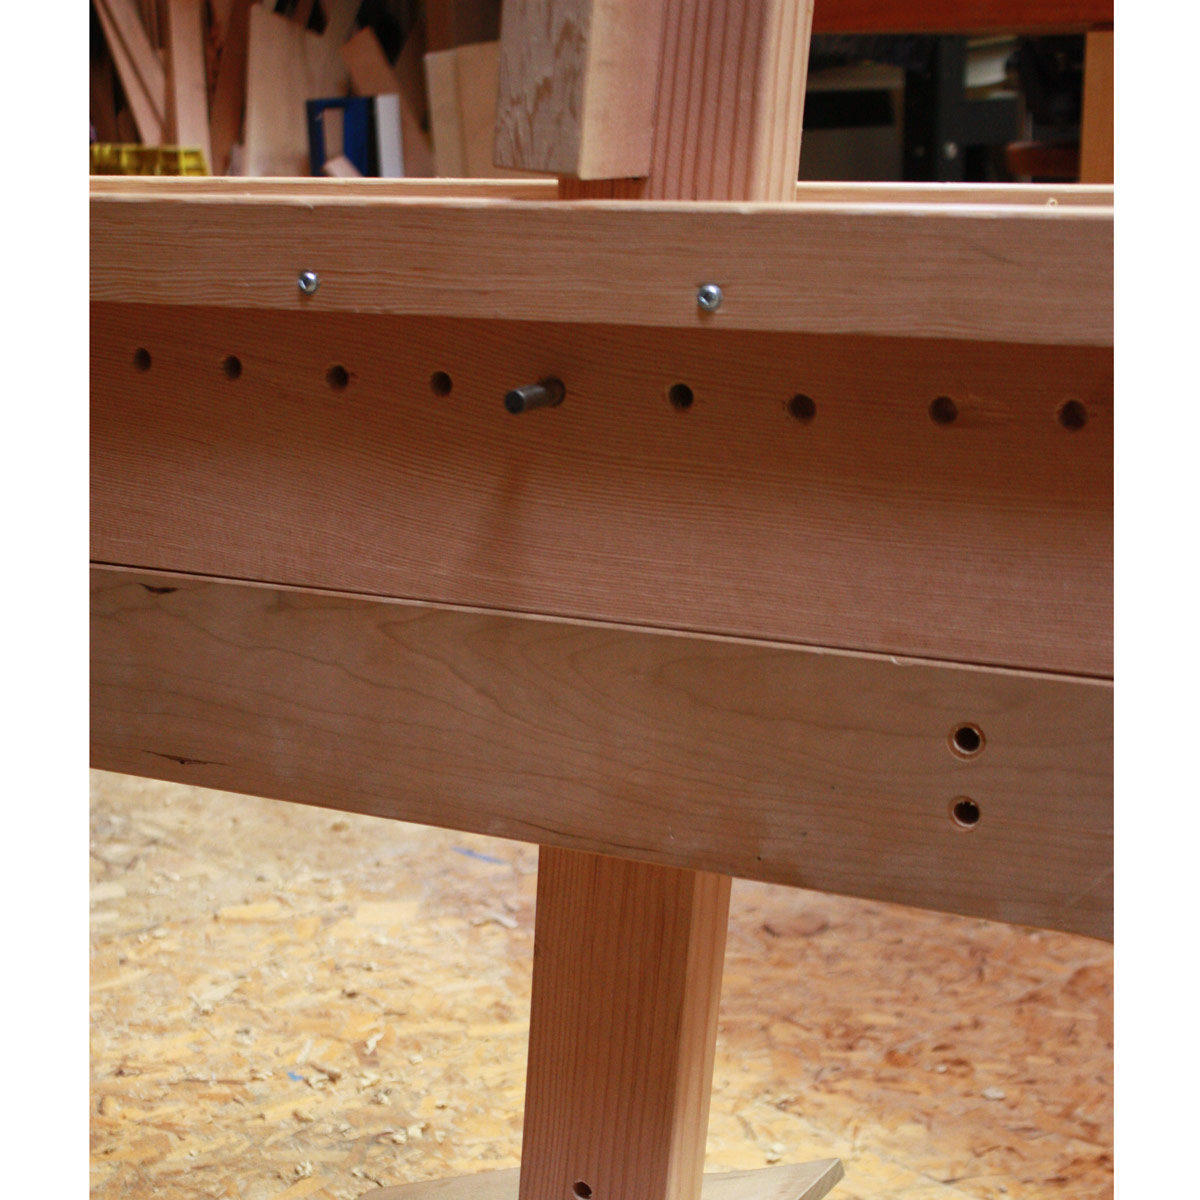
The rails have eighteen 3/8-in. holes along the rails that accept the rod that the swing arm pivots on.
Swing Arm
The simple swing arm is a piece of stock with a single tenon on the bottom that accepts the treadle from my shaving horse. You could certainly use the swing arm by itself to hold the bowl against the dumbhead, but I added a nice wide face block to make it a little easier to wedge the bowl against.
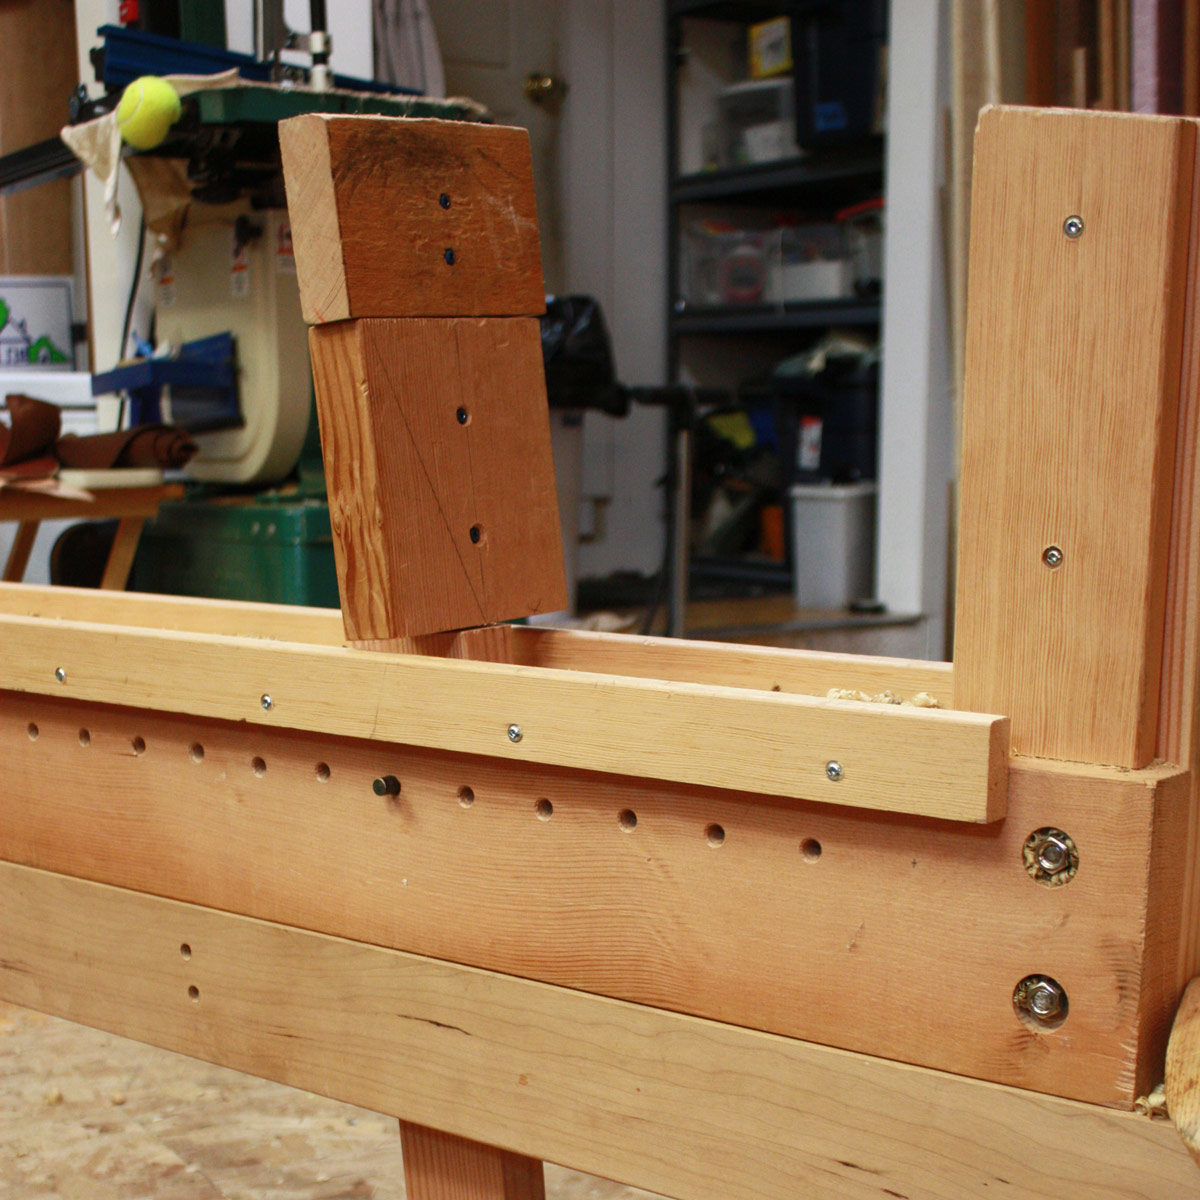
I also added some sacrificial strips to the rails and dumbhead to protect against errant pulls of a drawknife. When these strips start showing signs of too much abuse, it will be easy to switch them out.
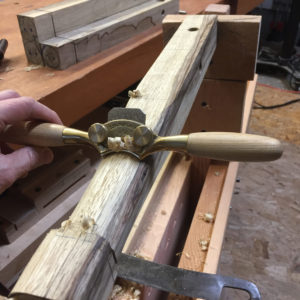
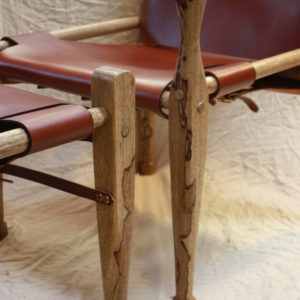
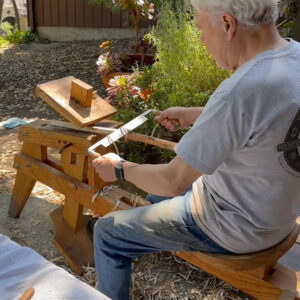
The bowl horse built on my shave horse is very comfortable and I’ve no problem sitting on it for several hours if needed. Clamping the bowl in progress end to end allows me to shape the bowl and rotate it effortlessly. I’ve also found many uses beyond making bowls. For example, I recently made legs for a Roorkee ottoman. I made these using my drawknife and spokeshaves. Clamping the leg end to end between the swing arm and dumbhead allowed me to work the legs and rotate them to complete the legs. I’m sure I’ll continue to find different uses for it.








Comments
Any reason why I cant Download a PDF for this article?
Because it's a blog and one doesn't exist. PDFs are really only available for magazine content.
This is just great Marylin! I’m preparing to build a Tim Manney horse with a Peter Galbert pin ratchet and the idea of building a modular horse is just great. I read too someplace where folks have built spoon mule add ons too. I really like the idea of using your addition for shaping legs; that’s a good idea for people just getting into chair making who have hand tools, but have not yet been able to purchase/build a lathe.
Log in or create an account to post a comment.
Sign up Log in