How to Add Splines for Stronger Box Miters
A quick-to-make spline jig produces clean joints with hidden power.

Synopsis: Splines are a well-known technique for adding strength to miter joints, but there are times when a visible spline spoils the look of a box; for example, when you have carefully matched grain wrapped around all four sides. That’s when Doug Stowe uses hidden splines, tucked into slots routed into the miters. A simple spline jig makes it easy. Learn how he does it, along with tips for assembly and glue-up.
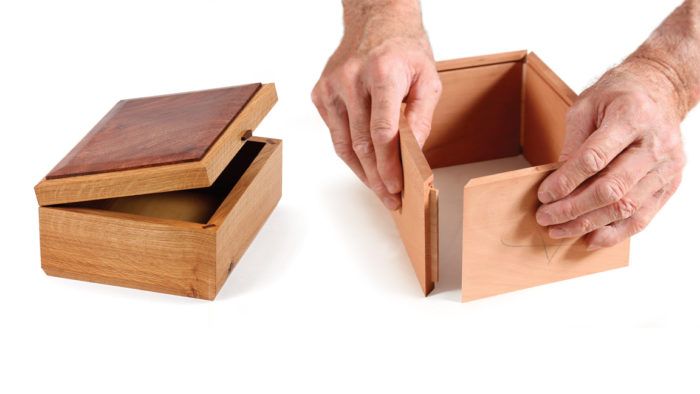
When making mitered boxes, I carefully select the stock for its character and grain, which I like to wrap around all four sides. Splines help me bolster the joint by adding long-grain glue surface. Cutting them into the box’s outside corners after assembly can interfere with the wood I have so methodically selected. That’s why I often tuck the splines into slots routed into the miters.
These joints are easy to cut with the right jig and they are plenty strong, and unlike most miters they can be brought together with common clamps. Plus, unlike many other types of joinery for boxes, the splines are invisible in the finished box. Well, perhaps I should qualify that: They are invisible on the outside of the box. If you cut the lid free from the body, as I like to do, the splines will be visible when the box is open. I often make the most of this design opportunity by using a contrasting wood for the spline.

Making the Jig
Building the jig requires little more than cutting a miter, nailing three pieces of wood together, and adding a toggle clamp. In about 10 minutes, you’ll have a reliable fixture that gets you right to box making.
Start with a piece of 3⁄4-in. plywood or MDF about 8 in. to 9 in. wide by 12 in. long. Set your sawblade to 45° and crosscut the blank about 4 in. from one end. The shorter piece will be the base that rides on the router table and the longer one the body, which supports the box parts. Before attaching them, make a circular cutout on one side of the longer piece to allow for additional clamps when using the jig.
Flip over the short piece and spread glue along its mitered edge. Set it in place, flush with the mitered slope of the longer piece. Drive a brad and check that everything’s still aligned. If something moved, tap it gently back in place. Drive more nails to reinforce the joint. Along the right side of the jig, add a fence with a toggle clamp to lock the workpieces in position.
More on FineWoodworking.com:
- How to Cut Mitered Sides – Learn how to build and use a tablesaw sled specially built for cutting mitered edges
- Secrets to a Perfect Mitered Box – How to create a seamless grain match and gap-free joints
- All About Spline Joints – Learn the Basics for Making Strong Spline Joinery
 From Fine Woodworking #268
For the full article, download the PDF below.
Fine Woodworking Recommended Products

Pfiel Chip Carving Knife

Marking knife: Hock Double-Bevel Violin Knife, 3/4 in.

Festool DF 500 Q-Set Domino Joiner


Log in or create an account to post a comment.
Sign up Log in