Workbench Tips and Tricks
Here are eight ideas to make your bench work harder.
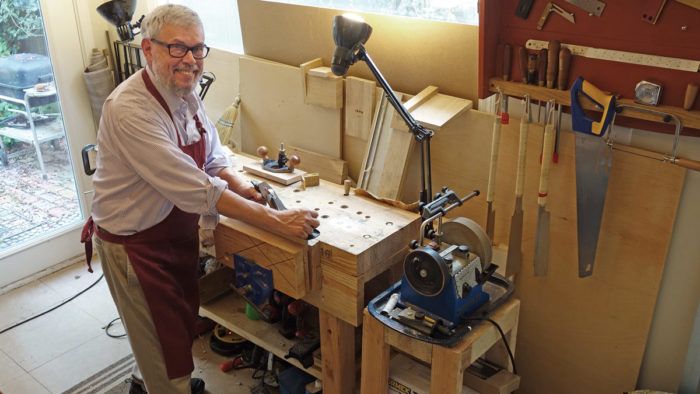
Synopsis: Used for everything from sharpening to assembly, the workbench is the heart of a woodworker’s shop. Here are a collection of reader ideas on how to make your workbench more functional, from an easy benchtop to a shopmade Moxon vise, to ingenious clamping solutions such as a carver’s clamp and some clever benchdogs.
Although the tablesaw is often cited as the center of the workshop, the workbench is where most of the action happens. For sharpening, handwork, sanding, assembling, and finishing, everyone needs a flat, solid surface to work on. But workbenches vary widely, as do the myriad ways our readers accessorize them. This special collection of reader ideas centers on the workbench, from the surface itself to everything that happens there.
Whether you are dreaming up a new bench or looking to improve the one you have, you are likely to find some great ideas here.
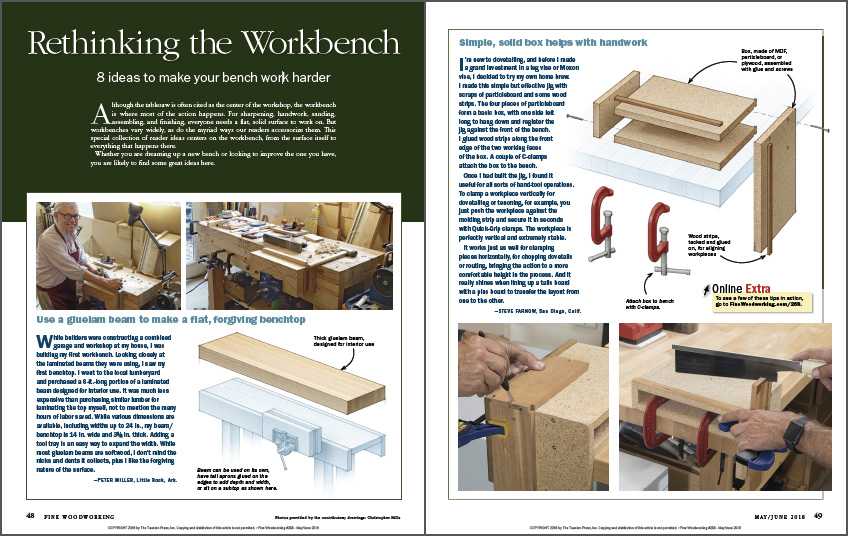
Use a gluelam beam to make a flat, forgiving benchtop:
While builders were constructing a combined garage and workshop at my house, I was building my first workbench. Looking closely at the laminated beams they were using, I saw my first benchtop. I went to the local lumberyard and purchased a 6-ft.-long portion of a laminated beam designed for interior use. It was much less expensive than purchasing similar lumber for laminating the top myself, not to mention the many hours of labor saved. While various dimensions are available, including widths up to 24 in., my beam/benchtop is 14 in. wide and 3-1/2 in. thick. Adding a tool tray is an easy way to expand the width. While most gluelam beams are softwood, I don’t mind the nicks and dents it collects, plus I like the forgiving nature of the surface.
Simple, solid box helps with handwork:
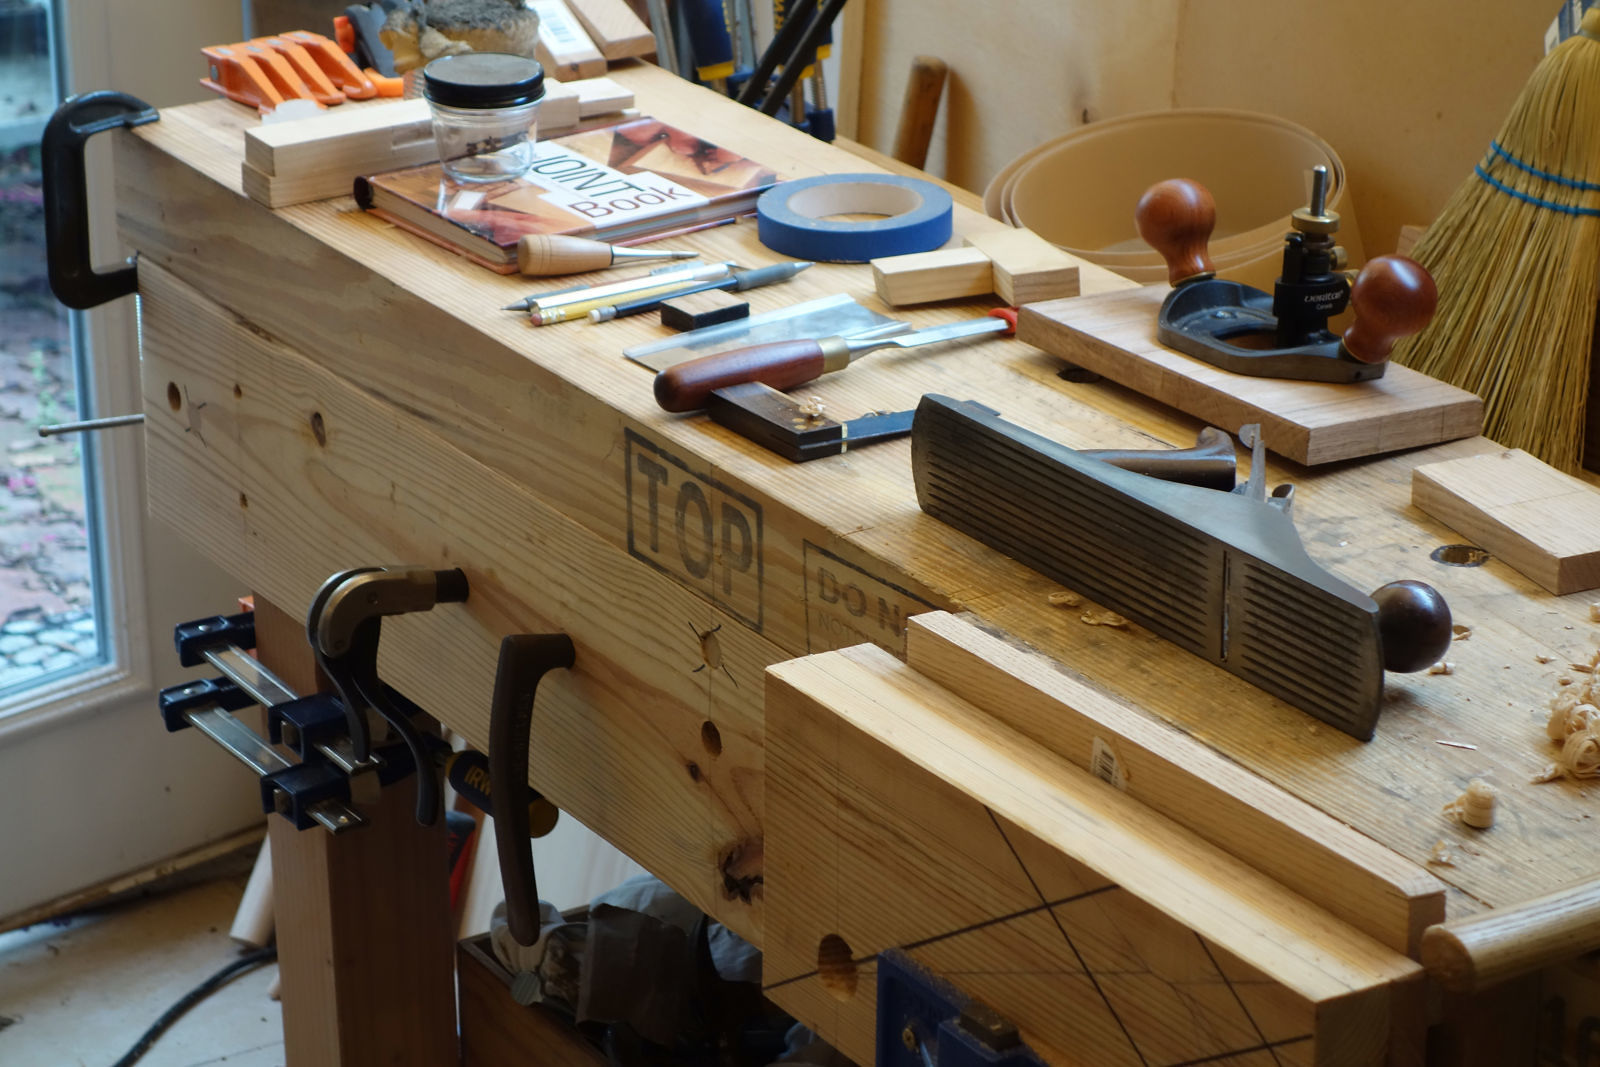
I’m new to dovetailing, and before I made a grand investment in a leg vise or Moxon vise, I decided to try my own home brew. I made this simple but effective jig with scraps of particleboard and some wood strips. The four pieces of particleboard form a basic box, with one side left long to hang down and register the jig against the front of the bench. I glued wood strips along the front edge of the two working faces of the box. A couple of C-clamps attach the box to the bench.
Once I had built the jig, I found it useful for all sorts of hand-tool operations. To clamp a workpiece vertically for dovetailing or tenoning, for example, you just push the workpiece against the molding strip and secure it in seconds with Quick-Grip clamps. The workpiece is perfectly vertical and extremely stable.
It works just as well for clamping pieces horizontally, for chopping dovetails or routing, bringing the action to a more comfortable height in the process. And it really shines when lining up a tails board with a pins board to transfer the layout from one to the other.
From Fine Woodworking #268
For the full article, download the PDF below:
More on FineWoodworking.com:
- Two DIY Woodworking Vises – In this video, Ben Strano builds two of the vises featured in this article
- How To Build A Heavy Duty Workbench – For Chris Gochnour, the tail vise is the heart of this versatile workbench
- Rock-Solid Workbench – Ready-made hardware simplifies end-vise construction
Fine Woodworking Recommended Products
Dustopper Pro
Veritas Micro-Adjust Wheel Marking Gauge
Compass


Comments
Enjoyed the workbench tips and tricks. I recently made bench dogs as suggested with two differences. 1) I used a small modeling saw to saw the 1/8" groove instead of a table saw kerf and a knife to clean out the waste. 2} I used sweet gum bark instead of rubber screen retainer and glued it in with hide glue. It worked good. I let the corky bark stick out about 1/8".
Log in or create an account to post a comment.
Sign up Log in