Using SketchUp to Turn a Tapered Sheraton Leg
John and Thomas Seymour could have never dreamed that Tim Killen would turn one of their legs in SketchUp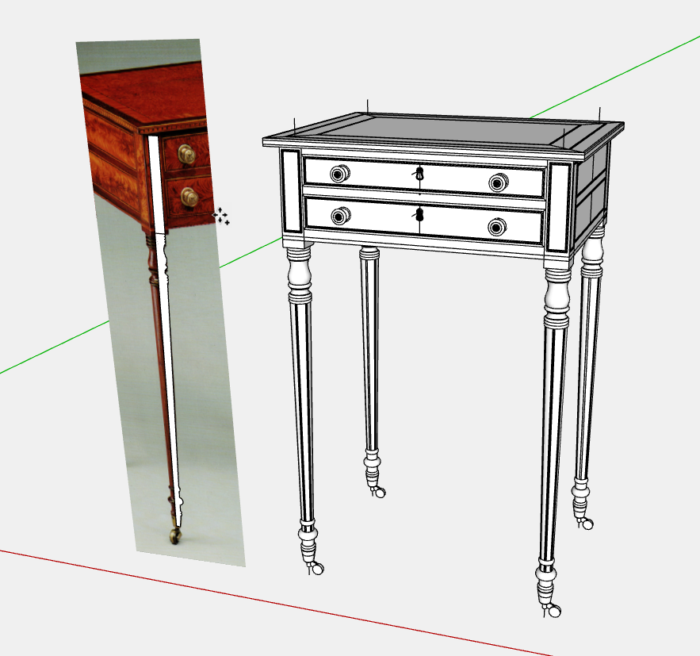
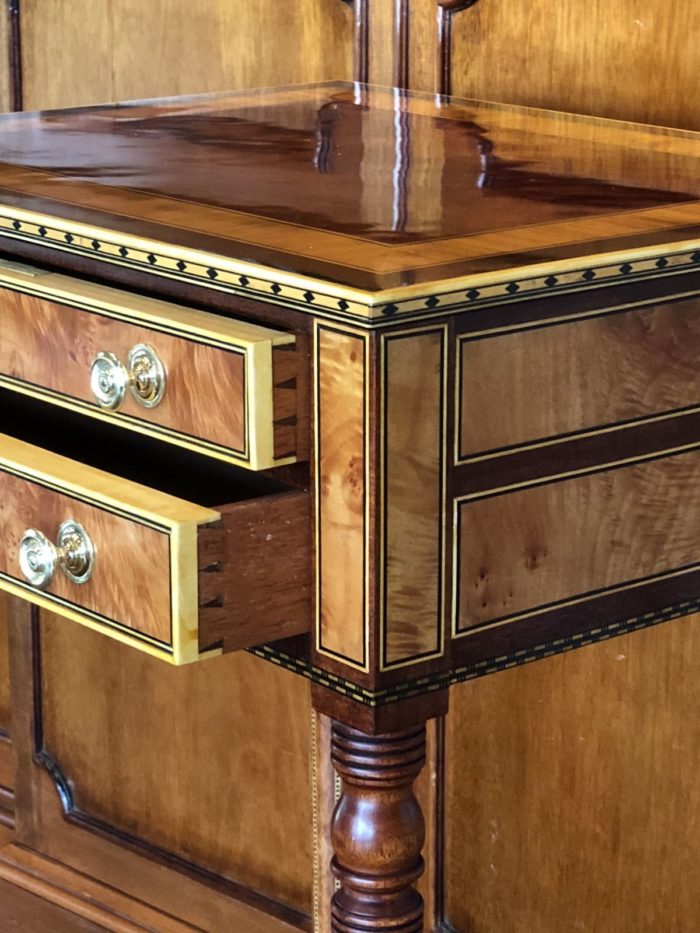
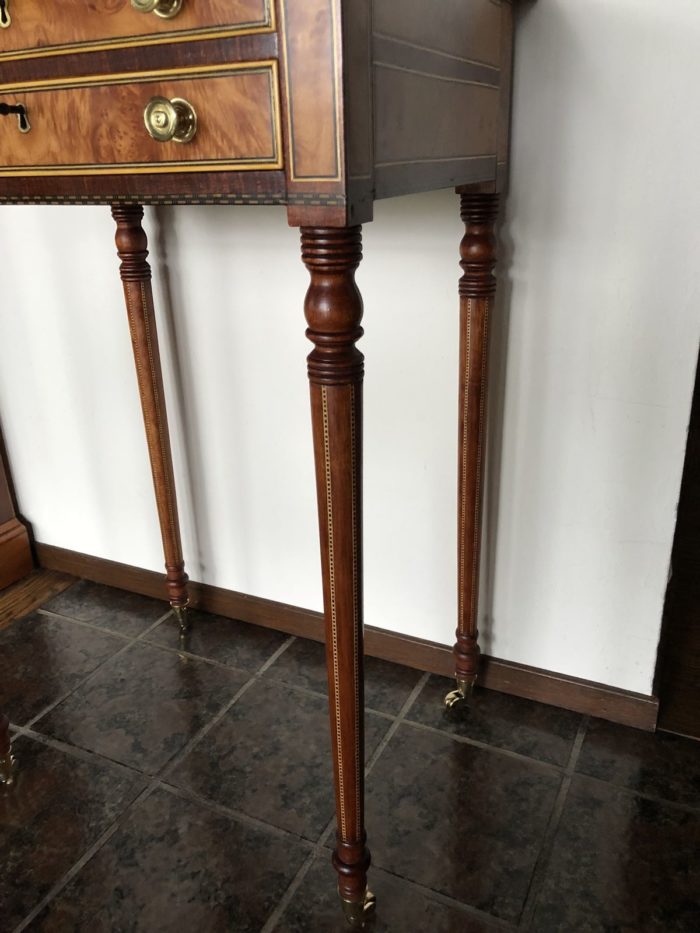
Late last year, I built one of these Sheraton Work Tables. The original was made circa 1800 by John and Thomas Seymour in Boston. I found a picture in one of my books “The Furniture Masterworks of John & Thomas Seymour” by Robert D. Mussey Jr. The table is typically Sheraton style with its slender turned and tapered legs. However, this piece was decorated in an unusual way, by embedding banding in vertical slots down the tapered section of the leg.
This unique design feature was also an interesting challenge in SketchUp. In my customary way, I imported the picture into SketchUp and made it full size based on overall dimensions specified in the reference book. I then was able to make a tracing over the leg using the Line and Arc Tools. See below the white tracing over the imported picture.
Note: I’ve included a video showing the procedure in making the Leg in SketchUp.
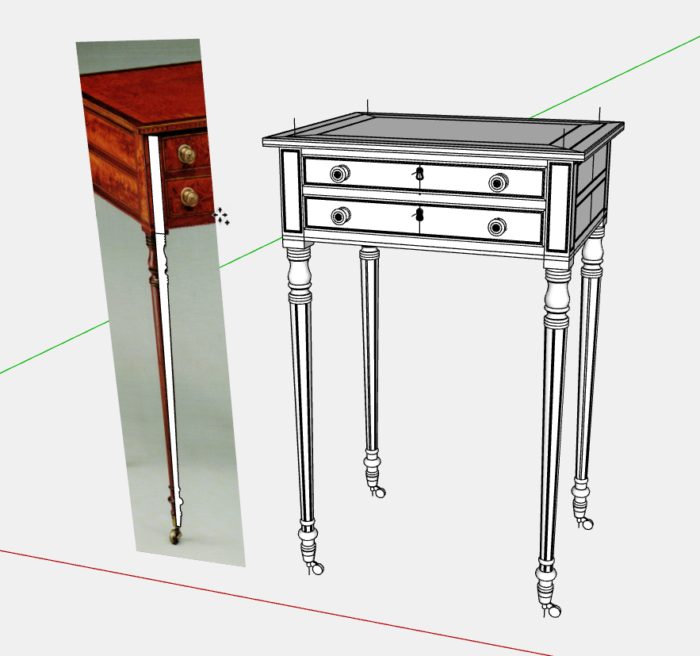
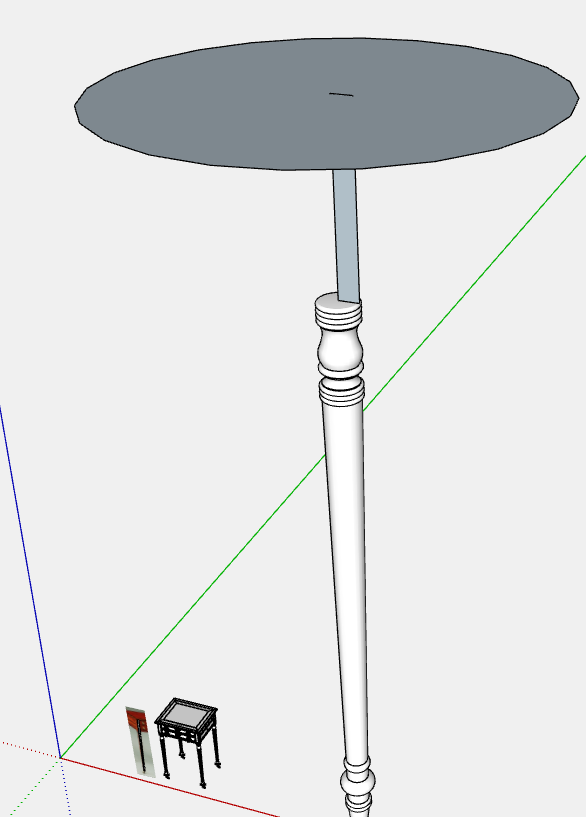
I then scaled-up the tracing by a factor of 10 to avoid having gaps and holes in the “turning” after executing the Follow-me.
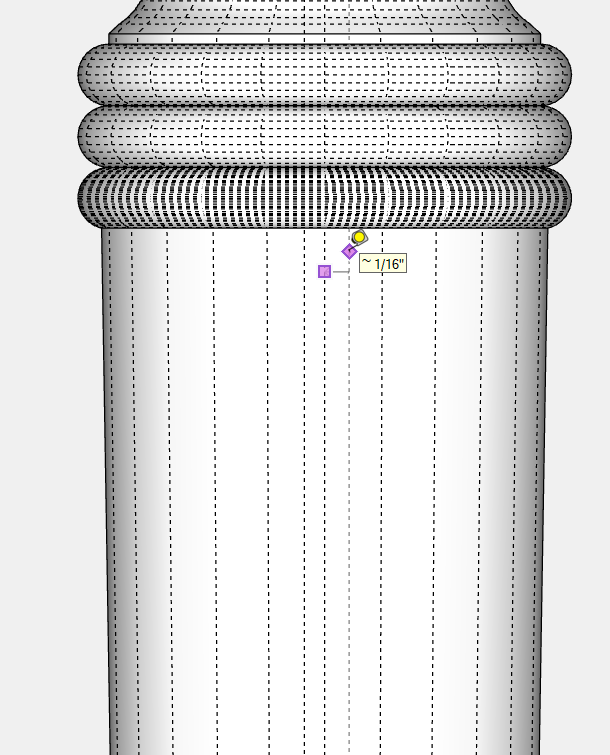
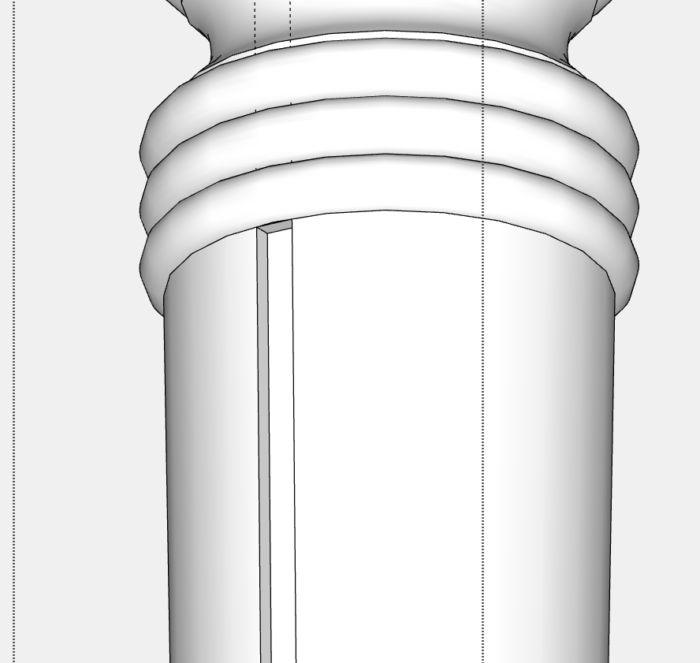
After “turning” the Leg using Follow me, I started the procedure to create the six shallow grooves in which the banding is embedded. After displaying hidden lines, I placed Guidelines 1/16-in. to the right and left of the centermost hidden line facing the front of the Leg. It’s easy to misplace the guidelines in these cases. I need the guidelines to be on the existing face, not on the red axis or any other direction. The small purple diamond indicates the guideline is on the face.
By tracing over the boundary (the new guidelines) of the groove with the Line Tool, I was then able to use the Push/Pull tool to create a 1/16-in. deep groove.
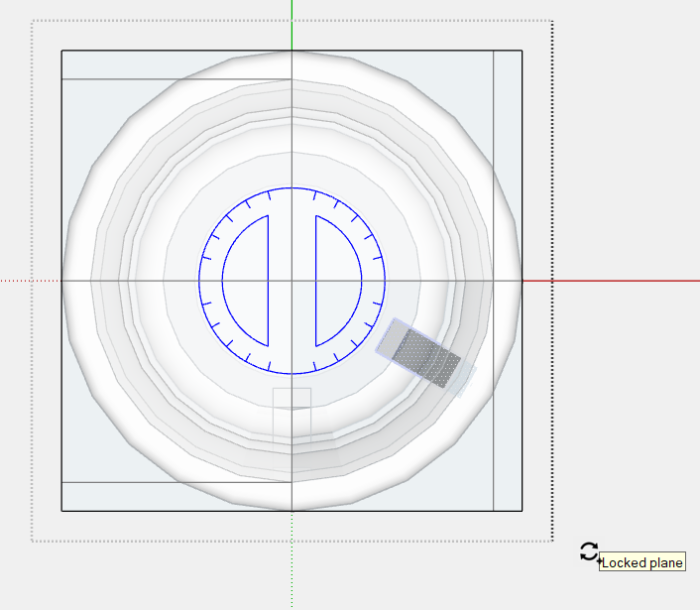
While in the Top View and Parallel Projection, I used the Copy Rotate Tool to copy the groove in all six places around the Leg.
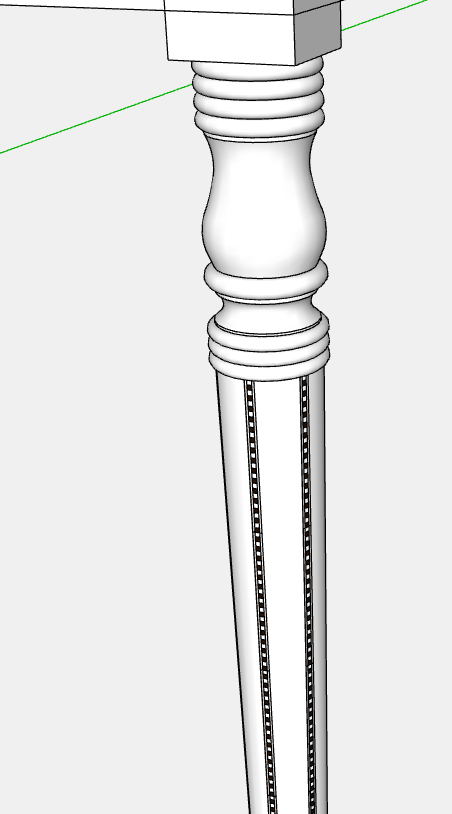
Here is a view of the embedded banding in the groove.
Tim
@KillenWOOD
Fine Woodworking Recommended Products
Drafting Tools

Stanley Powerlock 16-ft. tape measure

Blackwing Pencils




Comments
A beautiful piece, Tim, and an excellent tutorial, as usual. I can suggest one alternative that can make it easier to copy the grooves: Turn the leg in sections, with one section being the center tapered part. Hide the other parts, add the groove as you've described, then select the groove and copy/rotate it. It will be easier to see and select the groove if the top turned section is out of the way. When you've finished the grooves, unhide the rest of the leg and make the whole shebang into one component.
dheim..... Thank you for the suggested alternative, that will also achieve the desired result. The key to your suggestion is that parts of the Leg are split into separate components, something I would not think of doing before creating the Leg.
Tim
Actually, making the leg as separate components at first can help produce the parts. In some instances, as with the posts on a four-poster bed, working with separate components closely mimics real life, as such large turnings were often made in sections.
Where the turning exceeds the length of a typical lathe bed - for example in bed posts - you would expect separate pieces. However, for table legs, cabinetmakers would turn as one piece, therefore my expectation to have one leg component in SketchUp.
Tim
Log in or create an account to post a comment.
Sign up Log in