Bill Pavlak’s Sweet Toothing Plane
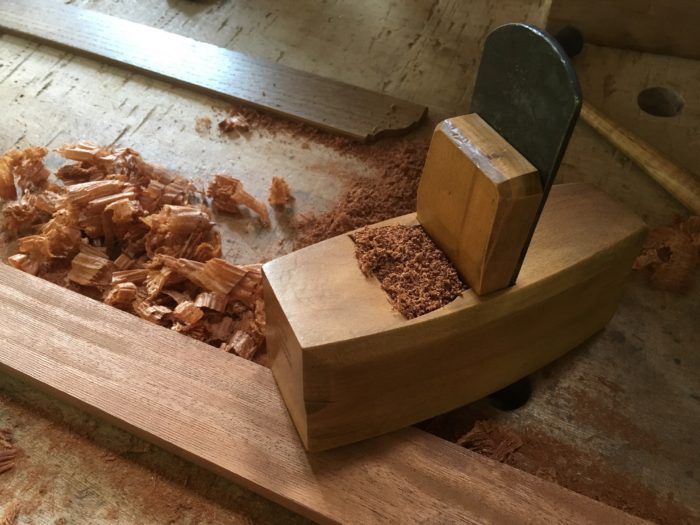
With its extremely high-pitched blade and serrated cutting edge, the toothing plane cares little about grain direction and figure.
I tend to have a three-step relationship with highly figured wood; perhaps you do, too. It starts in the eager and ambitious moments of material selection with a hard-to-shake thought of “Oooo this super-curly piece of such and such is perfect for my project.” But as planning becomes planing, that initial enthusiasm can quickly devolve into step 2: the questioning self-loathing that haunts most woodworkers at one time or another. Questions come to mind like “why did I think this was a good idea? Is this tearout deep enough to be considered a mortise?” I tend to be more stubborn than the grain and once I’m done, the board will be flat, smooth, and as beautiful as I thought it would be. My mind arrives at the third step: “What a great idea to have used such figured wood.” Does this sound familiar?
The first and last steps are easy, but how do we manage the second? There are lots of ways to deal with figured woods, and I routinely use many of them with success. I’m talking about the usual tools and techniques for taming tearout, like high angled planes, a close-set chip breaker, traversing the grain, skewing the blade, frequent sharpening, cabinet scrapers, card scrapers, or a belt sander (though not at Colonial Williamsburg). Perhaps my favorite approach though is to use a toothing plane – the belt sander’s pre-industrial equivalent. Though traditional wooden toothing planes and modern toothed blades have become well known among woodworkers, they are still underutilized in contemporary shops.
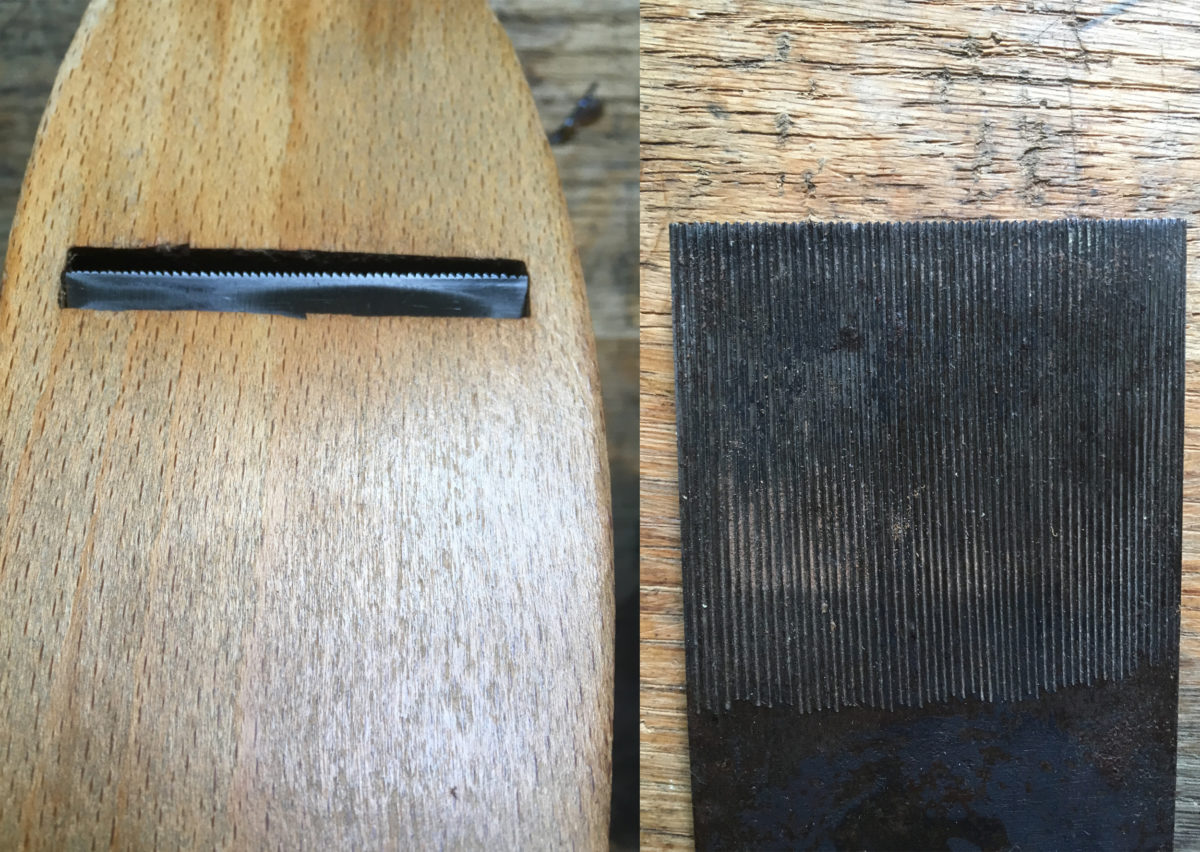
With its extremely high-pitched blade (80° to 90°) and serrated cutting edge, the toothing plane cares little about grain direction and figure. While these tools have always been associated with the unseen sides of veneer work (substrates and the undersides of veneers), preindustrial woodworkers used them for preparing non-veneer glue surfaces, quickly cleaning up secondary surfaces (case interiors, the undersides of tabletops, etc.), and handling complex grain with minimal tearout. They are typically a little shorter than your average smooth plane (see photo above) and far less intimidating to maintain than you’d think. You don’t have to sharpen the teeth as you would on a saw. Instead, sharpen the tool as you would a normal bench plane, with one important exception: do not lap the back. I used to knock the burr off, but lately I just roll with it. The teeth are formed by little grooves cut into the back of the blade before it’s tempered. If you lap the back, you lose the teeth.
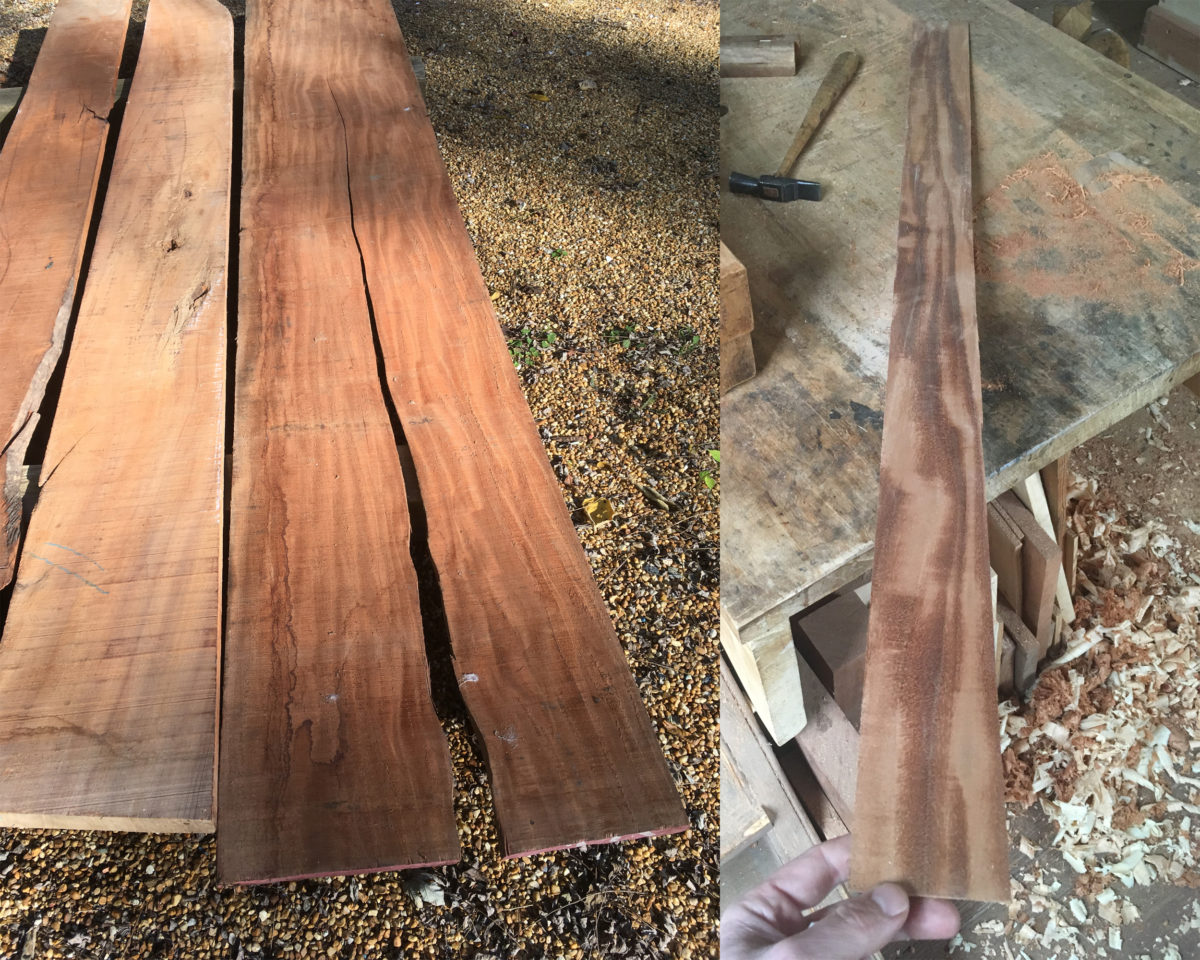
The tool’s ease with figured woods has come in quite handy recently as I’ve been working with some ribbon-striped mahogany (of the Swietenia macrophylla or Honduran variety). The impressive board pictured below was too good to pass up as I started work on the interior of a cabinetmaker’s tool chest. Sure, this would make some dazzling drawer fronts and interior trim, but getting to the finish line intact was bound to be a struggle.
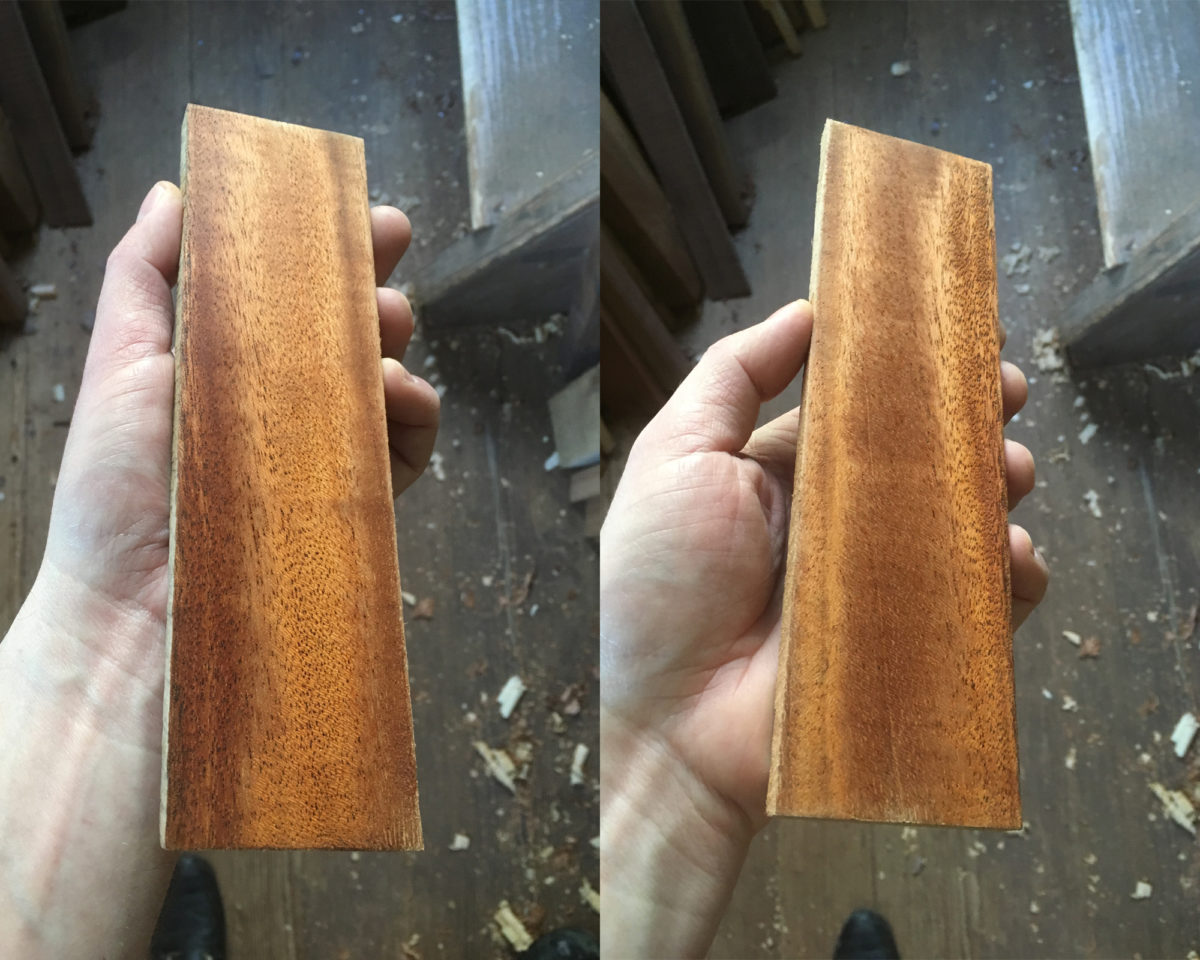
When the striped figure is relatively tightly packed across the board’s face, there’s typically one overriding grain direction that can be smoothed with a sharp high-angle blade followed by a scraper to handle a little tearout here and there. Wide ribboning, however—the stuff that looks like bold, Post-Impressionist brushstrokes—poses a greater challenge. The chatoyance is visually striking. In the picture below, that’s the same piece of wood on the left as on the right, but just flipped around – what appears as a dark streak when viewed from one end becomes lighter when viewed from the other and vice versa. It’s pretty, but with each stripe representing a change in grain direction, it’s pretty hard to plane.
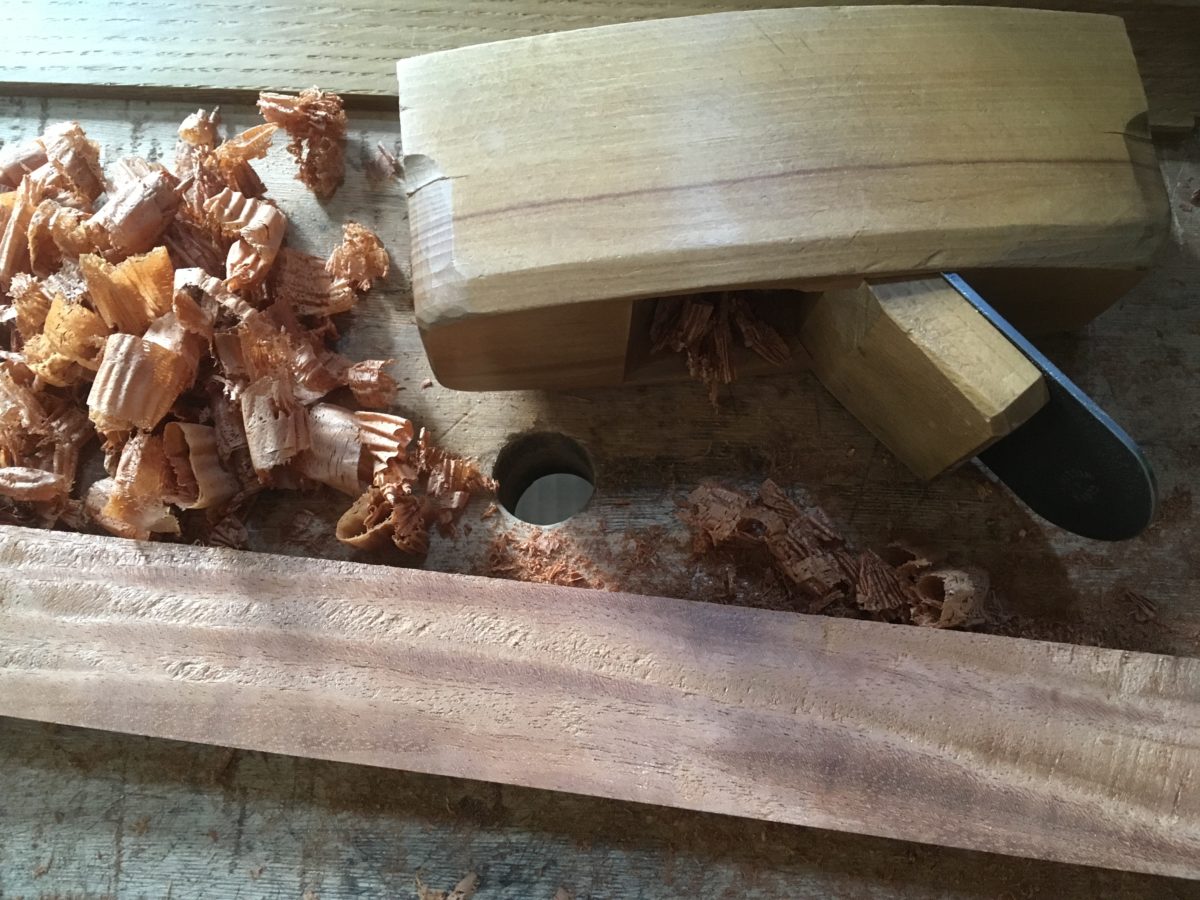
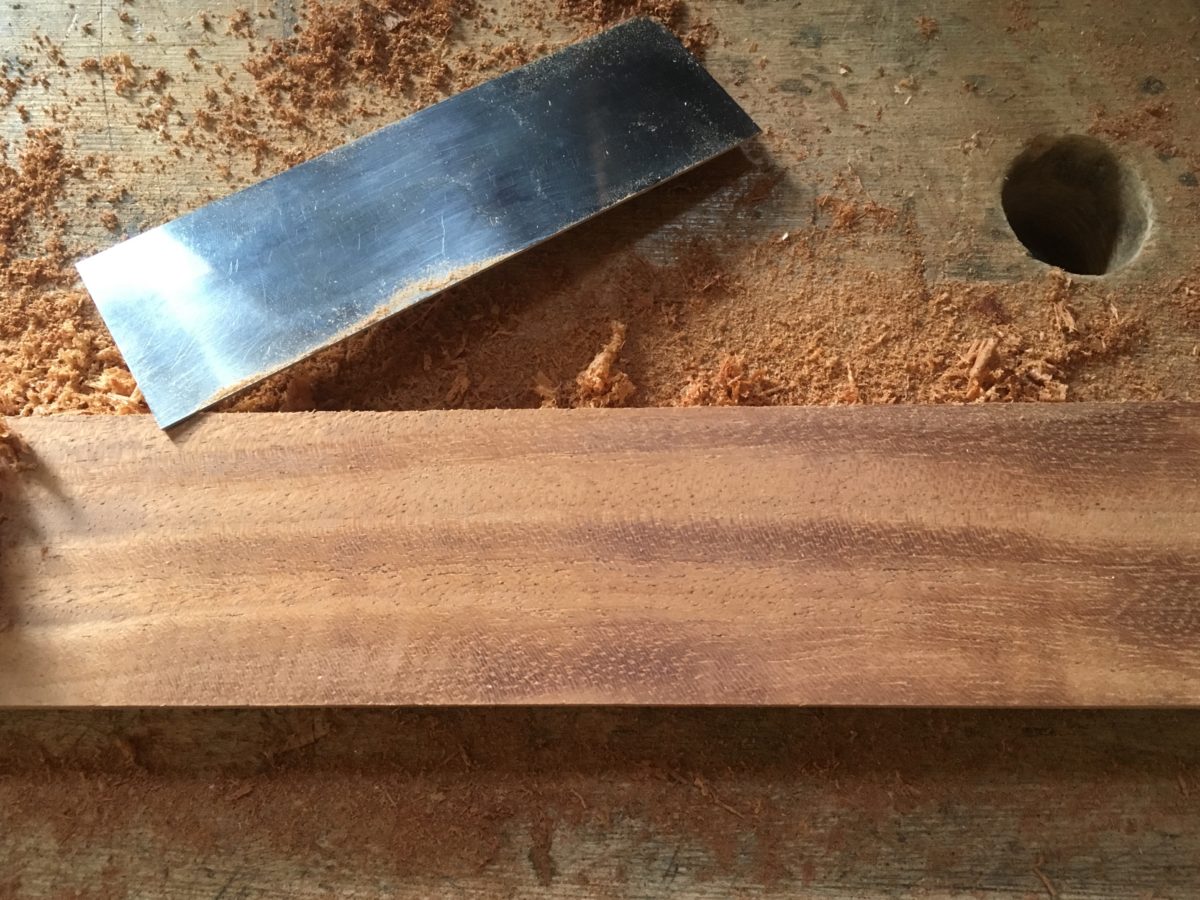
The sequence of photos below shows how I typically tackle a figured board with a combination of tools, centered on the toothing plane. First, if there’s enough thickness to spare and the board is far from flat, I’ll start with a high-angled smooth plane. Jack planes and scrub planes are best left in the tool chest for wood this figured. Even with a sharp, finely set iron and skewing the blade in relation to the grain, I’ll get some tearout, as seen below. The grain changes direction six times across the 2-in. width of this board—of course I’m going to get some tearout! I could probably persist with the smooth plane and get a better result than what’s seen here, but the chances for catastrophic failure are high.
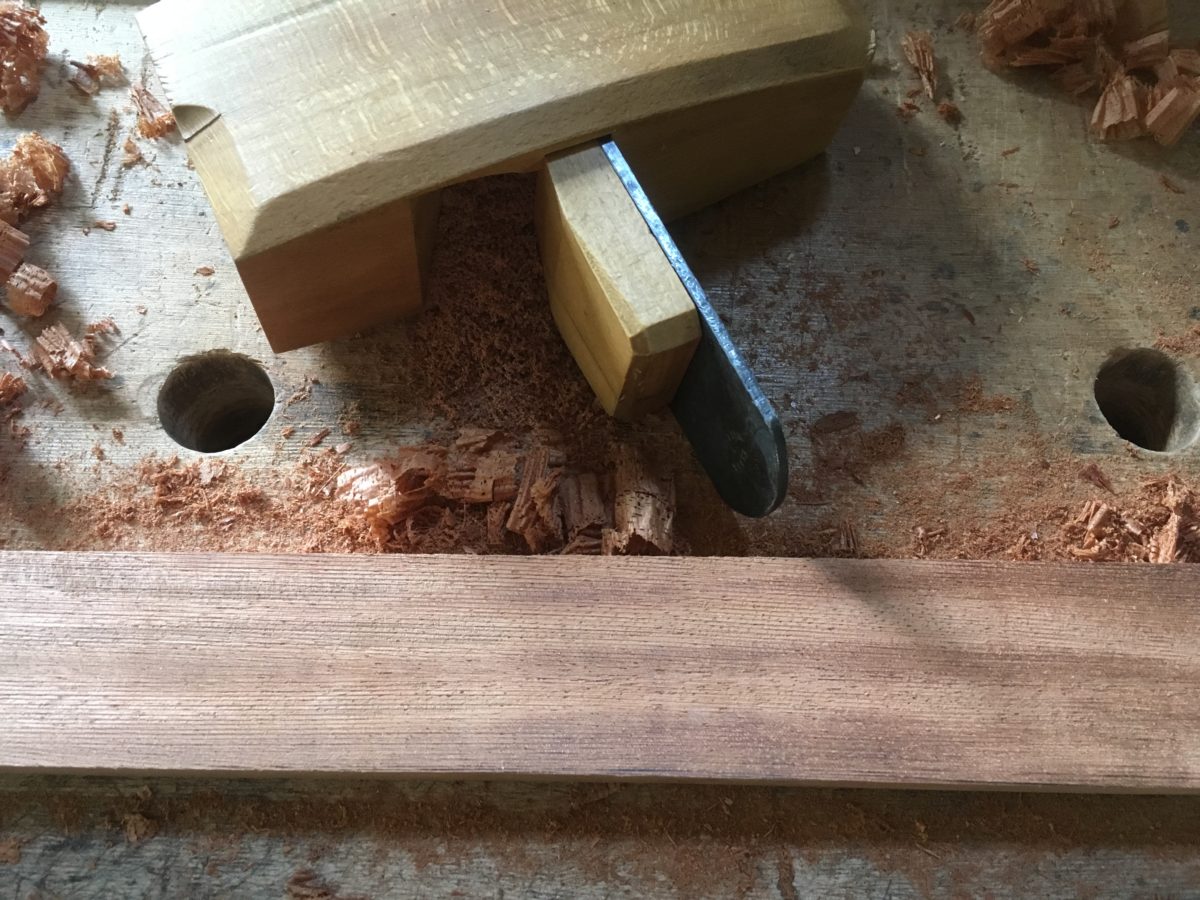
Rather than jump right into scraping, which would take a long time with that level of tearout, I switch over to a toothing plane. On veneers and boards close to final thickness, I start with this tool. The toothing plane allows me to eliminate all the tearut and produce a flat, uniform surface in minutes. Here, in the same section of board illustrated in the previous image, the problem spots have been tamed.
Because it is uniform across its width, the corduroy surface left by the toothing plane’s little teeth is far easier to scrape while maintaining a flat surface than isolated, torn-out sections. It’s pretty easy to create smooth depressions or divots in a surface when trouble shooting with scrapers and sandpaper. The toothed surface forces you to work everything evenly. After a little scraping, I wound up with the surface pictured below. This grain is so ornery that I had to scrape each stripe in a different direction to get the best results. After this, a light sanding is all that’s needed prior to finishing.
Last January, during a question-and-answer session at Colonial Williamsburg’s Working Wood in the Eighteenth Century conference, someone asked the panel if there was a preference between wooden-bodied toothing planes and after-market toothed blades for modern planes. The unanimous answer was for the traditional plane. That’s not a surprise considering the panel consisted of Roy Underhill, Patrick Edwards, Don Williams, and a bunch of us in colonial clothes among others. The point wasn’t that modern toothed blades are bad—they’re not—but that traditional ones are readily available for reasonable prices (under $50) from most antique tool dealers, easy to maintain, and a joy to use. If you’re confronted with highly figured woods, but tired of the noise and dust of sanders or have come to the realization that the hardest way to do something isn’t always the best way (bench planes alone in this case), then grab yourself a toothing plane and stop sweating over the challenges of those prized boards.
PS – for an excellent discussion of historical toothing plane use, check out my colleague Ed Wright’s post from several years ago on the now-defunct Anthony Hay Shop blog.
More on FineWoodworking.com:
- An interesting dovetailed saw till – Bill Pavlak looks to the past to find a unique method to house his favorite handsaws
- Bill Pavlak and the case of the shrunken drawer backs – Bill stumbles upon a mystery that can only be solved through imitation
- Carving Class with The Master, Dimitrios Klitsas – It was hard carving away what I considered my best work—really hard—but now my best work is better



Comments
Nice tool and a great article.
Thank you, these are very useful tips!
Log in or create an account to post a comment.
Sign up Log in