An Elegant, Contemporary Desk
A clever, clean approach to design and joinery.
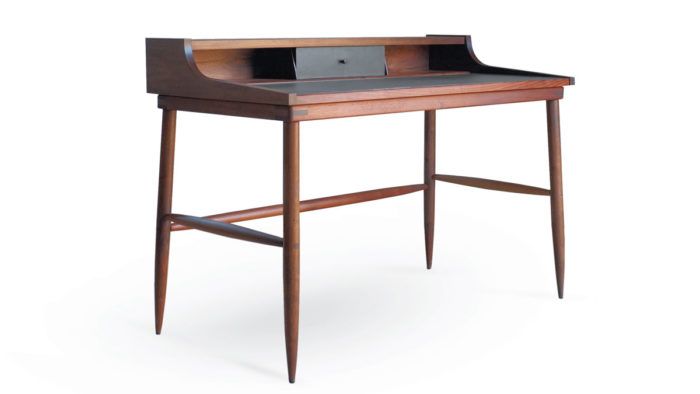
Synopsis: This desk blends practical utility with elegant details such as its slender base with turned legs and curved side profiles. Construction is broken into two parts—top and base. The joinery for the top section is uncomplicated mortise and tenons. The two-part desktop is part solid wood and part plywood, which is covered with leather to make a blotter. The base, with its turned legs, is a straightforward frame secured by bridle joints.
I designed the first incarnation of this desk for a close friend who needed a simple, elegant station for sketching and designing in his small apartment. Over the past six years, I’ve built the desk a number of times for others and the design has evolved. Its original chunky, square base was replaced with a slender version with turned legs; and the sides, or end caps, of the desk case are now shaped to flowing curves instead of angles. What has remained the same is its light weight and airy utility—a pared-down, minimalist approach to a place to sit and think and put ideas down on paper.
Begin with the desk base
I break the building of the desk into two parts, the desk case and the base. Here I’ll begin with the base, although it’s perfectly fine to build it the other way around. The base consists of a flat frame with the legs tenoned into it. Building it is straightforward. Start with the bridle joints securing the corners of the frame. I cut them on the tablesaw with a tenoning jig.
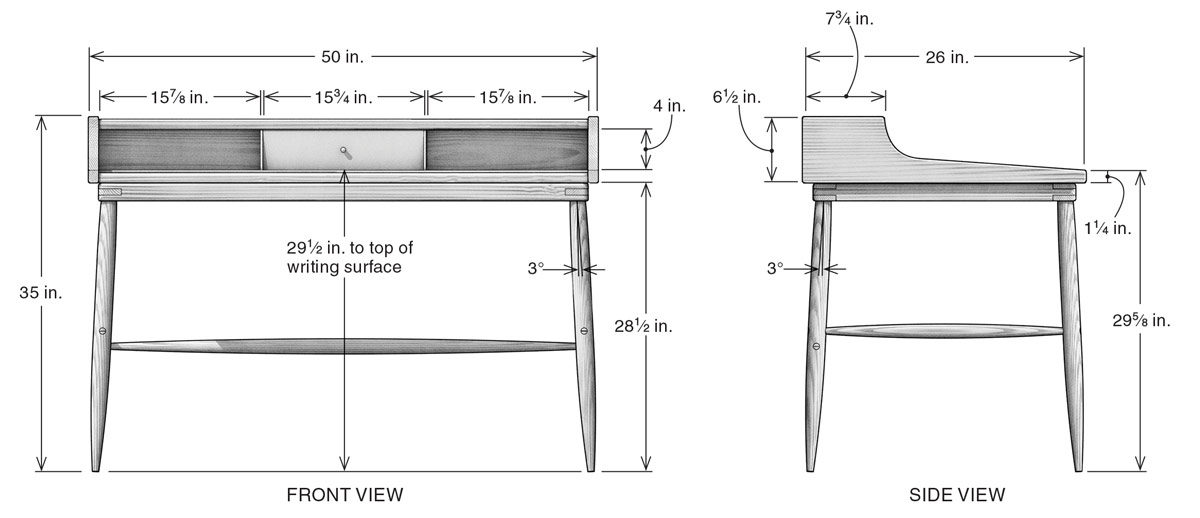
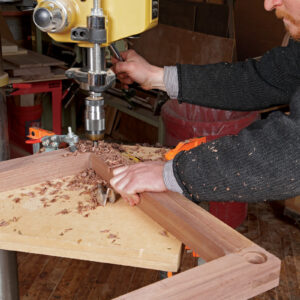
After gluing up the frame, I drill stepped mortises through it at the corners for the leg tenons. The stepped mortises provide additional strength and a cleaner visual line. To create the correct leg rake and splay, I do the drilling with the drill-press table angled 4° and the frame rotated so it is 45° to the centerline of the slope.
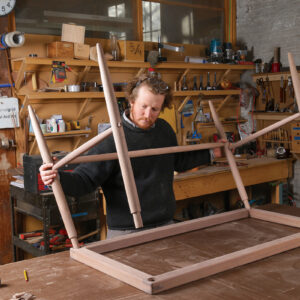
I turn the legs out of 1-3⁄4-in.-square stock and then fit the tenons to the stepped mortises. I turn three stretchers to join into the legs, two on the sides and one long stretcher joining the back legs. Then I drill the mortises in the legs using a cradle on the drill press. All the tenons, once fitted, are kerfed on the bandsaw to accept wedges during glue-up.
Build the case
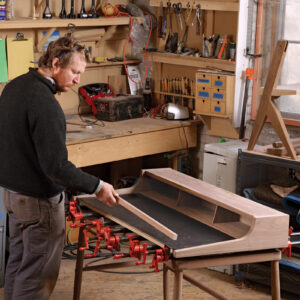
The design of the desk case is a little unusual. often on writing desks thegallery at the back is a separate unit that rests on the desktop. Here the gallery is glued to the back edge of the desktop and both are fitted be-tween the end caps of the desk case. After the desk case is assembled, I fit a leather blotter over the desktop to serve as the writing surface.
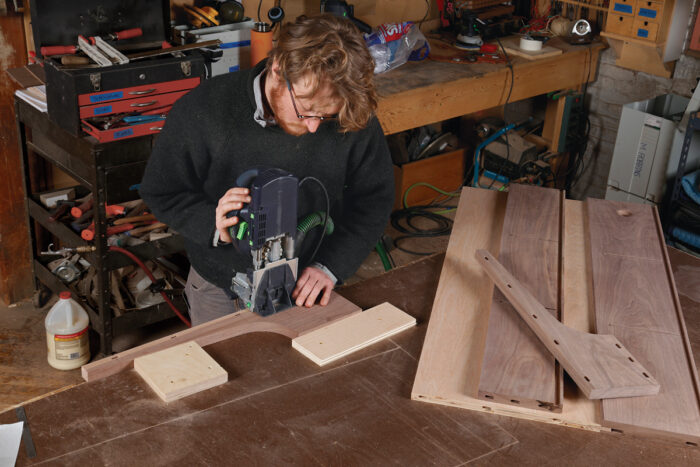
I start the case by edge-gluing the solid gallery bottom to the plywood desktop. to prepare the gallery bot-tom for glue-up, I groove it to accept the back, and then cut a 1⁄4-in.-wide chamfer along its top front edge. I also bore a 11⁄2-in.-dia. hole through it near one end as a pass-through for cables; I round over the perimeter of the hole on both sides with a 1⁄4-in. router bit.
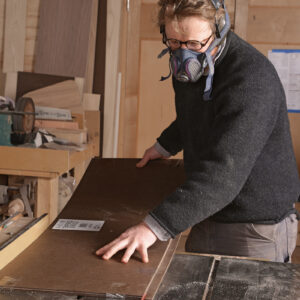
Cut the plywood desktop to final width but leave it slightly longer than final length. then edge-glue the ply-wood to the solid wood using dominos or biscuits for alignment. When the glue has cured, cut the two-part panel to final length. At the same time cut the gallery top and the Masonite backer for the leather blotter to the same length.
Next it’s time to make the two end caps. I bandsawed the curves to rough shape, then used a shopmade plywood pattern of the curve for final shaping. the pattern can be used with a shaper, router table, or a handheld router. Sand these parts up through the grits and set them aside.
Finish up the case
Two dividers create the drawer pocket in the gallery. Cut dadoes for them in the gallery top and bottom with a router and a straight bit. Use a straight-edge router guide to locate the dadoes. Cut the dividers to size next. they are sloped 15° off vertical at the front, and the front edge gets a 1⁄4-in. roundover.
Once these parts are made, lay out the domino joinery. dry-fit the desk case and clamp it together.
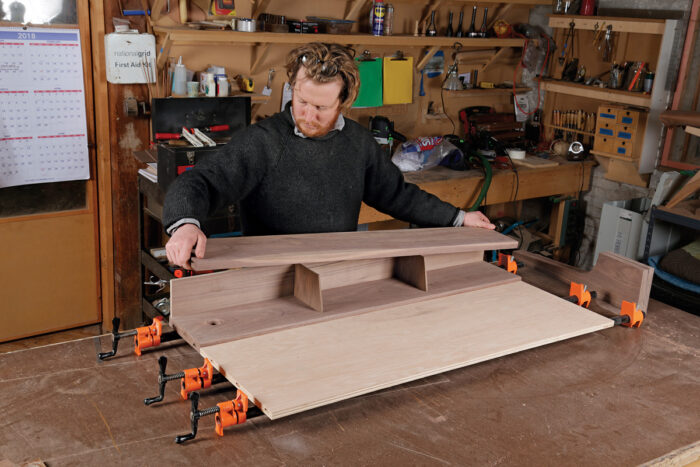
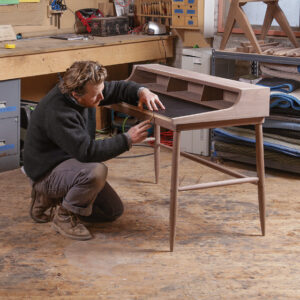
Then make the registration marks, disassemble, and cut the mortises. I prefinish parts that have tough-to-reach areas and try to glue up very neatly so that there is no squeeze-out. If there is any, I clean it up with a clean, damp rag, sometimes using a small toothbrush to get into corners. Now that the desk case is assembled, I attach it to the base with table clips.
I build the drawer with exposed 1⁄4-in. dowel joinery. This provides a nice visual detail on the side of the drawer and is a perfectly strong joint for a drawer of this size. The drawer bottom, like the blotter, is a sandwich of leather over 1⁄4-in. Masonite.
Leather is laminated to the front face of the drawer as well. once you’ve trimmed the leather flush to the edges of the drawer front, use a brad-point bit to drill a centered 1⁄4-in. hole through the front for the turned wooden pull.
A leather blotter adds to the design and utility
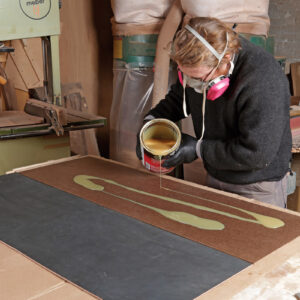
With the desk nearly done, it’s time to add the leather blotter. First drill a hole through the desktop toward the front edge so that in the future the blotter can be easily removed for repair or replacement with the push of a finger from below. The backer should be over-size in the other dimension so that when pushed against the gallery it overhangs the front of the desktop by an inch or more. Cut the leather to exactly the length of the Masonite backer and glue it down with contact cement, rolling it to smooth out any bumps and to maximize adhesion. then, at the tablesaw, using a second piece of Masonite on top to produce a clean cut, rip the blotter to width so it’s a perfect fit to the front edge of the desktop.
Press-fit the blotter into place, carefully smoothing corners and edges with a bone tool to create a seamless, attractive writing surface.
Last, remove the blotter and glue a solid-wood lip to the front edge of the desktop. It should extend above the plywood just enough to hide the edge of the leather when the blotter is reinstalled. After a final sanding, the desk is ready for finish. I use osmo Polyx-oil.
From Fine Woodworking #270
Download the plans for this table from the Digital Plans Library. Plus, browse 100+ other plans available for members only.
For the full article, download the PDF below.
More on FineWoodworking.com:
- An Arts and Crafts Library Table – A nontraditional approach to building a desk with drawers
By Eric Keil #149–May/June 2001 Issue - Thomas Jefferson’s Writing Desk, By Lon Schleining, #144 Oct. 2000 Issue
- Mining Danish Modern – Inspiration behind a successful desk design
By Tim Rousseau #245–Jan/Feb 2015 Issue




Comments
Beautiful design. Looking forward to building this for my daughter.
Isn't this design inspired in George Nelson's Swag Leg Desk? I think it would be fair to give the credit.
Log in or create an account to post a comment.
Sign up Log in