How to Create Precise Dovetails on the Bandsaw
Michael Fortune uses four simple jigs to create perfect-fitting dovetail joints quickly and efficiently.
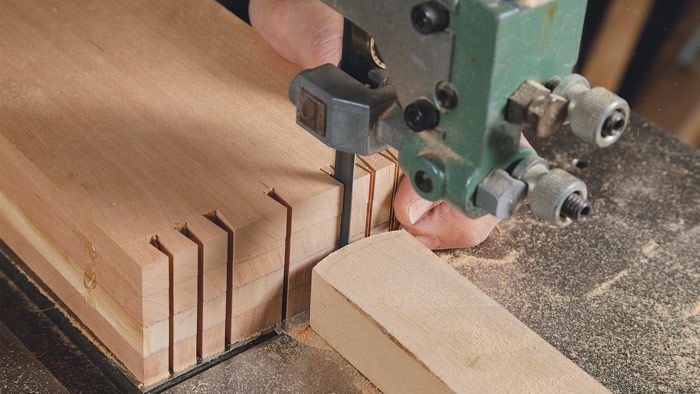
Synopsis: Cutting dovetails on the bandsaw is a fast and efficient method that yields perfect-fitting joints. Michael Fortune uses four small sleds for the job. These jigs allow him to control the angle of the tails and the cheeks of the pins. The angled jigs present the tail and pin boards to the blade and a zero-clearance kerf in each jig makes it easy to locate cuts accurately. Fortune cuts all the tail boards at once, so he only lays out the tails on the top board. The pin boards are cut separately.
There must be dozens of ways to cut dovetails, but my favorite is to cut both the tails and the pins with my bandsaw. It’s easy to control the angle of both parts and, because the bandsaw blade is as thin as many backsaw blades, there are few limitations to the tail’s slope angle, the size of the tails and pins, and their spacing. What’s more, it’s fast and efficient.
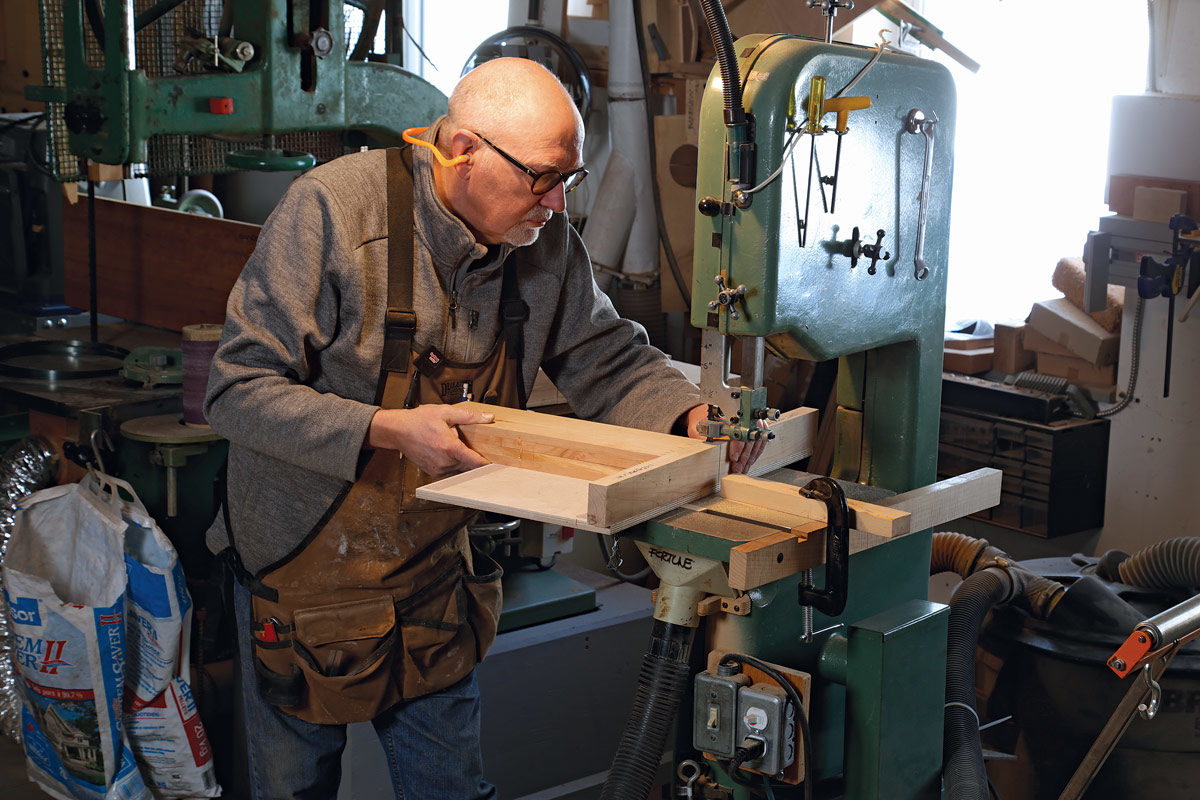
14-in. bandsaw to cut dovetails. I bought this machine 44 years ago, and it’s still all I really need for joinery. In addition to the saw, I use four jigs. Two of the jigs are used to cut the tails, and the other two to cut the pins. This is a wonderfully simple and accurate method for cutting dovetails.
Sleds guarantee accurate cuts
Dovetail joinery works because the angled tails fit into mating angled sockets in the pin board. Cutting the joint is greatly simplified if you can cut the tails at a consistent angle, and then cut the cheeks of the pins at the same angle. One advantage of the bandsaw is the ease of controlling that angle no matter how many individual joints you are making. All it takes is a pair of jigs for the tails and another pair for the pins.
Both sets of jigs have a plywood base with a fence on the leading edge that’s square to the blade. They also all have a wooden runner. I register the jigs in the miter slot rather than against the fence, because the jig then has a zero-clearance kerf that helps you locate cuts accurately.
The runner on each pin jig is square to the jig’s fence, but the runner on each tail jig is angled. This angle should match the slope of the tails. When you attach the runner, use the base’s front edge as a reference surface for the bevel gauge.
After you’ve made all four jigs, cut a zero-clearance kerf into each one, and they’re ready for use.
Cut all the tails at once
Unless you’re using a router and dovetail jig, cutting dovetails always boils down to the same process: Lay out the tails (or pins first, if that’s your preference), cut them, clean out the waste, transfer them to the pin board, cut the pin cheeks, get rid of the waste, and pare the pins to fit the tail board. My bandsaw-based process is no different, except that I can cut pins that fit without paring.
There is an advantage to my technique when it comes to layout: Tail boards of the same width can be stacked together and cut at once. This means that you only need to lay out the tails on one part, and put it at the top of the stack. I’ve cut as many as four drawers’ worth of sides at once. However, you should still use a marking gauge to cut the baseline on all the parts, as well as an extra part of the same width.
Tails firstTwo angled jigs present the tail boards to the blade. A zero-clearance kerf in the jig’s fence makes it easy to locate cuts accurately. To speed up the process, Fortune gangs up tail boards. Setup 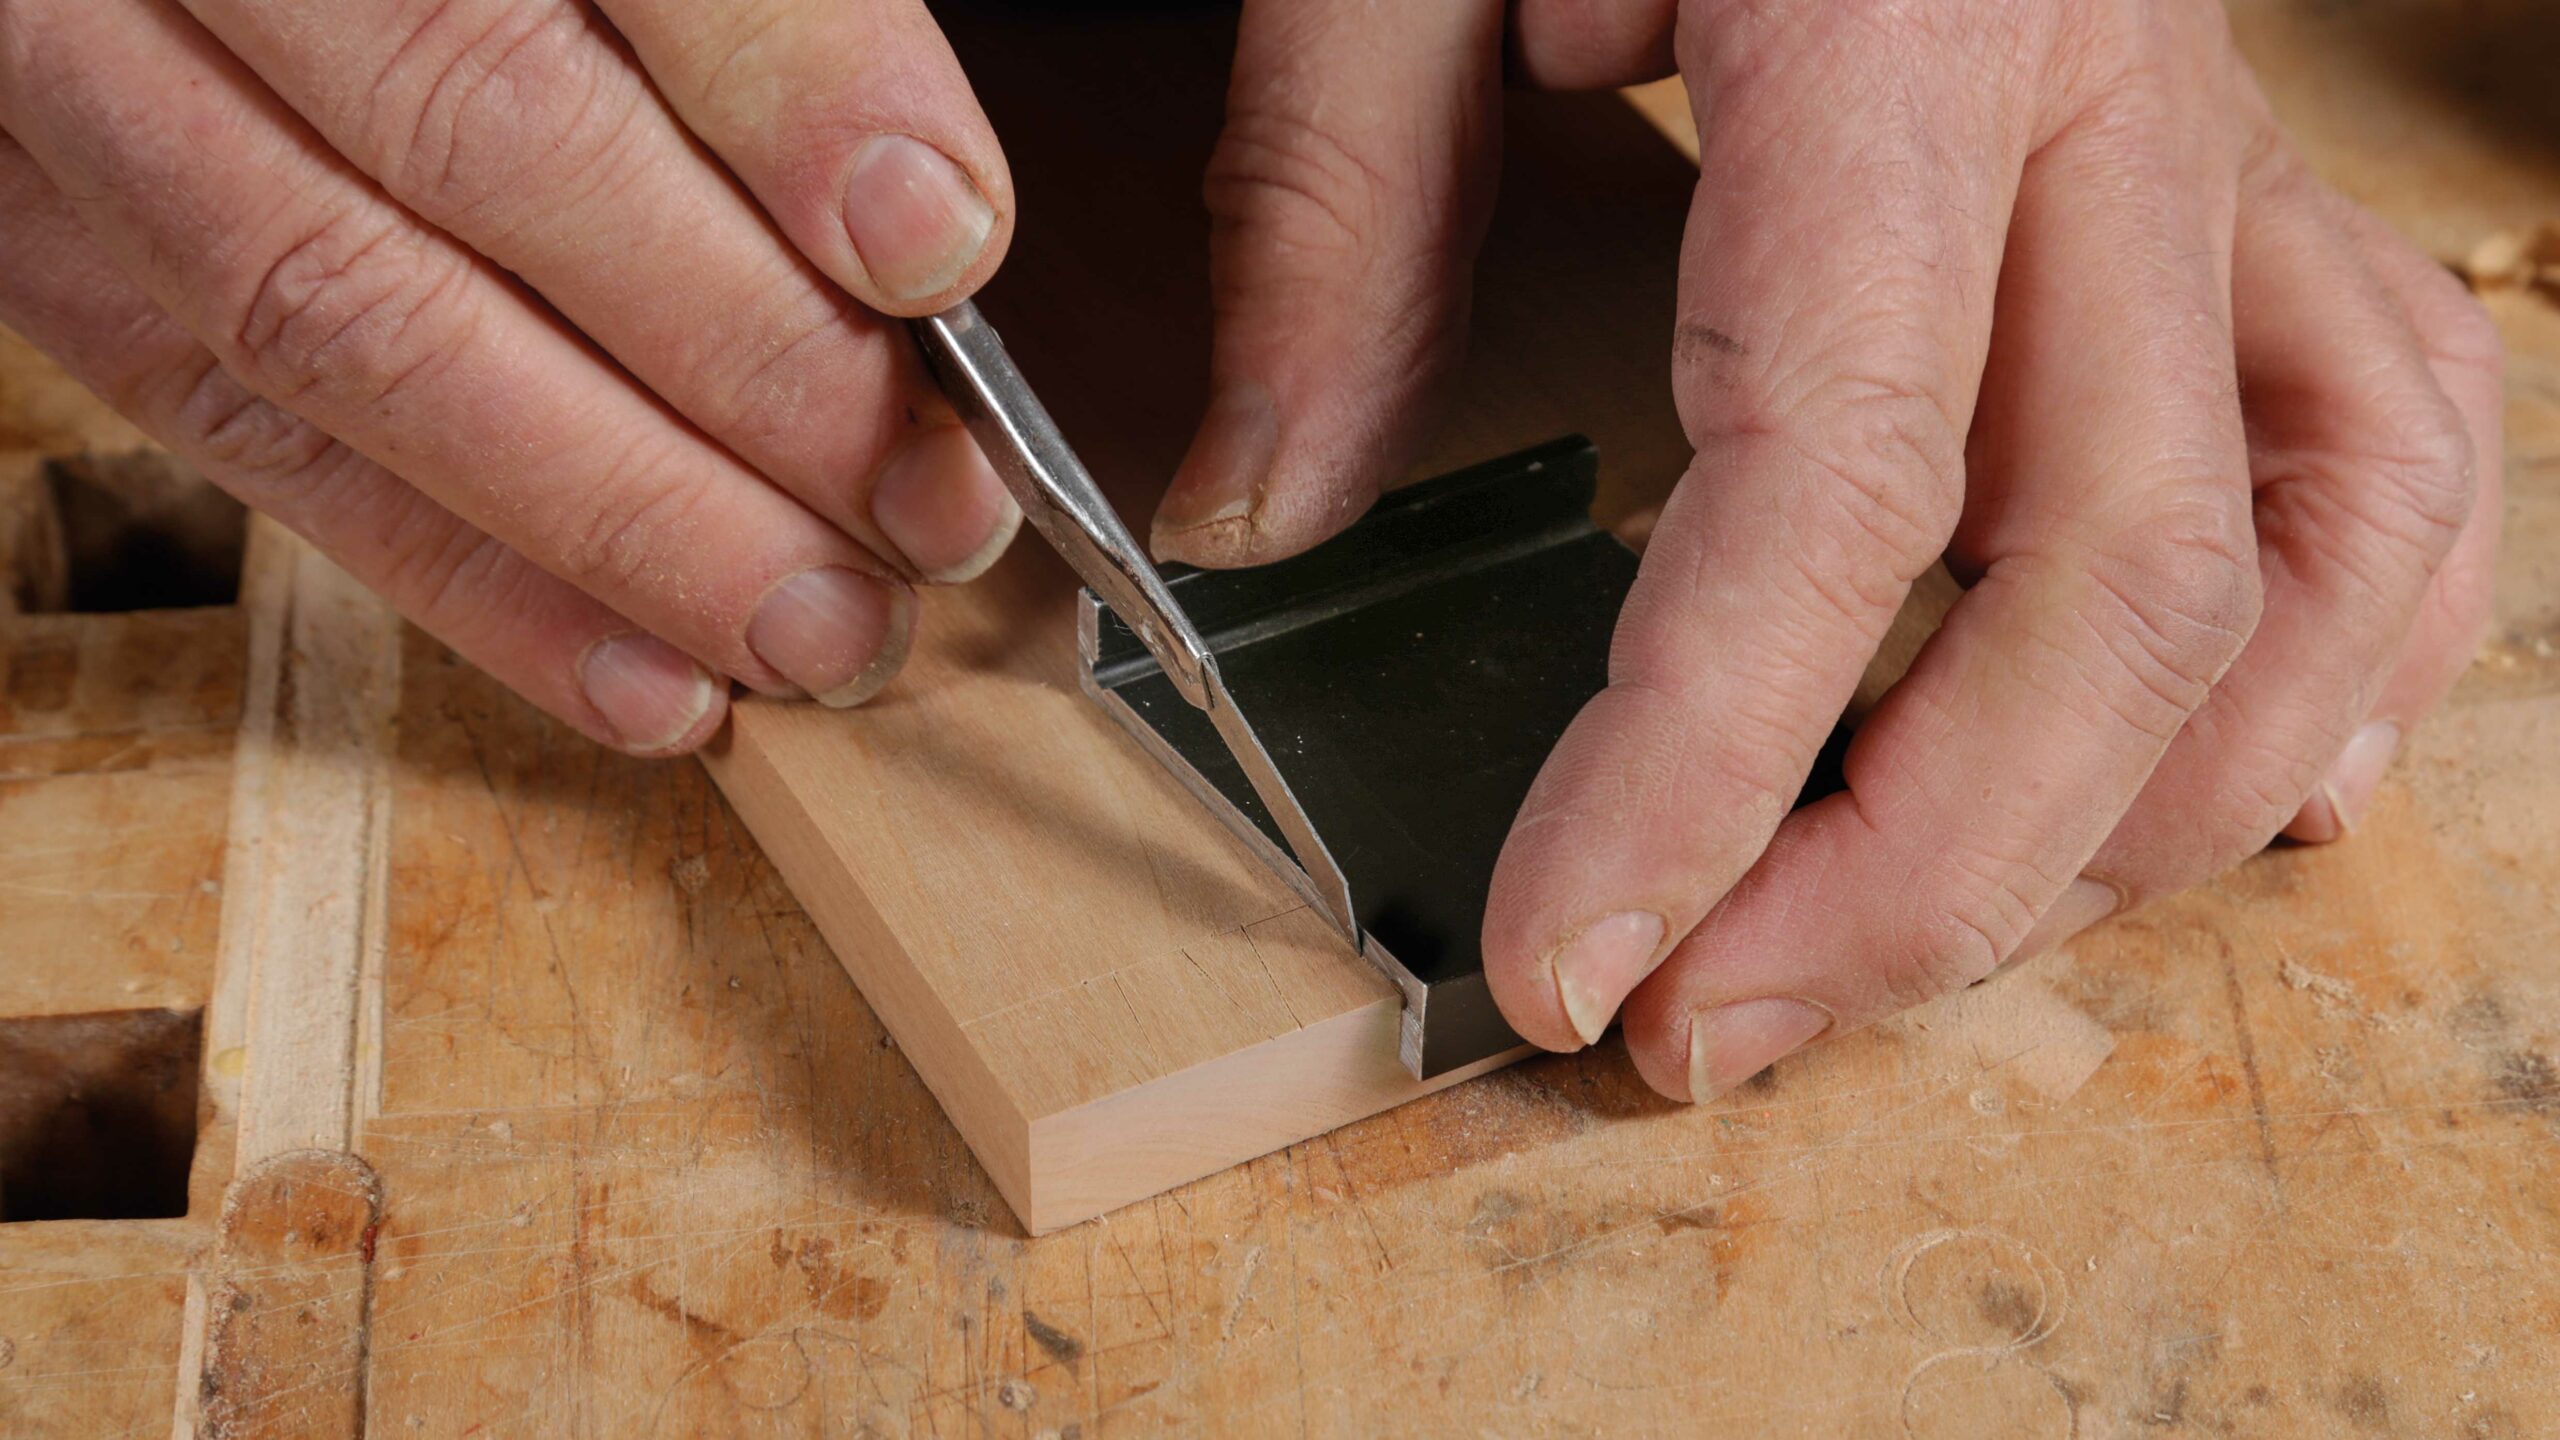 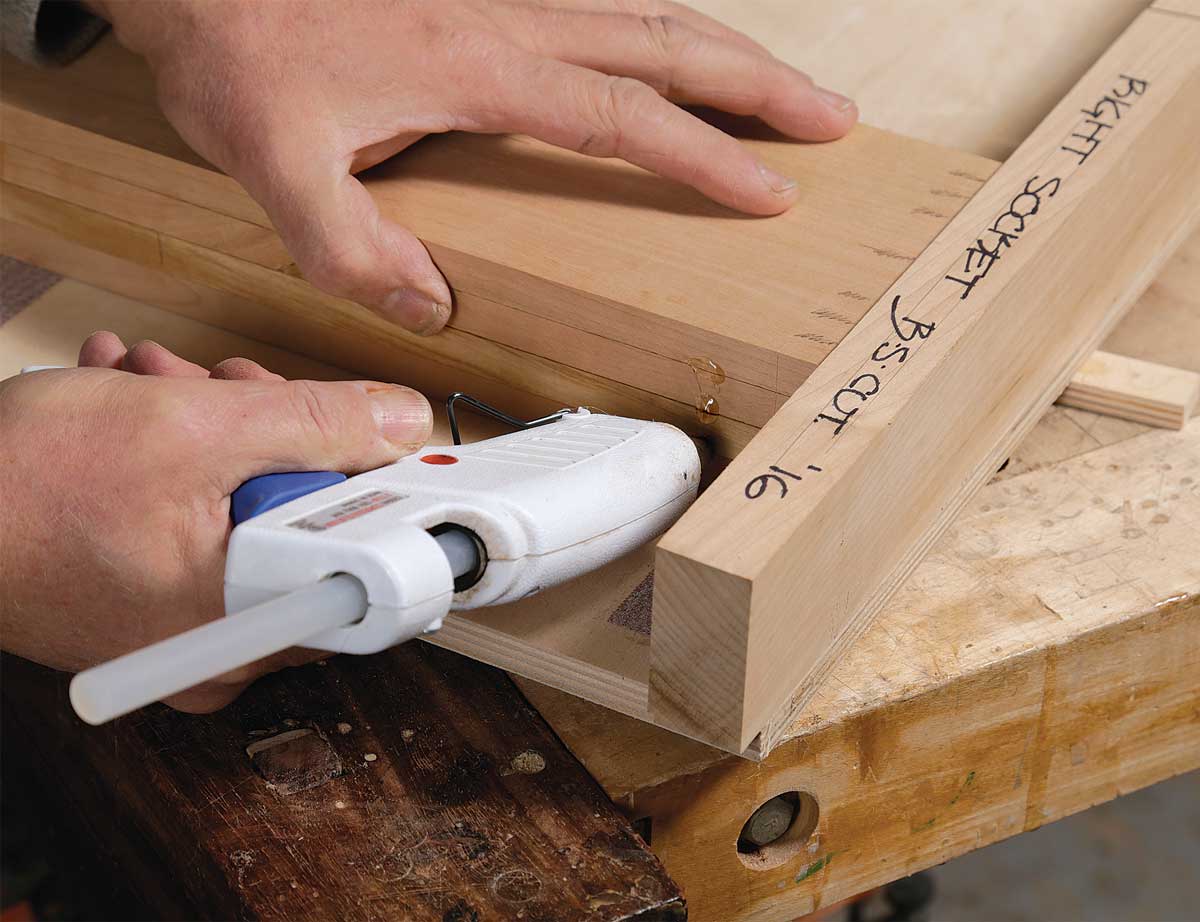 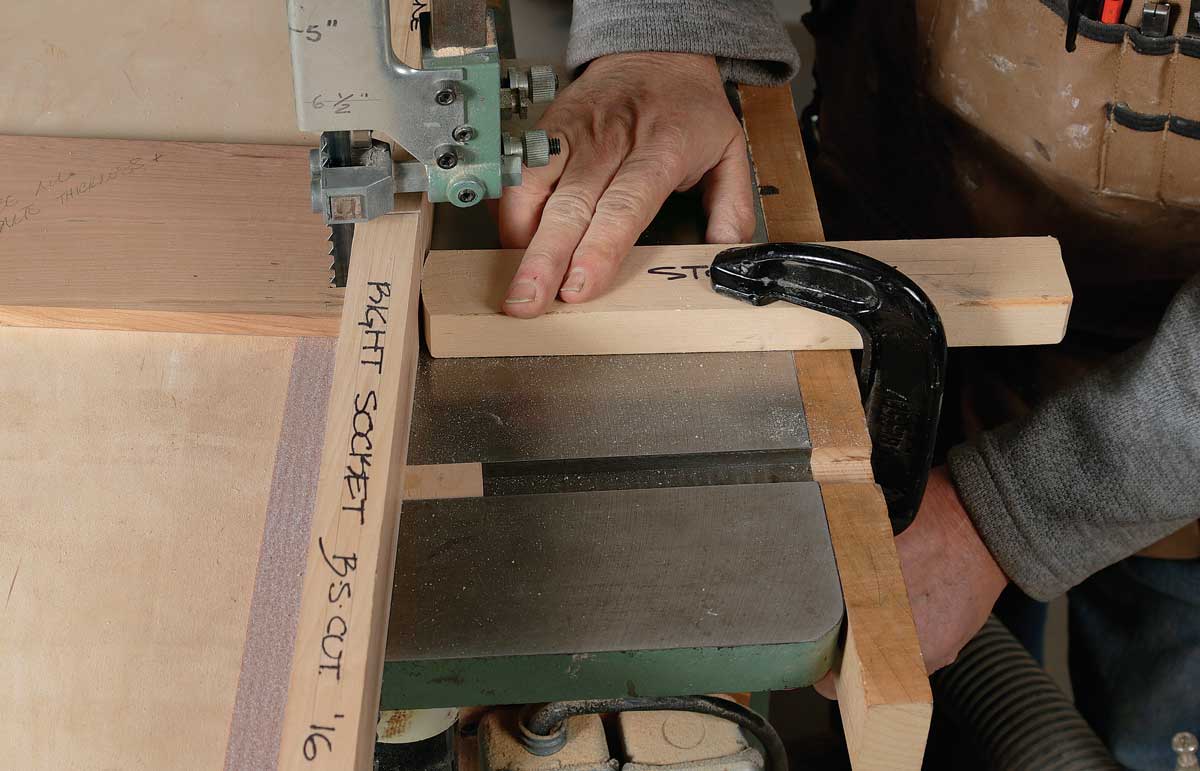 |
From Fine Woodworking #270
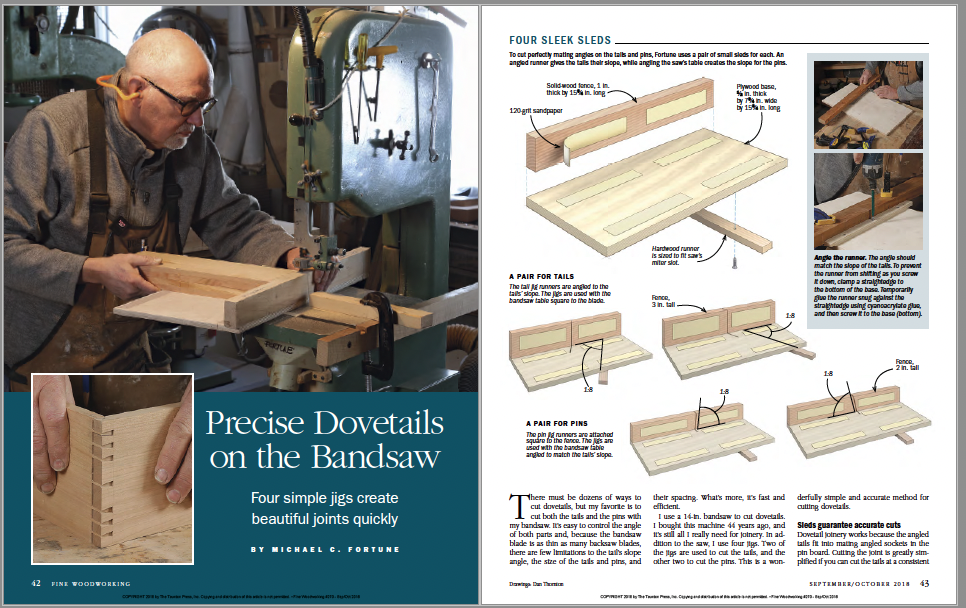
For the full article, download the PDF below.
More on FineWoodworking.com:
- Video Workshop: Dovetail Techniques by Stephen Hammer
In this video workshop, Stephen Hammer shows you how to cut beautiful, tight dovetail joinery using a combination of hand and power tools. - Cutting Through Dovetails – Pins or tails first: a case for each
By Vincent Laurence #116–Jan/Feb 1996 Issue - My Favorite Dovetail Tricks – Five ways to increase accuracy and reduce the time it takes to execute this hand-cut joint
By Christian Becksvoort #171–July/Aug 2004 Issue
Fine Woodworking Recommended Products

Starrett 4" Double Square

Olfa Knife

Veritas Precision Square


Comments
This seems like a very clever method, but is there any reason to build 4 jigs instead of 3? It seems like one tail jig would suffice if you flipped the boards over to get the second angle. Am I missing something - I assume I am since Fortune is so clever that if it works he must have thought of it? (I haven't tried it this way although I have 2 primitive jigs I use on the BS for my favorite way of cutting dovetails).
Great article. Michael Fortune has a wealth of knowledge and experience and I’ve learned a lot from his past articles. Since dovetailing is intimidating I can now see myself doing more projects with dovetails.
Once again my subscription pays off.
I built these jigs but was surprised to realize when I went to try them that my saw (Laguna 14BX) will only tilt <8 degrees one way, so to get my desired tilt I had to build the tilt into the jig instead. This means more places errors could compound building the jig, and a bigger jig to store, but adds the virtue that the table can stay 90 degrees to the blade.
To Unknotted:
I also have the Laguna 14BX and thought I had the same problem until I discovered that the Tilt Stop Bolt rests on what is called the Tilt Blanking Disc. It can be rotated out of the way allowing the Tilt Stop Bolt to pass through the Table Tilt Hole. Page 21 in the instructions. It also it tilts a max of -7 but I got -8!
I built the jigs to use on my 18" Jet. Because the angle of the tails and the pins is the same bench work is reduced. The jigs allowed me to cut my best dovetails yet.
So I think this set of jigs is pretty clever. I built all 4 of them. I did run into one problem. Michael specifies a 1:8 slope for his tails and pins (I think for a reason). I, however, wanted a 1:6 slope. The 2 tailboards were no problem making because the table remains at 0 degrees. While making the pinboards I ran into a problem when I needed to make the last angled cut through the baseboard fence. One of the pinboards when using this 1:6 slope requires a tilt of +12 degrees on the bandsaw table. This was easily accommodated on my bandsaw. The last pinboard, however, requires a tilt in the table of -12 degrees, My bandsaw table unfortunately only tilts to -10 degrees. So in order to make the final -12 degree cut, I had to alter the angle of the plywood base to achieve the -12 degree cut. I did this by adding a lift to one end of the base (see attached picture). It wasn't a big deal to alter the last jig but some might unknowingly run into this problem if they change the slope of their tails and pins so wanted to share with others.
Log in or create an account to post a comment.
Sign up Log in