Kerf Bending Plywood
My in laws got a new couch and it came with a bunch of ottomans, which meant there was no longer any room for a coffee tableEditor’s note: From time to time I wander around various woodworking forums looking for fresh ideas and perspectives in the woodworking community. A few months ago, on the woodworking sub-reddit I came across this post from Eric Thompson, which led me to his post on Imgur, a website I thought was dedicated to memes—I have so much to learn. I reached out to Eric and asked if we could republish his gif-ladden Imgur post and he agreed. Unfortunately, I couldn’t find a way of coding the post with his animated gifs as elegantly as I’d like. So, if you’re curious head over to his original post and check out his write-up the way it was intended to be displayed.
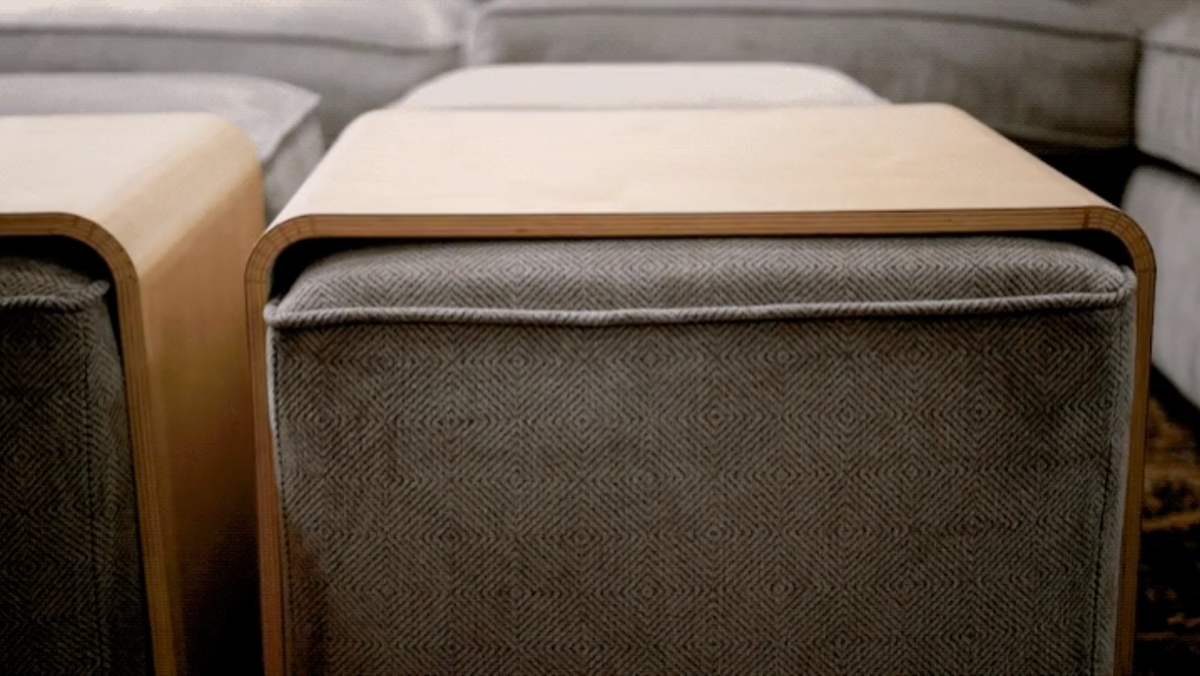
My in-laws got a new couch and it came with a bunch of ottomans (ottomen?), which meant there was no longer any room for a coffee table. That sucks, especially for a family who plays a lot of board games. So, I set out to make a removable cover that would convert them into usable table. An additional insert makes two of them butted up to one another a contiguous flat surface.
I know bent lamination is preferred for strength, for skill building and just for sexiness. But I wanted to ease into things so kerf bending seemed most approachable. I’ll get to bent lamination soon!
Cutting the Kerfs
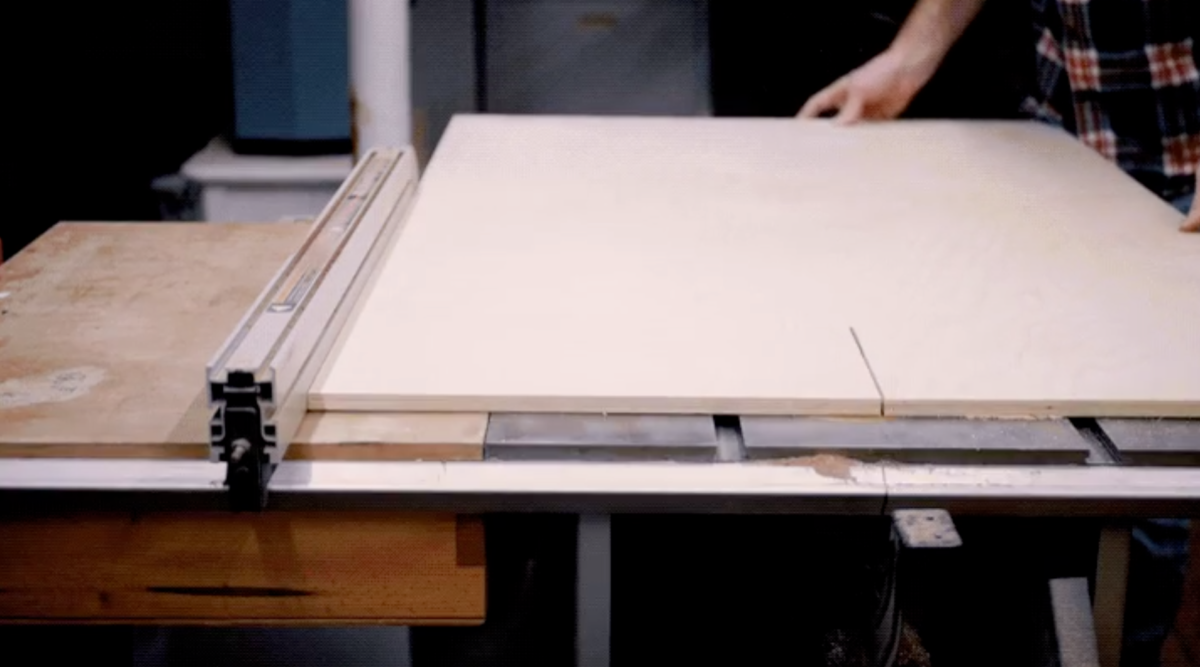
I started off with 4’x4′ sheets of birch plywood, not Baltic birch sadly. If anyone knows where to find some in the Baltimore/DC area, let me know! Until then, I’m a slave to the big box store inventory.
I ripped two 16-in. sections to create two of these ottoman tables. I measured the ottoman tops and marked off where the corners needed to be. There are kerf spacing calculators out there but I just used some scrap plywood with the same thickness and did some trial and error. Probably best to test the output of the calculator anyway, as I’m sure the type of wood you try this with has some effect on the bendiness. It ended up that I needed 7 cuts spaced 1/4-in. apart at a depth of 5/8 in.
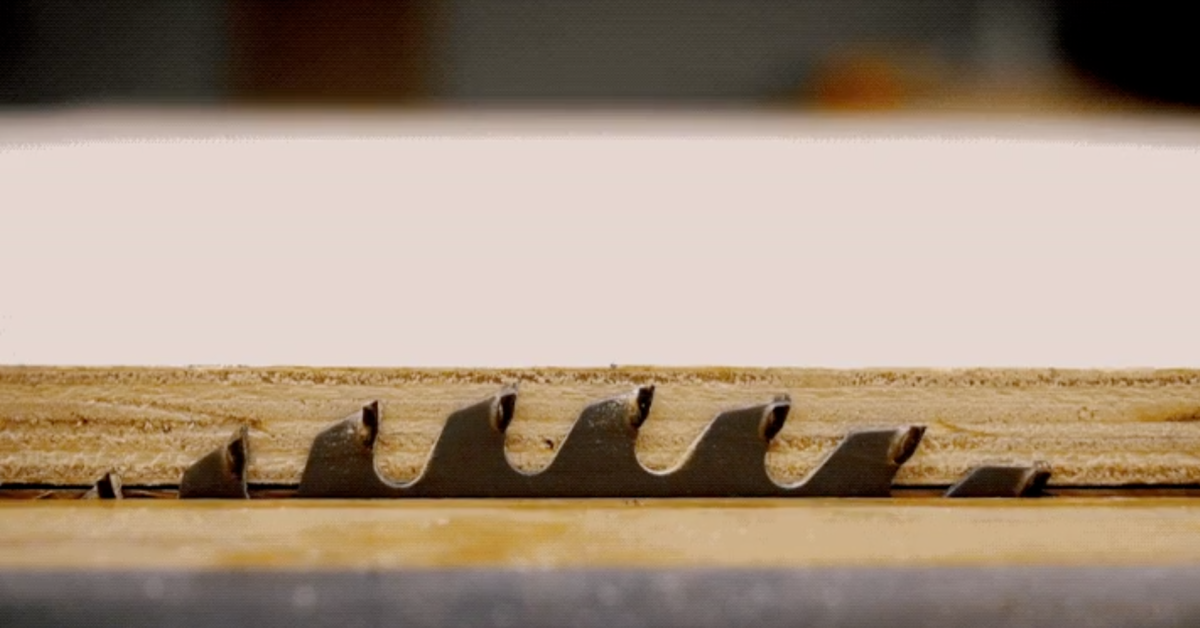
Now the scary part! Too shallow and the piece won’t bend or it’ll crack, too deep and the blade will peek through. I made sure I was a good depth by running some larger scraps through, but honestly, it’s such a high-pressure cut that I’d advise against using this technique for something like this if you’re using expensive wood and require success on the first go around.
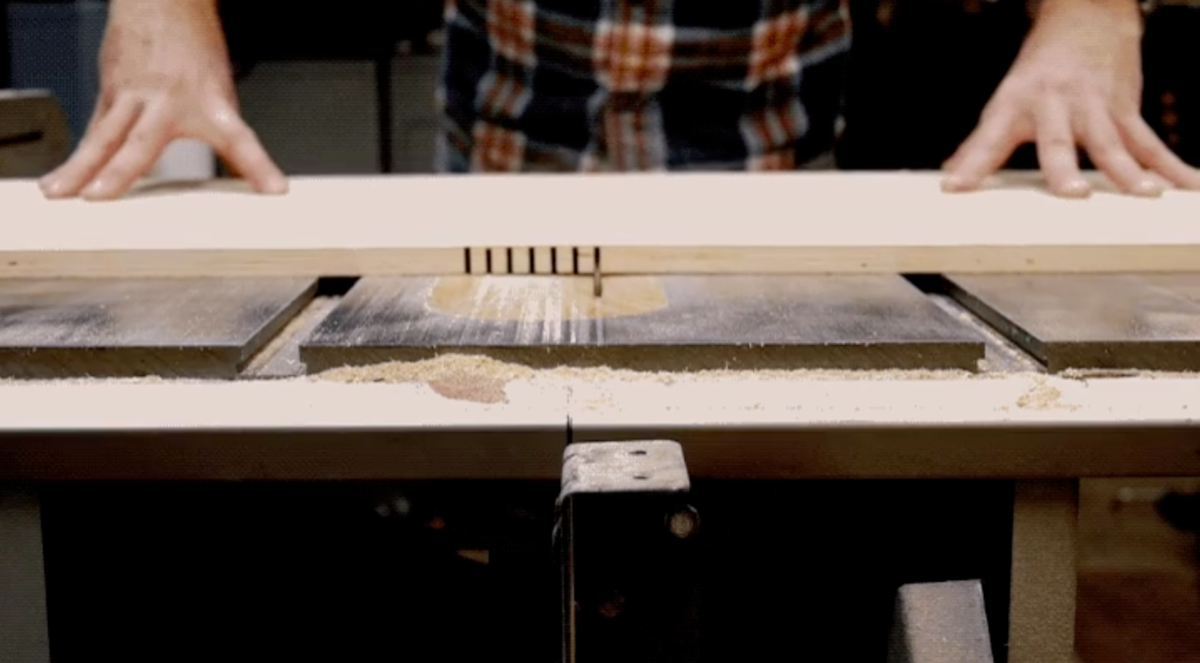
Even though they’ve been mostly replaced by sliding chop saws, it makes me wish I had a radial arm saw. It’d be the perfect tool to make quick work of this.
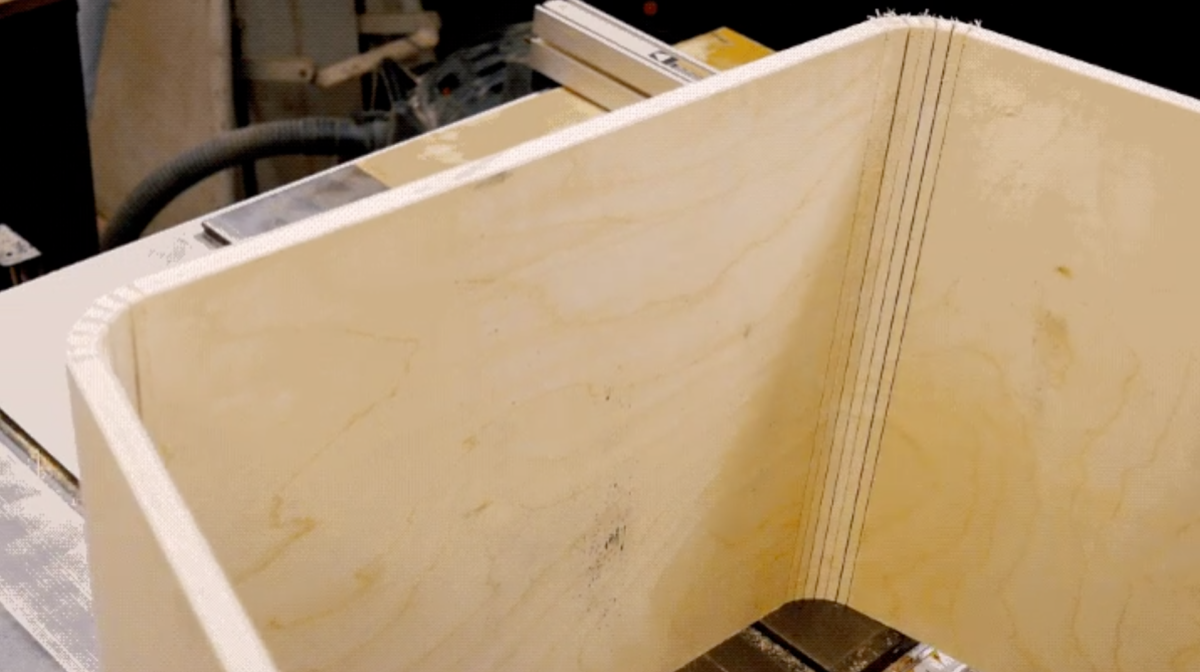
After a quick test bend, it looked good, thankfully!
Adding Splines
I couldn’t really find much literature on what kind of adhesive to use or how to ensure that the curve would remain rigid after a glue-up. I reckon it’s because this is more of a technique used for structural purposes and those pieces are secured by more than just glue. In any event. I figured some splines would give the curve and glue something to grab onto, but I didn’t want to do through-splines.
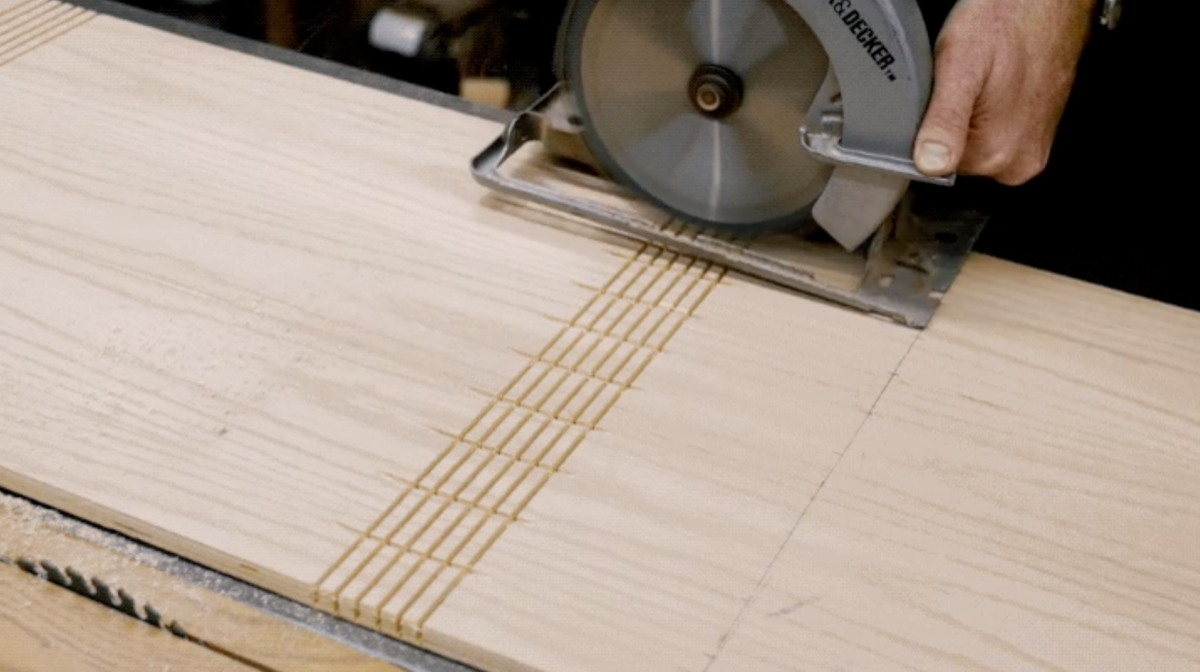
Setting the circular saw to not cut all the way through the plywood allowed me to rock the saw down onto the kerfs to create another kerf for the splines to seat into.
Now to create the splines. I ripped some scrap hardwood down to the thickness of the circular saw kerf and then did some trial and error on the shape of the spline. It might be a neat mathematical problem to say what an arc will look like when you take a circular arc and then bend the plane it’s sitting on by 90°.
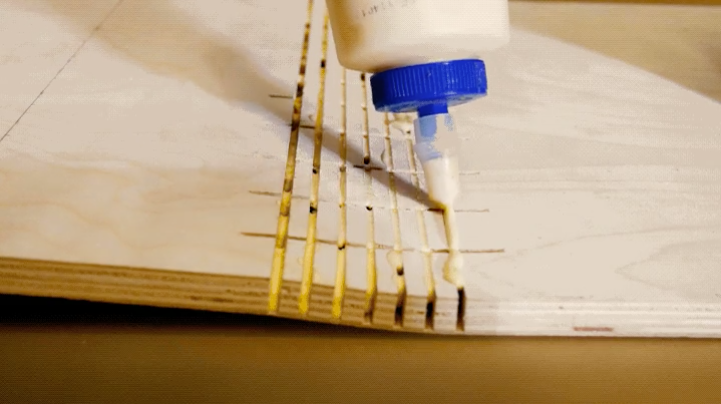
Again, it wasn’t apparent what kind of glue would be best in this application. It was GLOBBED in there so I wasn’t sure if maybe some construction adhesive might be appropriate, but in the end I just went with some good old fashioned Titebond II.
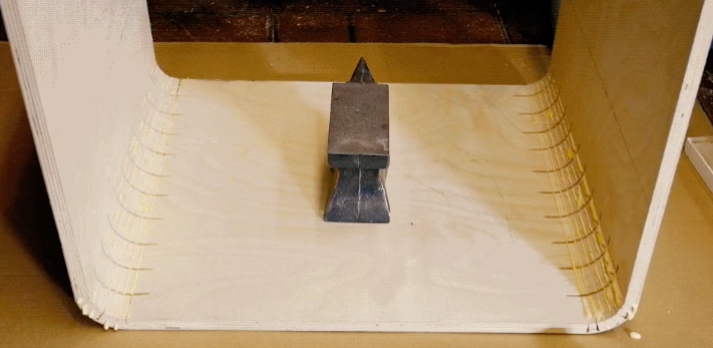
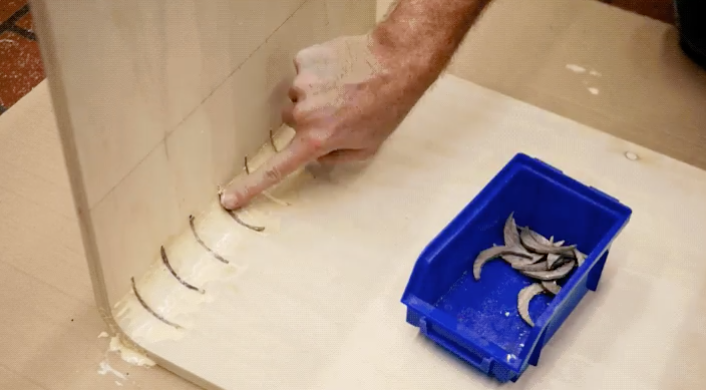
After applying the glue to the kerfs and shoving in the hidden splines, I allowed a week sitting near the furnace for everything to dry. I also glued up some of my test plywood without the splines, and after the same week of dry time, it was pretty damn strong with just the wood glue, so I’m confident the splines plus glue make this a pretty reliable method.
Wrapping a piece of sandpaper to an old Ikea desk leg left me with a good tool for sanding things down smooth. I filled in all the gaps with some wood filler and sanded it smooth one more time. Since it wasn’t Baltic birch, there were some voids in the “end grain” that I also filled in with the wood filler. Sanding it all down smooth and they were looking pretty!
How to make one and one into two
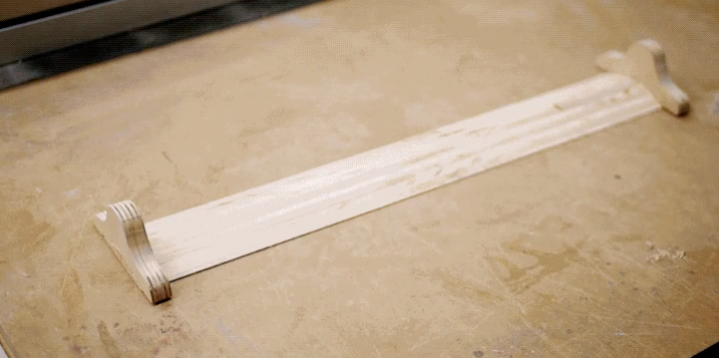
Since I made two of these, I figured I’d toy with a way to connect them. This way, you’d be able to butt the two ottomans together and have a nice, wide, flat surface akin to a proper coffee table. The end caps were made of the same plywood as the tables themselves. I held them in place, flush with the top of the ottoman surfaces, and traced the interior curve. I cut out the waste at the bandsaw and rounded the corners on the disk sander. The long center section was also created from the same plywood as the tables. There was probably a better way to get a long piece that would fit EXACTLY in the void, but cutting the piece with a 15° angle on each side let it sit in there just fine.
A word on safety – I made this center piece extra long so that I could cut the 15° angles without putting the entire piece through the tablesaw, which would’ve put my fingers at risk, even with a push stick. I ran enough of the piece through to get me the length I needed, killed the tablesaw and withdrew the piece, THEN cut it to final length.
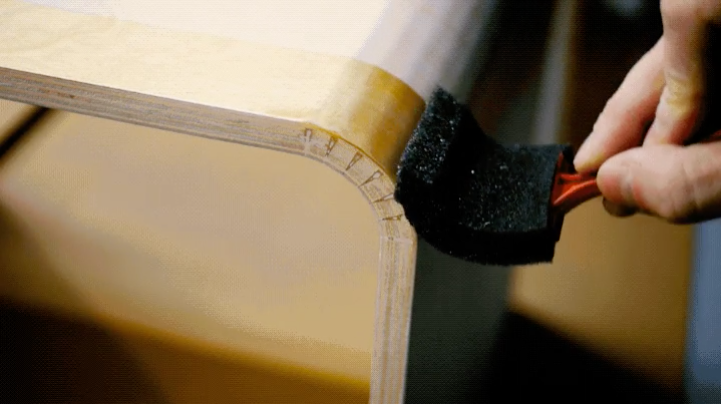
I figured I’d leave these blond rather than stain them. I added a bunch of coats of polyurethane to withstand lots of use, and I’ll tell you what, they looked gorgeous immediately after the first coat. A nice golden color with some shimmer to them; whatever veneer they used really took the poly well! To help these slide on and off the ottomans easier, I added some self-adhesive dry-erase contact paper (found next to the drawer paper in the home center) and trimmed it to the edge with a razor blade. Honestly, probably a better solution exists out there, but I anticipate these will probably live on their respective ottoman for most of the time (rather than being taken off and on a lot) so I don’t think it’s much of a concern.
The final product
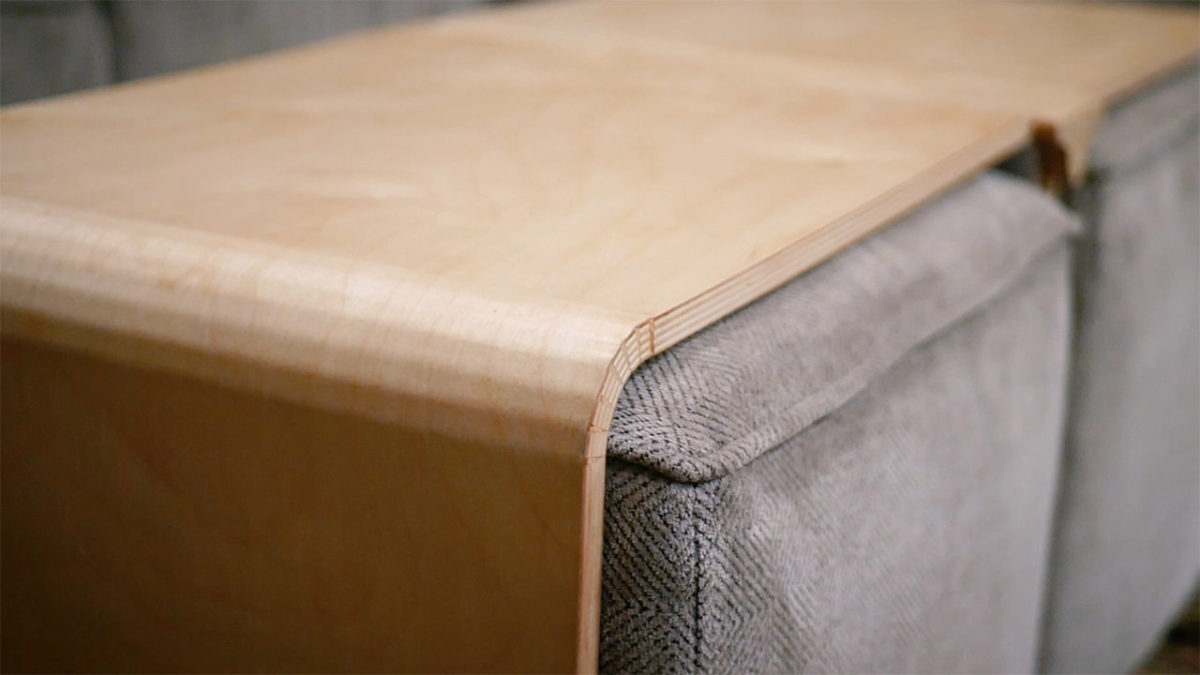
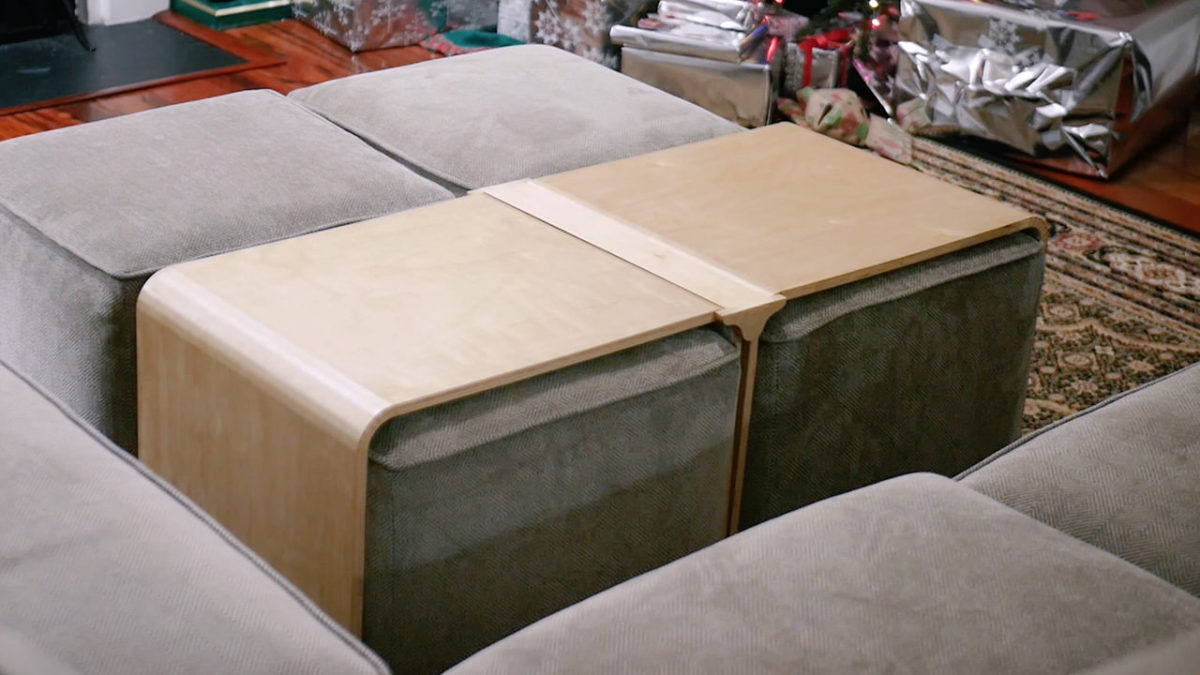
I think kerf bending is mainly used for things like speaker boxes—projects where they’ll be covered up, and the curve will be held in place by side supports (rather than glue in the kerfs). I wanted to see if I could avoid the bent lamination craze, but in retrospect, bent lamination makes way more sense for applications like this. In any event, I’m pleased with how they turned out. They’re solid and they look great, and best of all, they make the ottomans into usable space.
You can see more of Eric’s work at his YouTube channel and on Instagram. I’d especially like to recommend this fantastic video:
More from FineWoodworking.com:
- How to Make Curved Panels using Kerf Bending
- How to Create Curves: Sawing, Laminating and Steam Bending
- All About Bending Wood
- “Built Like a Boat”: bent benches
- Art Deco box with Kerf Bent Corners




Comments
I'd use epoxy in the kerfs rather than wood glue. Epoxy fills gaps with full strength, so the splines wouldn't be needed either. System Three T-88 epoxy is on the thicker side, so wouldn't run.
Would this be considered a kerfee table?
I usually get my Baltic birch at Woodcraft.
There is a Woodcraft store in Rockville, MD
301-984-9033
Fax:(301) 984-8125
Email:[email protected]
You can check for other Woodcraft stores at https://www.woodcraft.com/store_locations.
You can order Baltic birch from Rockler. Obviously, this is a more expensive option, but might serve you well.
Log in or create an account to post a comment.
Sign up Log in