During our family summer vacation, we unexpectedly had the opportunity to play lawn croquet. This occurred at a beautiful French Chateau surrounded by flat green mown lawn – perfect for the set up of the required wickets and posts. The quality of the croquet set – lightweight mallet heads, warped mallet handles, thin posts, and misshapen fragile wire wickets was disappointing. Nevertheless, we made the best of the equipment, and got into many competitive and lively games, including teenage grandchildren who haven’t played before.
Backyard croquet was a frequent activity in my early youth in southern Ohio. It seemed each home in the neighborhood had a croquet set. Large flat mown lawns were everywhere in Ohio, so this enabled a popular outdoor sport in the summer, especially at family picnics. All could participate – grandparents, young kids, uncles and aunts, etc.
Here in California, except for golf courses and perhaps local parks, we don’t have green mown lawns, nor flat lots, so it is not so easy to find an acceptable location. Nevertheless, we were interested in finding a way that we can occasionally play the game. That meant a need for a Croquet Set. Naturally, there are many on-line sources for complete sets, and at very reasonable prices. However, I wanted to make a set, one that would be modeled on the top-of-the-line professional equipment. I needed detailed dimensional information and found The Croquet Association website www.croquet.org.uk helpful for designing mallets, balls, posts, and hoops (we called them wickets).
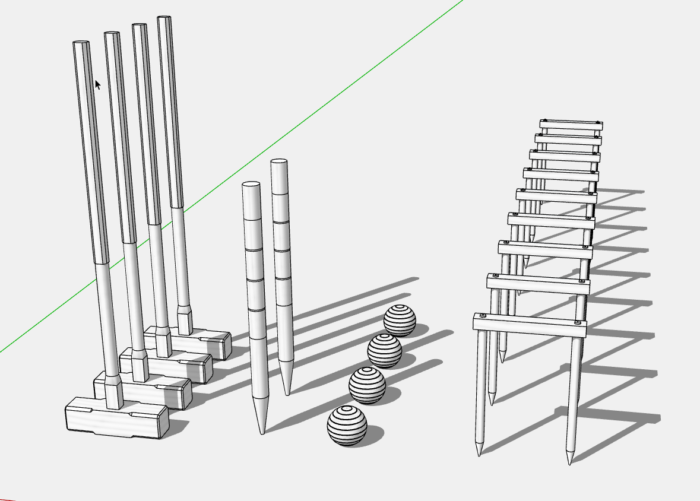
Below is my SketchUp design based on this information. I took some liberties as the website specified regulations governing the equipment used for professional tournaments. Some regulations were just unacceptable for backyard family croquet, such as the wicket opening – just 1/16-in. greater than Ball diameter.
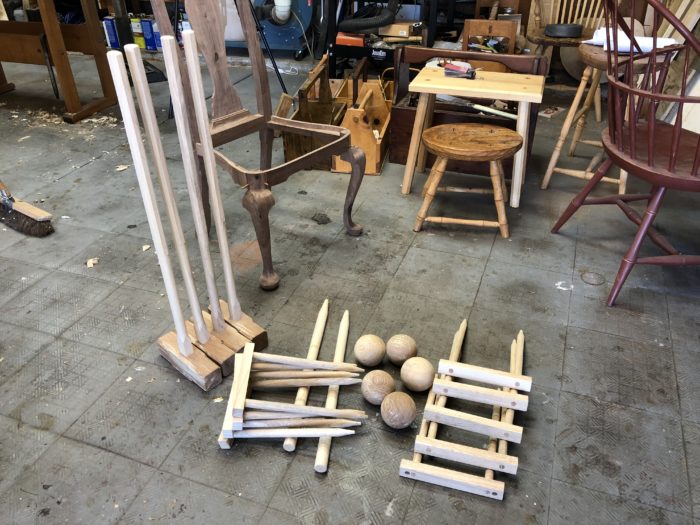
Here is a picture of the results in the shop. I have not applied finish yet. I used material from local trees – Coastal Live Oak for the Mallet Heads and Balls, and Modesto Ash for the Handles, Posts and Hoops.
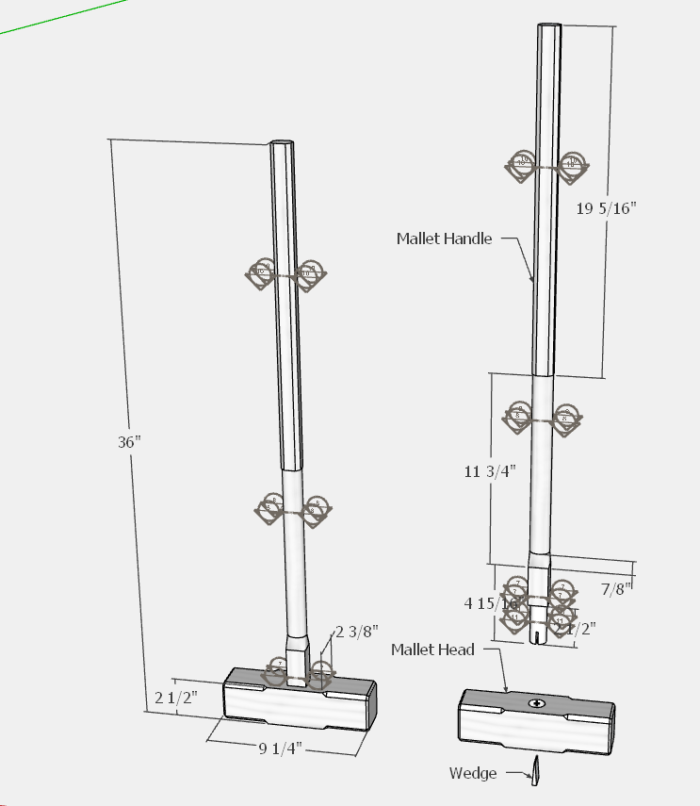
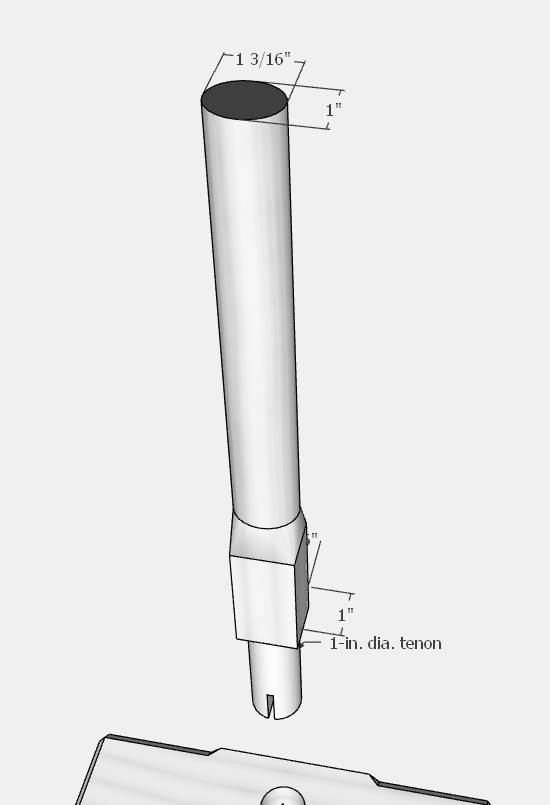
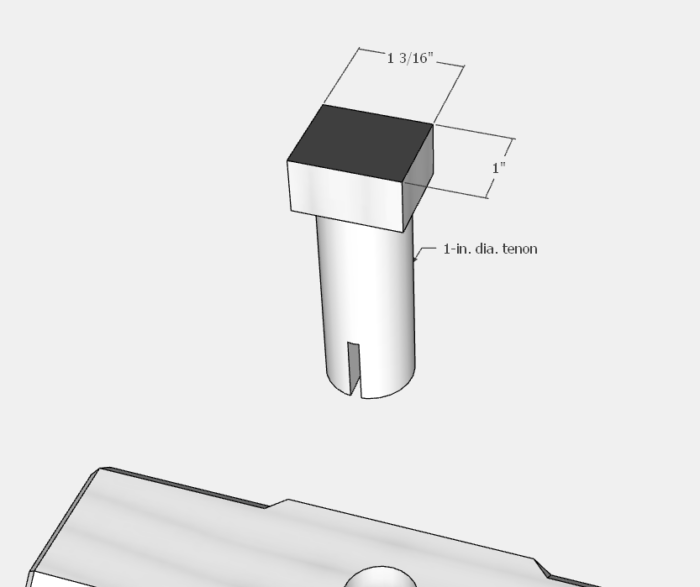
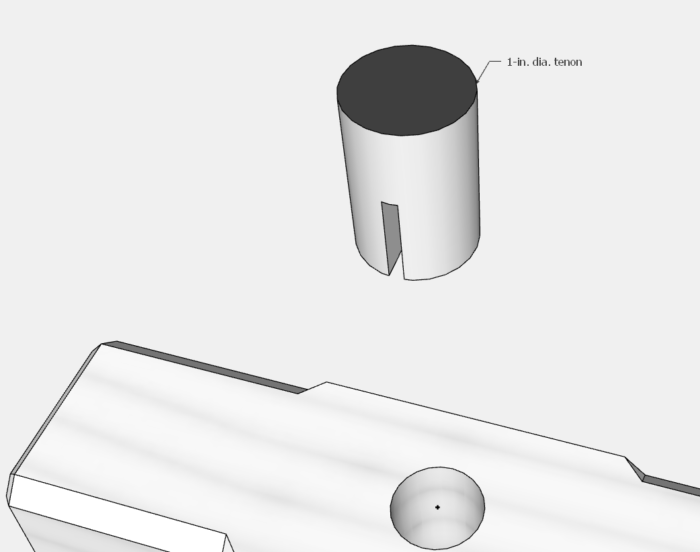
The SketchUp modeling is very straightforward without cumbersome angles, shapes, and complex joinery. However, I did use Cross-Section Tools, not so common in my SketchUp work. The Handle has several unique cross-sections along its length. The easiest way to show these details is to create section cuts. In the accompanying video, I show how to use these functions to produce views that are helpful in the shop.
This photo shows the four Section Planes along the length of the Handle.
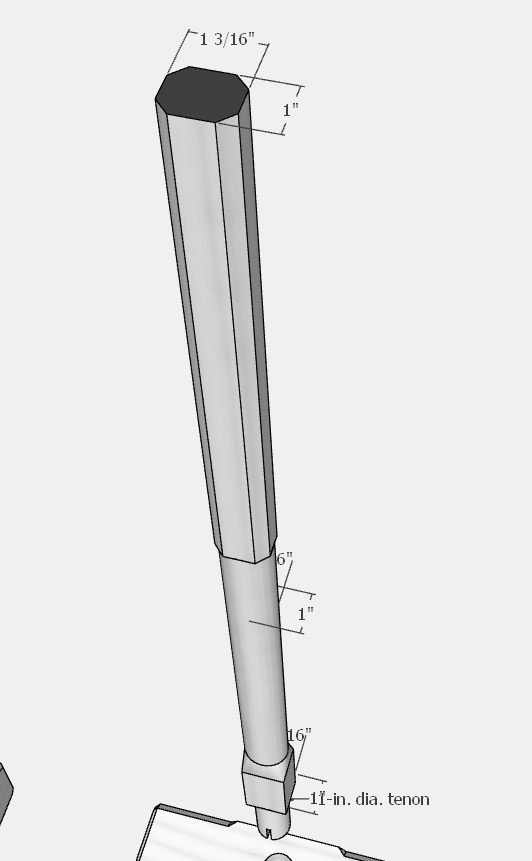
With a combination of the Section Tools and Scenes, you are able to create views showing the detail of each Section Cut. The video shows the steps and process to create this series of Section Cuts.
Tim
https://www.youtube.com/c/killenwood




Log in or create an account to post a comment.
Sign up Log in