Building a Chippendale Chair
The combination of angles and curves in a Chippendale-style chair can seem complex, but the techniques needed are not out of reach.

Synopsis: The combination of angles and curves in a Chippendale-style chair can seem complex, but the techniques needed are not out of reach, as the structure is joined predominantly with mortise-and-tenons. If you can tackle the back assembly, where the legs cant in toward the ground as well as kick back, there’s little reason to fear rest of the chair. Working from full-size drawings and patterns is key, but it is also essential to know when it’s time to leave the drawings aside and measure directly off the piece itself.
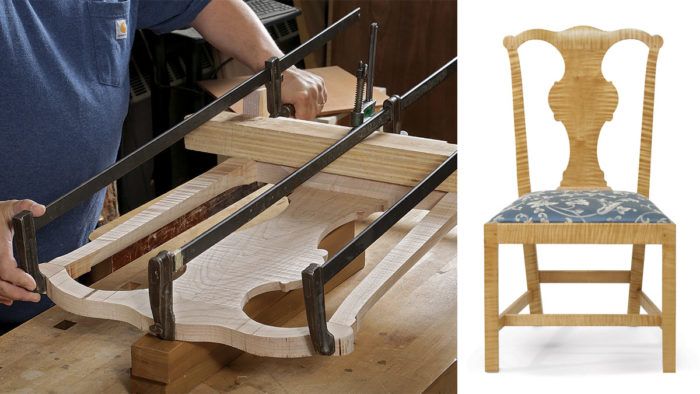
Making chairs can be intimidating even to experienced woodworkers, and Chippendale-style chairs are no exception. The chair I’m making here, even without the ornamentation found on so many examples, has a combination of angles and curves that are admittedly complex. But the techniques and joinery needed to build the chair are familiar. The structure is a frame mortise-and-tenoned together. If you can tackle the back assembly, where the legs cant in toward the ground as well as kick back, you can certainly handle the rest of the chair. So building the back is what I will focus on here. The side seat rail’s rear tenon, which attaches to the back assembly, is cut at a compound angle and comes with its own set of challenges. I’ll explain those in detail in the Master Class, Compound-Angle Tenons on the Tablesaw.
I recommend working from full-scale drawings and the patterns traced from them. You’ll use these from chalking out the parts to laying out joinery. But as you assemble the chair, leave the drawings and patterns aside. When you can, measure off the parts directly. That way, you’re building to the actual piece, not your drawing of it.
Start with the rear legs
This chair is made of curly maple, though mahogany is another traditional choice. One clear, flatsawn 8/4 board, 10 in. wide by 8 ft. long, should be enough for the whole chair. I start by using my templates to chalk out the parts on the plank. I usually locate the rear legs first because they are large and curved and their grain orientation is a priority. Then I lay out the rest of the parts and rough them all out on the bandsaw.

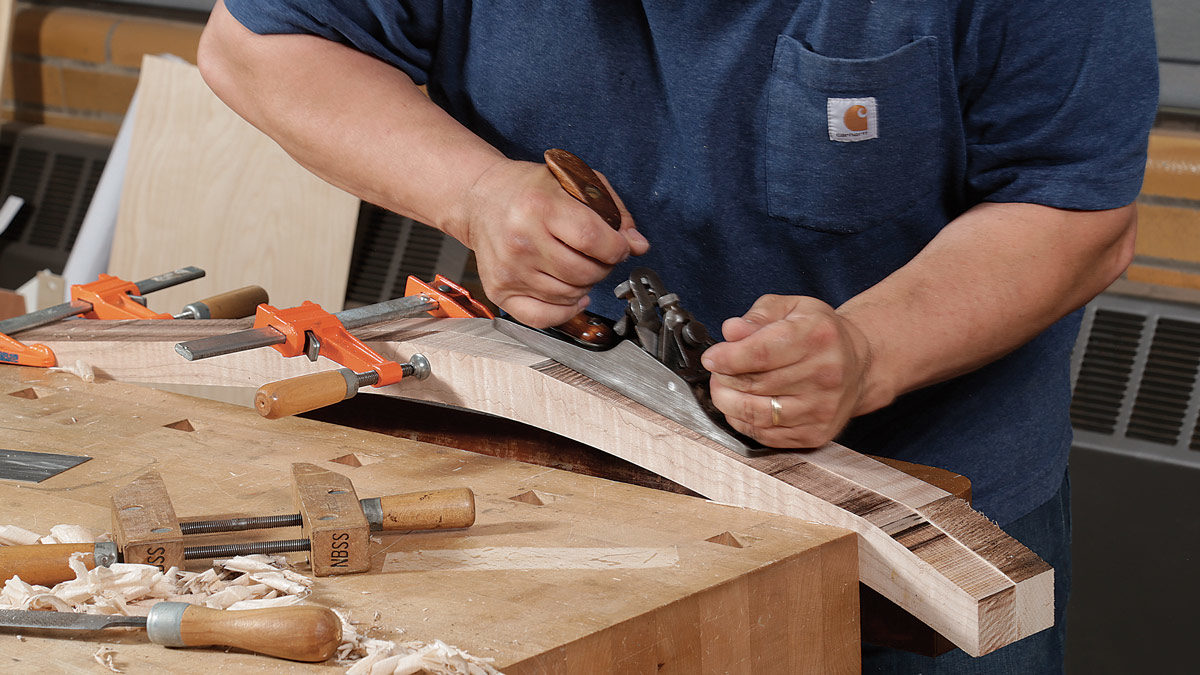
I begin the joinery by cutting the mortises in the rear legs. Later, after the joinery is complete, these legs will be carved and rounded, but to simplify cutting the mortises I shape them in distinct stages. First I establish the flat section on the front of the leg where the side rails meet it. This is a vital reference surface, and I create it at the jointer. Then I clamp the two legs side-by-side in a bench vise with their reference flats facing up and the tick marks for the back seat rail mortises aligned. I use a handplane to smooth the bandsawn surfaces on the front of the legs to the layout lines. I then turn the legs so their reference flats are facing down and smooth the bandsawn surfaces on their back faces with a spokeshave. I leave the inside and outside faces of the legs flat for now.
Next I lay out the mortises. I locate them along the leg by transferring the tick marks from my template, and I do the layout with a square, a bevel gauge, and a marking gauge. The mortise for the rear seat rail is straightforward, but the others involve some angles. The through-mortise for the side seat rail is normal except that the lines for the top and bottom are slanted to the cant angle of the legs. The mortise for the side stretcher will also need the top and bottom scribed at the cant angle. And the mortises for both the side and back stretchers need to account for the leg’s backward slant.
For the full article, download the PDF below.
Online extra: Eye-Catching Upholstery for a Hand-Carved Chippendale Chair by Ben Blackmar
More on FineWoodworking.com:
- Shaping a Cabriole Leg – An easy job with files and rasps by Eugene E. Landon #73–Nov/Dec 1988 Issue
- Chippendale Sofa – Templates for the basic frame, and some design options by Norman L. Vandal #49–Nov/Dec 1984 Issue
- Making the Chippendale Chair – The way to a chair is to mind your flats and squares by Eugene E. Landon #60–Sept/Oct 1986 Issue


Comments
It's the willingness of the artisan to put this kind of detail and attention into construction that sets normal furniture apart from extraordinary furniture. Another great article in FW. This may be one of the best issues yet.
Will there be full size plans available for the Chippendale chair?
gemmagee
Unfortunately not.
Log in or create an account to post a comment.
Sign up Log in