Compound-Angle Tenons on the Table Saw
Steve Brown tackles the tough job of cutting the angled joinery on a Chippendale chair using two ingenious jigs.
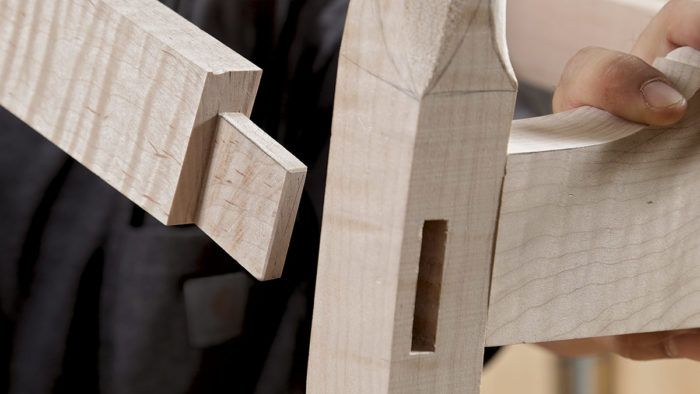
Synopsis: The angled joinery where the rear legs and seat rails meet is one of the challenges of making a Chippendale chair. Steve Brown tackles it with the aid of two jigs, one that helps when laying out the tenons and the other that holds the pieces securely at the tablesaw when making the cuts. With these two jigs in hand, you’ll be knocking out these compound-angle tenons in short order.
Even though the back assembly of the Chippendale chair presents the bulk of the chair’s challenges, the compound-angle tenons where the rear legs meet the side seat rails can be a sizable hurdle, too. Don’t be intimidated. By using two straightforward, effective jigs—one helping with layout and the other to hold the workpieces properly at the tablesaw—you’ll be able to tackle these tenons. All that’s left at the end will be a little cleanup by hand.
Jig for tenon layout
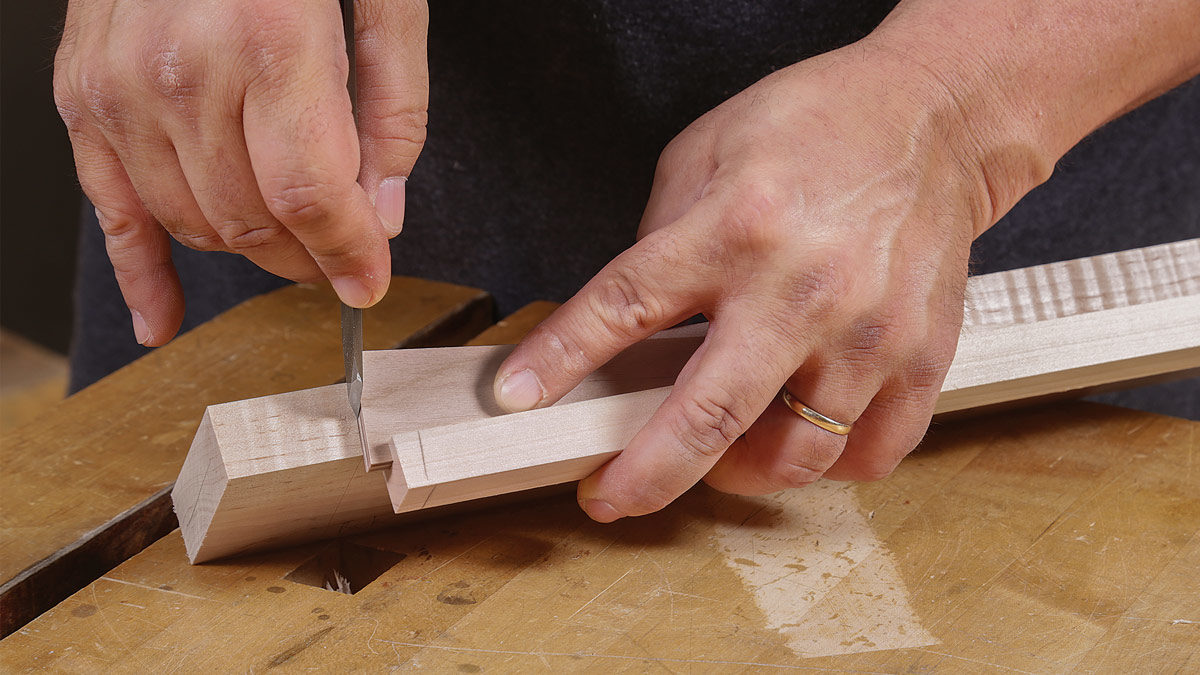
To lay out the tenons, I turn to a bare-bones jig, a piece of 1⁄4-in. plywood cut to the trapezoid angle of the seat frame and glued into a poplar beam. I use the end of the plywood to lay out the shoulders, and its long angled edge to lay out the cheeks. I can lay out both cheeks just by sliding the poplar beam up and down the stock. This jig may sound superfluous, but it isn’t. If you’ve ever laid out angled tenon cheeks with a bevel gauge, you know it can be a balancing act. This jig takes care of that problem. It also comes in handy when making the tenoning jig.
Tenon jig for compound cutting
Once you’ve laid out the tenons, it’s time to make the tenoning jig, which you’ll use to cut the cheeks. The jig is a wedge sandwiched between two fences and attached to a backer board. Start the wedge by milling a block of solid wood to the same width as the seat rails. Then tilt the tablesaw blade and rip one wide face of the block. To determine the correct blade tilt for the rip, set a bevel gauge to the cant angle. But instead of placing the gauge perpendicular to the blade as normal to set the tilt, skew the body of the gauge to the trapezoid angle. You can use the layout jig to help with this.
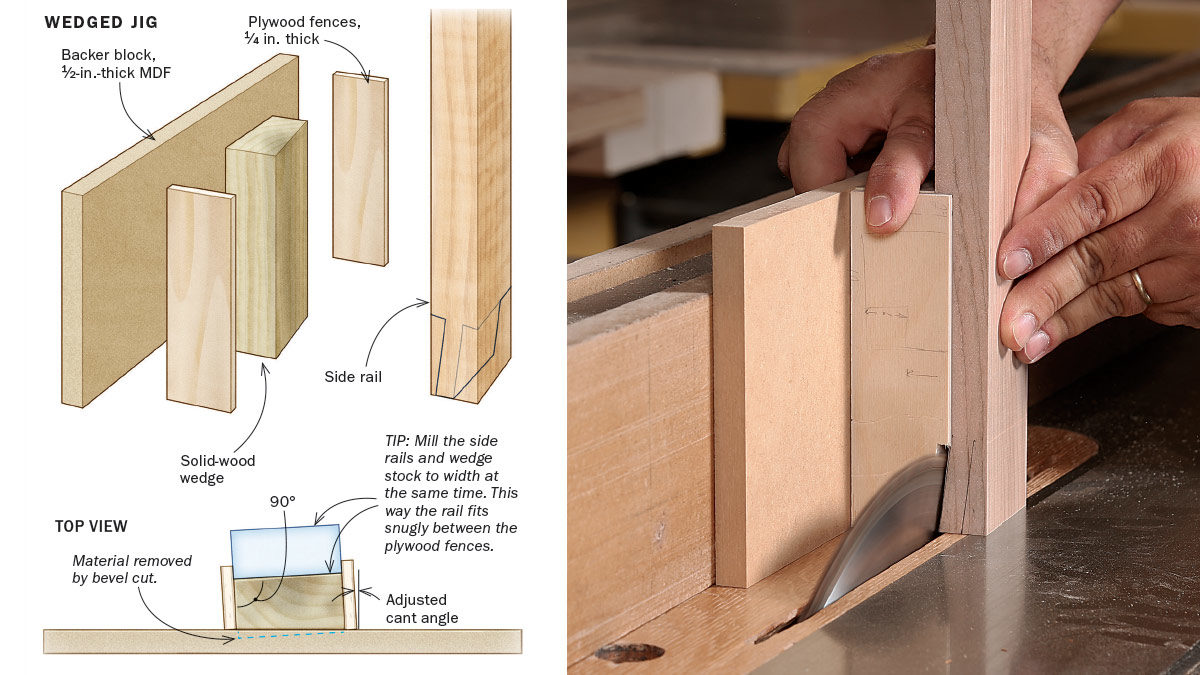
Now screw the wedge to the MDF backer, which will ride along the tablesaw fence. Be sure the angled face of the wedge is against the backer. Then glue plywood fences to either side of the wedge.
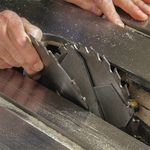
With the jig complete, it’s time to cut the cheeks. To set the blade tilt, adjust a bevel gauge to the trapezoid angle. But again you won’t hold the gauge at 90° to the blade. Instead, turn it from perpendicular by the amount of the cant angle. You can do this by holding the body of the gauge against the side of the tenoning jig. Cut the first cheek on one rail, then turn the tenoning jig upside down and cut the first cheek on the other rail. After resetting the fence, cut the second cheeks on both tenons.
For the shoulders, set the tablesaw blade to the trapezoid angle and lower it so it cuts only at the shallowest part of the tenon under each cheek. You’ll need to shift the fence to the other side of the blade to cut one shoulder on each tenon. Then finish up with a chisel.
When the tenons have been sawn to width and fitted, a bit of the rail will overhang the leg, since the rail is plumb while the leg is angled. You can fix this after gluing the side and front rails to the front legs. Using a handplane, shape the outside face of the side rail to a gentle wind. The difference is usually so subtle that most people see the rail as flat.
From Fine Woodworking #271
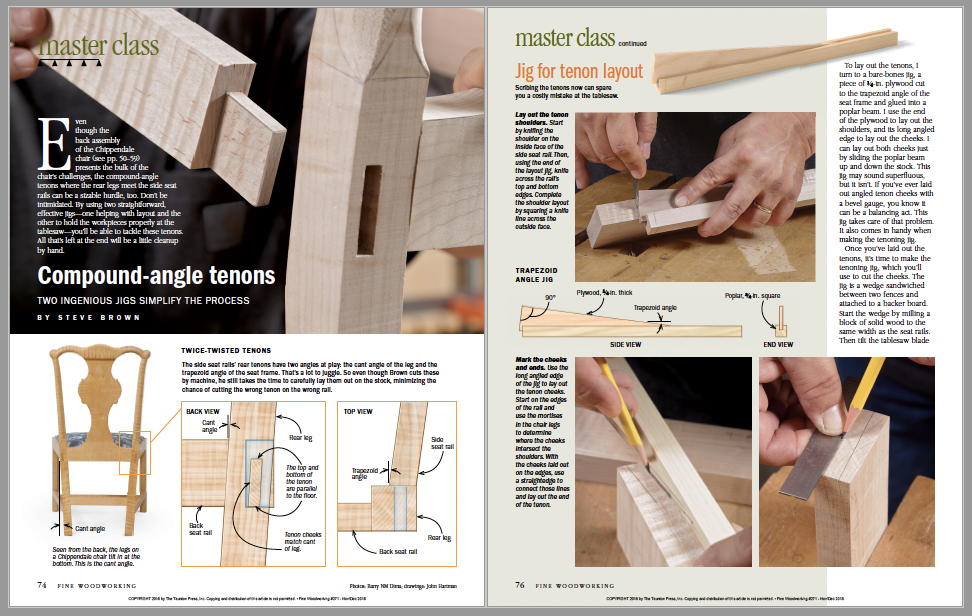 For the full article, download the PDF below.
More on Fine Woodworking.com
- Double-Blade Tablesaw Tenoning – Spacers and shims between blades make setup fast and accurate by Mac Campbell #95–July/Aug 1992 Issue
- Production Chairmaking – Jigs and loose tenons simplify angled joinery by Terry Moore #81–Mar/April 1990 Issue
- Angled Tenons on the Tablesaw – Sliding table crossfeed box and wedges ensure accuracy ease and repeatability by William Krase #99–Mar/April 1993 Issue
Fine Woodworking Recommended Products
Freud Super Dado Saw Blade Set 8" x 5/8" Bore

Olfa Knife
Leigh D4R Pro


Log in or create an account to post a comment.
Sign up Log in