Ep 5: Router Table Fundamentals – Tenons
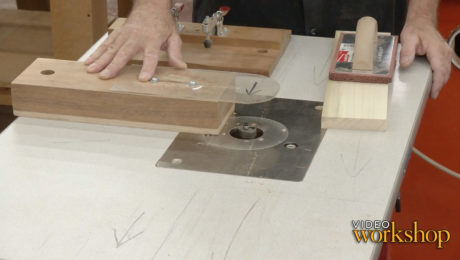
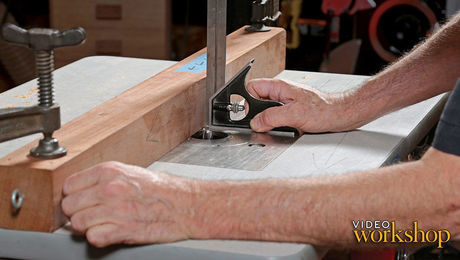
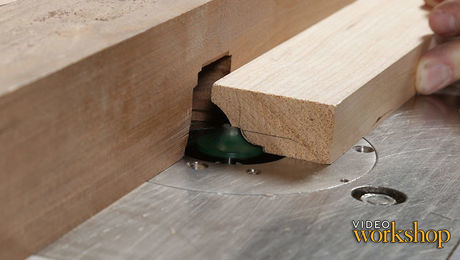
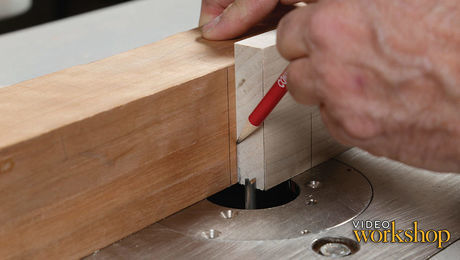
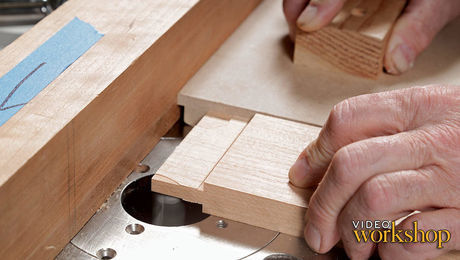
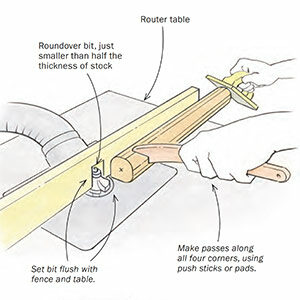
In the final episode of this series, Bob demonstrates how to cut tenons on the router table, which is a great solution for those who don't have a tablesawPlus, access more than 500 video workshop episodes when you become a member
Videos in the Series
-
Ep 1: Router Table Fundamentals – Intro and SafetySeptember 4, 2018
-
Ep 2: Router Table Fundamentals- AdjustmentsSeptember 11, 2018
-
Ep 3: Router Table Fundamentals – Edge Profiles and RabbetsSeptember 17, 2018
-
Ep 4: Router Table Fundamentals – MortisesSeptember 24, 2018
-
Ep 5: Router Table Fundamentals – TenonsOctober 1, 2018












Comments
A nice video series that will be helpful to those with new router tables. Thanks!
Great Video Bob. I was about to spend a lot of money on a fence. Thanks so much for the information.
Why not finish the tenons on the router? I dont see how it be longer to put the piece on the side and route them with the same 1/4" setting.
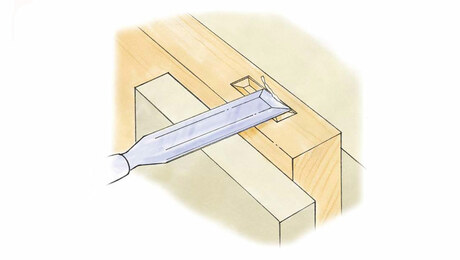
Why is it necessary to square off the mortises? Why not just cut your tenons shy of the router bit roundover and glue them in?
I certainly agree. I've seen where woodworkers do exactly that. It works fine. It's easier than using a chisel to square off the mortises. Once it's put together, no one can tell the difference.
As a new user of the router table, this helps a lot. Thanks!
Very nice series. Learned a few things. Thanks.
As a new user also, this will help me a lot. Thank you
Thanks! It was a great little video series. I was reminded of a few things, learned some new ones.... and certainly gained some confidence going forward. To me... cutting the mortises is so much better than chopping them out with a chisel (and all the subsequent sharpening) and even better and cleaner than my dedicated mortise machine. I wonder if simply rounding my tenons to match the router made mortise might be easier than trying to square up the mortise?
Loved it. I actually watched all the videos. I consider myself an Expert Wood Worker. So, I was surprise I didn't think of some of what was presented. The presentation was very nice and helpful. I use a "Gripper", no connection, for a push stick because they are plastic, and will not damage the bit. They have an sponge surface that will always grip. You can clean them with alcohol. I use them on all my power tools. I plan on adopting some on this information into my shop. Also, It is nice having the videos to go back though every once in a while, to remind you.
This is a GREAT series of videos with the safety and tips described. I don't think Bob had hearing protection - unless it was covered by hair.
Very nice series of video's. I am wondering a bit about the dust extraction. I am used to attach a dust extraction hose to the back of my fence. Often this is not very useful as the groove is on the underside of the wood. Do you use dust extraction from below the table, or is this something not to worry about?
Bob thank you for the video series. Please keep them coming. I like your non nonsense approach and comments.
From a purely ‘concerned for my fellow woodworker’ mind set they do make prescription safety glasses with side shields. You may want to consider same so that all those who enjoy your videos will ‘see’ the message demonstrated.
Cheers!
I have a suggestion for the stop blocks when doing the mortises. I have put threaded inserts at the ends so the the adjustment is very precise since I use threaded bolts rather than screws.
A machine bolt in a threaded insert can shift, a wood screw tends to be self-locking due to friction until it has been run back and forth a number of times. You cut 0.5" off the end of the block and your screw is threaded into fresh wood.
You are correct and I apologize for not adding that I coat the machine bolt threads with a thick lubricant wax which prevents them from moving without using a screwdriver. Works well.
This was great. I have used a handheld router for years but recently installed a router in a table. I now have a better understanding of climb cutting and what to look out for. Getting a fuller understanding of tools I use and how to ensure that I'm using them safely is a huge benefit. I'd rather invest in my membership than spend money at the emergency room. Thanks
I'm new to woodworking and have been thinking about getting a table for my portable router... Wow, this changed my thinking... What a great introduction to the router table.
Can't imagine why not do a final setup before routing the all the pieces and just doing them once instead of running them through twice.
Really great series. I have one question. When doing the tenons, wouldn't it have been easier to sneak up on the final size first with the setup piece? Then, run all the work pieces through. This also works with the table saw. TY 😊
Great video as always. only comment I would have is I noticed that Bob left his square on the bit side of the table I know he is a professional bet one wrong move and you could knock the square into a moving bit, the results would not be good. just a safety tip for the beginners.
Great video. I would suggest moving the captions to a corner, rather than in the middle, as they cover the object being discussed too frequently. very distracting.
Thank you Bob, really well done series of videos.
Bob, this is the second time I have watched these videos. A refresher course is always appreciated !! Thank you.
I a hobbyist woodworker and I always learn/re-learn a really useful piece of info from Bob.
Very good series.
Even though I've been doing woodworking for many years, I still learned a lot. Old Dog...New tricks!
I am truly appreciative of Bob's videos and articles. Straight forward teaching and instruction.
Well done!
Thank you!
Log in or become a member to post a comment.
Sign up Log in