Full Circle–Dishing out a tea table top
Bill Pavlak relished the opportunity to revisit the process of dishing out a large surface by hand. Not only was this a special project in and of itself, it was also a chance to prove to himself that he had in fact learned a few things over the years.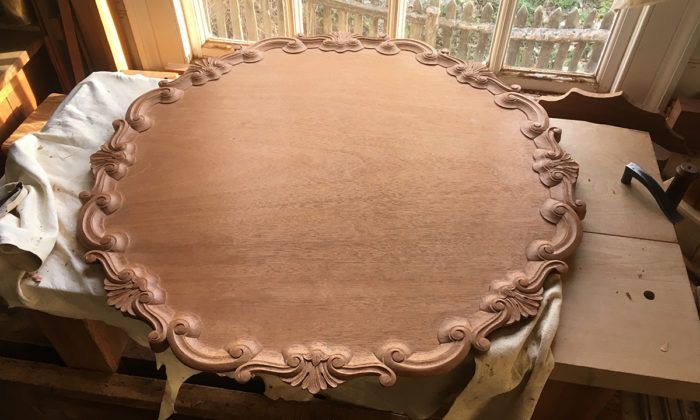
I won’t pretend that the tea table top I’ve been making is anything other than complicated and intimidating. This is a good thing. Opportunities for real growth in the craft don’t come along every day; they are a privilege. At once, they show us how far our skills have come since our beginnings (however humble) and how far we still may go. Whether it’s hitting a wall or reaching a plateau with no end in sight, it is easy to feel stuck. Even if you’ve been woodworking for years, it’s not uncommon to feel like a perpetual beginner from time to time. Perhaps you never feel this way, but I certainly do. If we let them, projects like this tabletop can challenge us in new ways, propelling both our skill-set and our thinking forward, and we can break through.
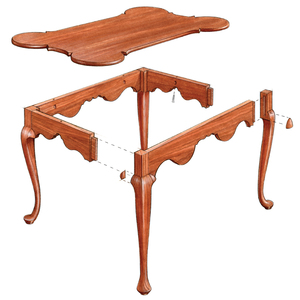
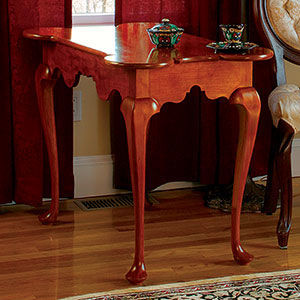
As on the 1750s original (see it here) from the Virginia shop of Robert Walker, the tea table’s carved decoration is not applied. Instead, the vast center is worked down, effectively raising up the edge to be carved (the top’s diameter is 30 in.). The work of dishing out—both mental and physical—reminded me of my first project at the Anthony Hay Shop: helping then-shop master Mack Headley make a serving tray in the form of a scaled- down version of this same tea table (18 in. diameter). When I started here in 2005, I stepped into a shop with one other new apprentice and five well-established craftsmen—the most junior of whom had 22 years of experience. That’s a great student-to-teacher ratio and, despite their kindness and patience, intimidating as all get-out. I came on with a few years of serious hobbyist experience, plenty to learn, and a position that was generously endowed by longtime Colonial Williamsburg donors. The tray was their thank-you gift. The plan was simple. Mack would carve the edge after I dished out the center. What wasn’t simple, however, was the board I was given for the job: a 20-in.-wide piece of crotch walnut. Thus, my first job as an apprentice wasn’t with some scraps of pine, but with the most expensive and widest board that I had ever used with grain that ran in every conceivable direction. As I said, intimidating.
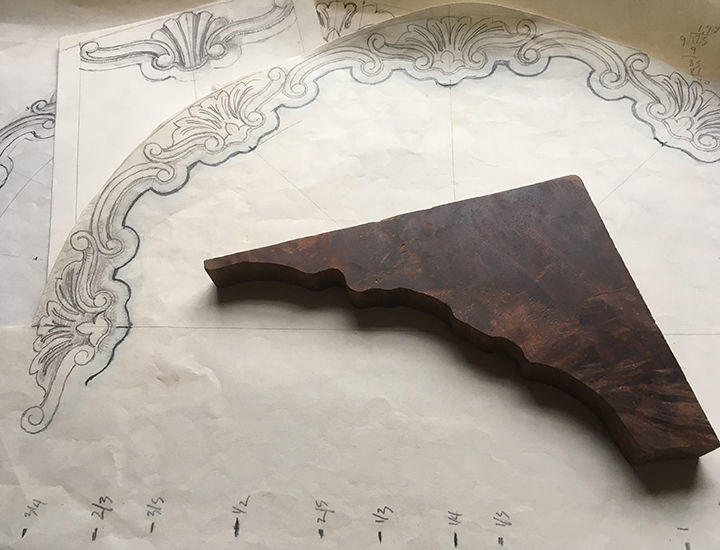
Although the mixture of squirrely grain and a nervous mind slowed my daily progress, the work came out well nonetheless. I could not find any photographs of the finished tray, but I’ve held onto Mack’s working drawing and a scrap of the walnut, as seen here.
This past fall, 13 years after that tray, I relished the opportunity to revisit the process of dishing out a large surface by hand. Not only was this a special project in and of itself, it was also a chance to prove to myself that I had in fact learned a few things over the years and developed much greater efficiency with hand tools. Though I didn’t have a new boss to impress, my nerves were still rattled by the 34-in.-wide piece of mahogany I had to start with. I don’t get to dig into boards like that very often.
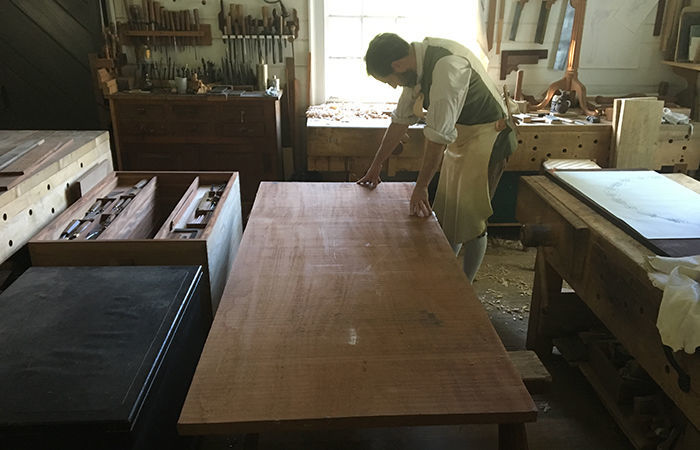
In the 18th century, craftsmen could remove the bulk of the waste from a table like this following one of two general approaches: either mount it on a lathe and treat it as a large faceplate turning, or carve and plane the wood away. Several surviving examples bear witness to turning; there are filled screw holes on the underside of the top from where it was mounted to a turner’s cross. I have carefully examined two Walker tables that have no such evidence. In all likelihood, they were worked down with carving tools and a router plane. Because the router’s base cannot span the top’s entire diameter (or even come close), the top must be worked down in sections, leaving raised areas to guide the router and allow it to maintain a consistent depth of cut. This process will also work well with a modern, electric router (you would be able to skip the initial gouge work described below).
After transferring the pattern onto the board, I used a V-tool to carve a deep trench that separated the raised area from the lower area. I also carved a series of concentric circles in the center of the board to delineate the raised tracks that would eventually guide the router plane. Pay close attention to the base of your router to know how far apart these tracks need to be.
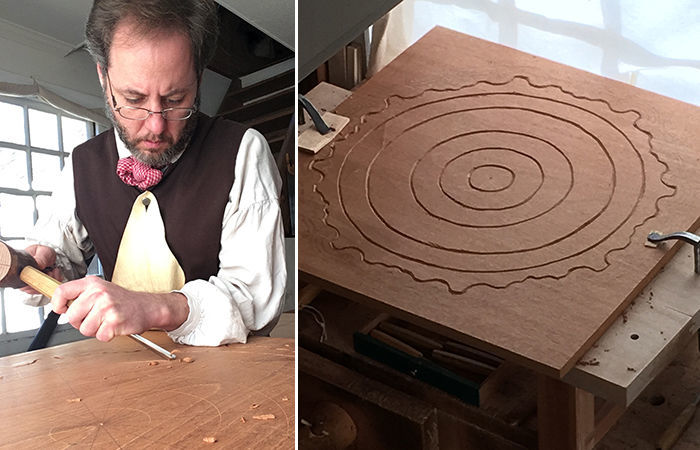
Next, I aggressively carved away a lot of the wood between these V-cuts. There is 3/8” of thickness that needs to be removed on this table, so this is no time for fussy workmanship. Use a gouge with a fairly steep sweep to hog away material (I used a 20mm No. 8 (Continental numbering system) though anything similar would do just as well). Think of this gouge like a scrub plane. It should be wide enough to remove a lot of wood, but not so wide as to be difficult to push. And it should have enough of a sweep to not dig in at the corners of the cutting edge. I took this a little further than halfway to the final depth and then switched over to a 30mm No. 5. Again, like progressing through bench planes from coarse to fine, the shallower sweep smoothed out some of the texture left by the first gouge and paved the way for the router plane. In certain back-grounding work in which I’m not using a router, I follow up with No. 2 gouges (the shallowest sweep short of a straight chisel) to finish things out—think of the slight camber on your smoothing plane blade.
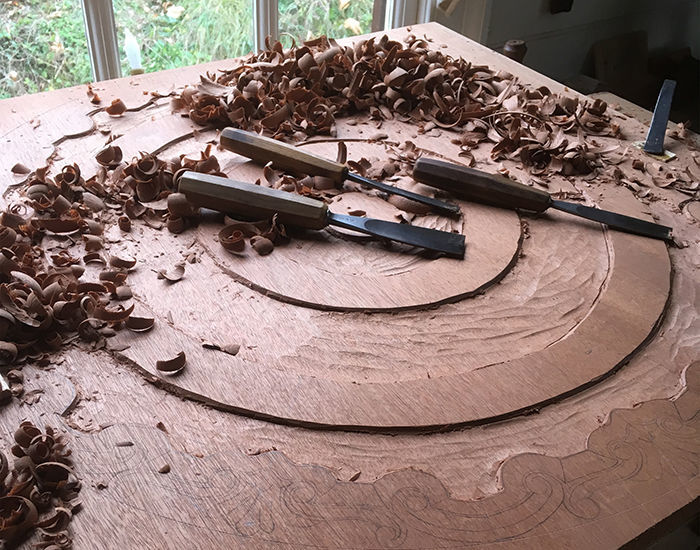
Even after I switched to the router plane, my initial concern was with rapid stock removal. As I got closer to depth, I calmed down and worked harder to avoid tearout. I neither expect nor strive for a finished surface with the router plane, but a consistent depth that is maybe two or three shavings above the finished surface.
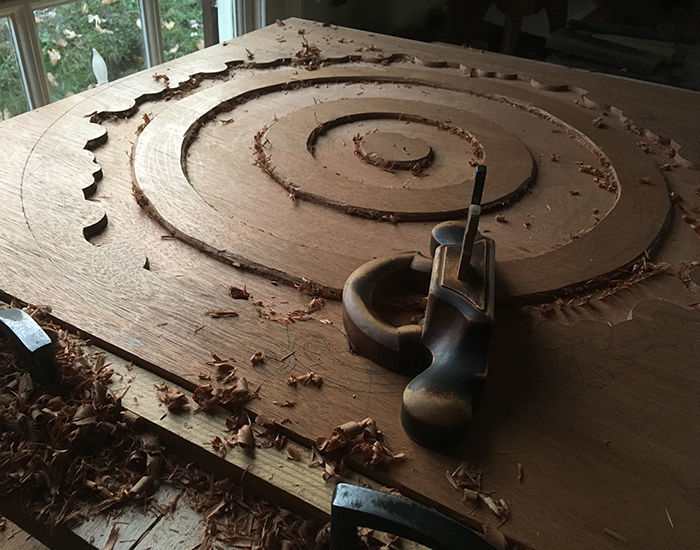
The greatest care is required around the perimeter where the lowered surface meets the wood that will be carved. It is easy for the L-shape blade of many routers to undercut this area, which can be ruinous later on. I used crisp, vertical gouge cuts to define the inner border of the carving, cutting progressively deeper as needed, and then tiptoed around the border with the router making sure not to undercut anything.
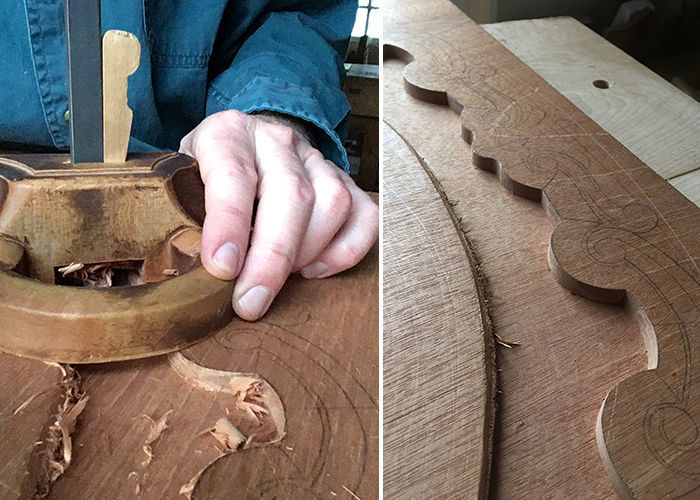
With the recess just about to depth, I quickly knocked out the raised tracks with the same sequence of gouges that I had used for the initial hogging-out work (No. 8 followed by No. 5).
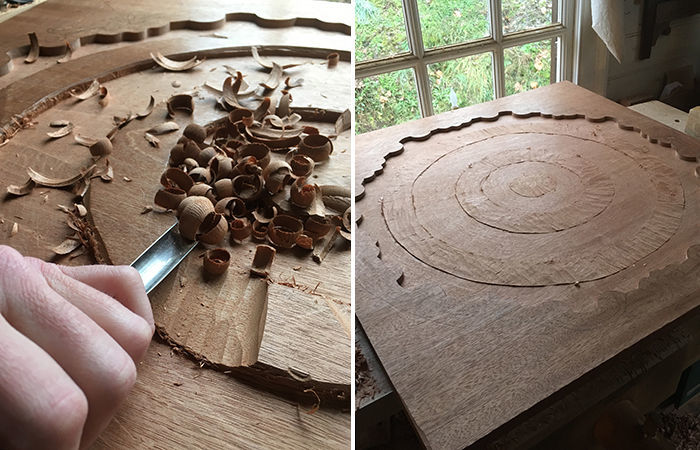
Once all of that wood was out of the way, there was enough space for a smoothing plane to bring the recess down to its final depth and degree of smoothness. I used scrapers to finish out the surfaces closest to the border where the plane could not reach.
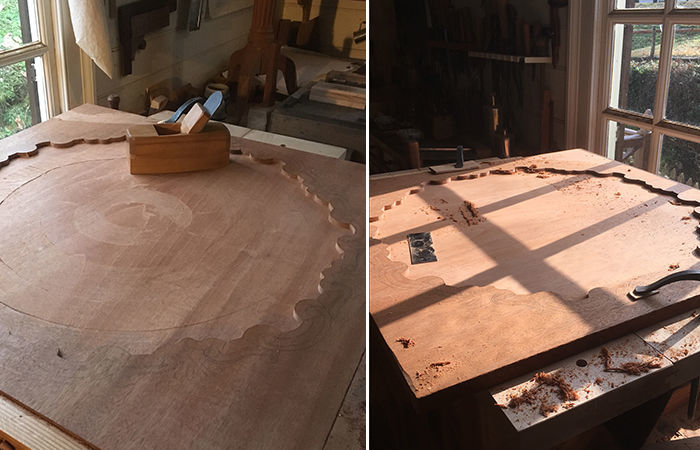
Finally, I cut the outside perimeter to shape. Why do this last? It’s far easier to hold a square steady than a circle.
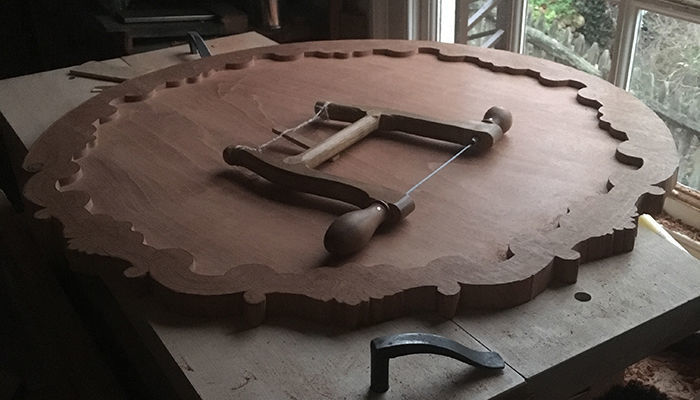
All those years ago, as I was dishing out the walnut tray, visitors to the Hay Shop would occasionally ask if I was also going to carve the border. One day while Mack was out, a colleague looked over in my direction and said, “Yes, I assume Bill will carve that.” Suddenly, whatever anxiety I had been feeling about being new and dealing with expensive walnut took a backseat to the dread brought on by the thought of carving such a complex pattern. Were they really going to ask me to do that? Did they know I had never carved anything worth seeing? Would I ever be able to carve something like that?
As it turns out, that coworker was just messing with my head—very successfully—and Mack carved the tray as planned. Now, that very thing that had frightened me most and seemed so impossible, presents itself as one of my most welcome opportunities. Of course, we all keep changing, but it’s nice to have proof now and again that some changes are for the better. I really have learned a thing or two, and this table has plenty more to teach me. I’m back, full circle to where I started, but everything is different.
More on FineWoodworking.com:
- An interesting dovetailed saw till – Bill Pavlak looks to the past to find a unique method to house his favorite handsaws
- Bill Pavlak and the case of the shrunken drawer backs – Bill stumbles upon a mystery that can only be solved through imitation
- A Survey of Period Drawer Bottoms – The rough surfaces and tool marks left behind on old drawer bottoms show their makers’ dedication to efficiency and wise cost-cutting
Fine Woodworking Recommended Products
Lie-Nielsen No. 102 Low Angle Block Plane

Bahco 6-Inch Card Scraper

Veritas Wheel Marking Gauge







Comments
Beautifully written! I have always pondered how I would approach a dished top with a carved border. These table tops have been the apex of my gauge for a skilled craftsman. Mr. Pavlak describes his method clearly and shares his long-held personal concerns, which mirrored my own. He is both a gifted story teller and a talented craftsman. I'm still building courage through moderately challenging pieces before I attempt a project as daunting as this table. Though, this has stirred the urge to go to the lumber yard and look at those beautiful thick slabs!
My first serious inspiration in woodworking came from a Duncan Phyfe drop leaf table made by a high school student in the Boston high school system some 38 years ago. The carved tea tables have always attracted me. This article is very inspiring. Thanks for sharing. I'm about ready to go out and buy some nice Mahogany to get started.
amazing design
Log in or create an account to post a comment.
Sign up Log in