The Basics of Milling Lumber
Bob Van Dyke shares his smart machine strategy for making boards flat, straight, and square.
Synopsis: Successful furniture making relies on starting with boards that are flat, straight, and square. Since lumber doesn’t come that way, you have to make it so. Bob Van Dyke employs a strategic approach to milling that starts with the jointer, moves to the planer, returns to the jointer, and ends at the tablesaw. This is a task that can’t be rushed, so Van Dyke does it in stages, always mindful that wood will keep moving as long as it can.
So much in woodworking depends on starting with accurately milled stock—boards whose faces, edges, and ends are flat, straight, square, and parallel. But lumber doesn’t come that way, and even if a board is that way today, it may not be tomorrow. This is why strategic milling is so crucial. With the right machines and the right approach, you can produce reliably foursquare boards—the foundation of successful furniture making.
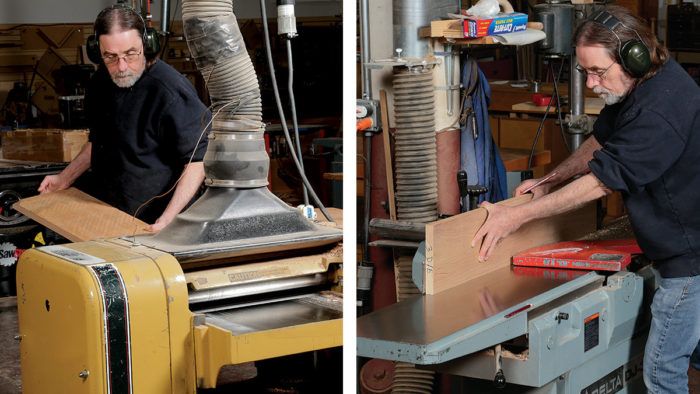
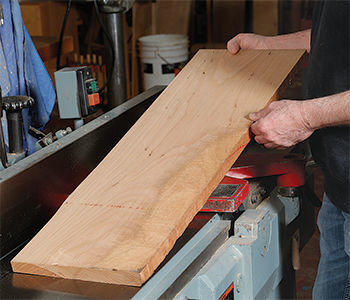
While you can use hand tools to mill a board, three machines—the jointer, the thickness planer, and the tablesaw—are an incredibly powerful, efficient, and accurate milling system when used correctly and in the right sequence. The process starts with the jointer, which flattens and smooths one face of the rough board. The planer is next. It makes the opposite face of the board parallel to the face you just jointed while bringing the stock to thickness. Then it’s back to the jointer to mill one edge of the board straight, smooth, and square to a face. Last is the tablesaw, which excels at straight cuts that reference off the rip fence, crosscut sled, or miter gauge.
Having trouble reading grain direction?
In this video, Mike Pekovich shows
you what to look for
Start with oversize lumber
Careful milling shouldn’t be rushed. It begins with lumber selection. I always buy roughsawn boards that are considerably thicker than what I want to end up with. This extra bulk allows me to eliminate cup, bow, or twist without blowing past my target thickness. I also select stock as straight and square as I can find. Misshapen boards are usually that way because they contain internal tensions, and these stresses will continue to plague you as you mill the board. Either leave misshapen boards behind or accept the extra headache that comes with them.
Video: Squaring Up Rough Lumber
Learn the four-square technique for
milling lumber with Gary Rogowski
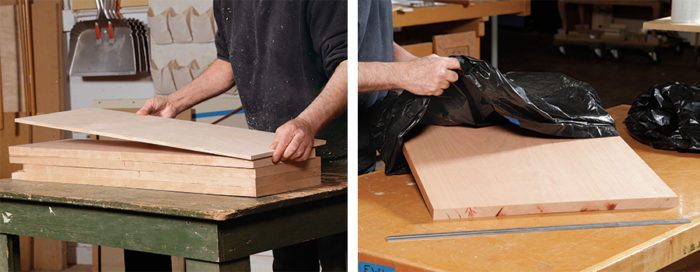
Lastly, plan ahead. Bring the rough lumber into your shop weeks before milling it. This lets it acclimate to the environment there, stabilizing the stock before you work it.
From Fine Woodworking #276
To view the entire article, please click the View PDF button below.
Fine Woodworking Recommended Products
Incra Miter 1000HD
Ridgid R4331 Planer

AnchorSeal Log and Lumber End-Grain Sealer


Comments
This is just another of several articles I've read over the years that's telling me I need a jointer to plane my lumber flat, square, and true. I've been doing woodwork for 40 years and have never owned a jointer. I harvest my own lumber and frequently use boards wider than 10". A 10" jointer is a big expensive machine. When I get that occassional twisted board, I use my 14" thickness planner and a 3/4" plywood skid. I wedge the high corners securely and feed it through. After a few passes you have aboard as flat as the plywood itself.
How big or long is your plywood skid?
My skid is 14" wide, same as the planner, and 6' long. No reason it couldn't be 8' long, if you choose to make it so.
Thanks.
Log in or create an account to post a comment.
Sign up Log in