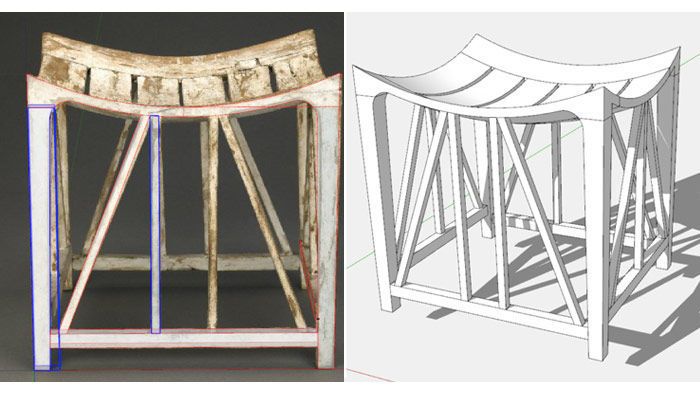
I need to show a revised process for capturing that ancient Egyptian Stool. My process used last month in this blog was not an accurate reproduction of the Egyptian piece. Mainly, my Push/Pull method of creating the Stool Seat resulted in a curved shape, but not one that represents the original. I also had guessed at dimensions, based on my observation at the museum (no measurements).
Not long after posting last month’s rendition, I quickly received an interesting email from George Champlin in Portland, OR.
He wrote:
“The Egyptian Stool you have in the latest issue of Fine Woodworking has been one of my all-time favorite pieces of furniture since I first saw it in the British Museum as a student in England 50 years ago. ”
He went on to explain how I had distorted the shape of the seat using my Push/Pull method, and suggested ways that I could fix that.
So we’ve been back-and-forth with several emails per day since. I found out just how careless I was in the design, and how accomplished and knowledgeable George was.
Later, another reader commented on the blog about my mistake.
So, I’m eager to now show a design that better represents the original.
This time I started with another picture found in the British Museum’s website shown below. I imported this into SketchUp as a Matched Photo. With this somewhat straight-on photo, I hoped to get a more accurate retracing of shapes. You can see the overlay of red lines and shape faces.
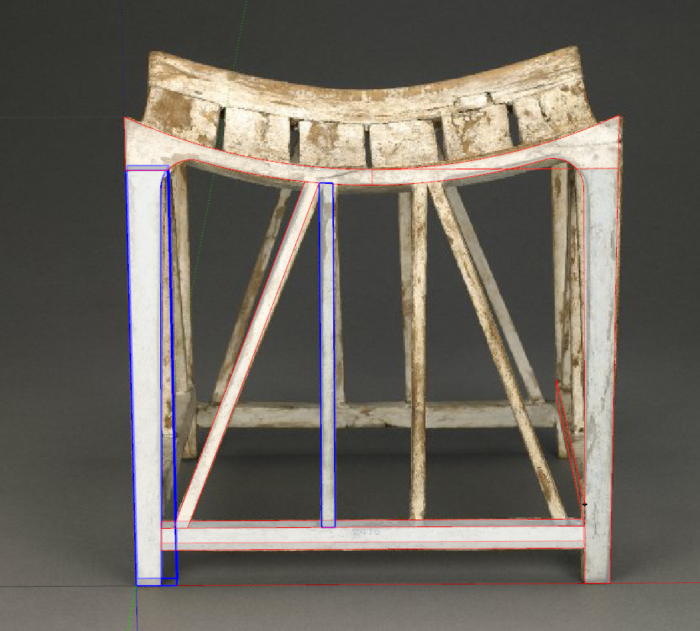
Below are those shapes from the traceover above. Note that the height is now 15 in. which agrees with the documentation from the museum. In my previous version, I had guessed 18-in. for the height. Now it is a matter of making these faces into real 3D components.
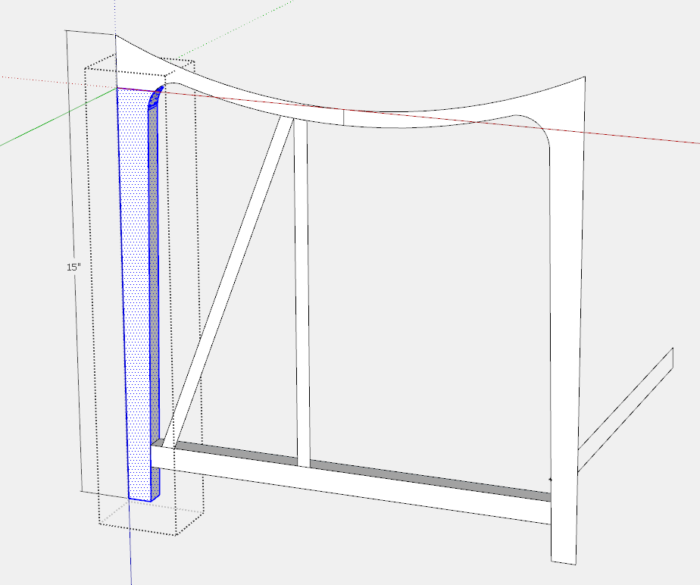
This next step is the major change in my process last time. The highlighted (in blue at upper right) curved ribbon will be used to create the Seat shape by using Follow Me. The shaped edge for the Follow Me is highlighted on the top edge of the gray piece in the upper back.
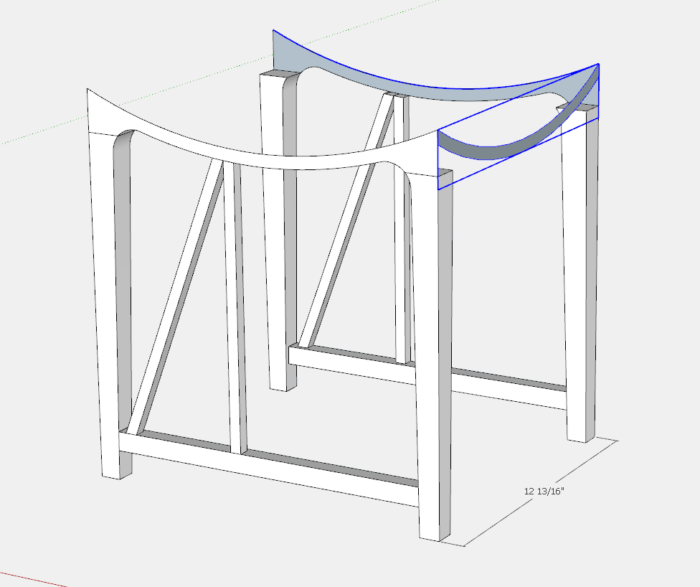
Here is the resulting Seat after of the Follow Me. It needs trimming to have edges that are flush with the face of the legs. Note the little extending triangles. I used “Cutting Planes” to trim off the waste.
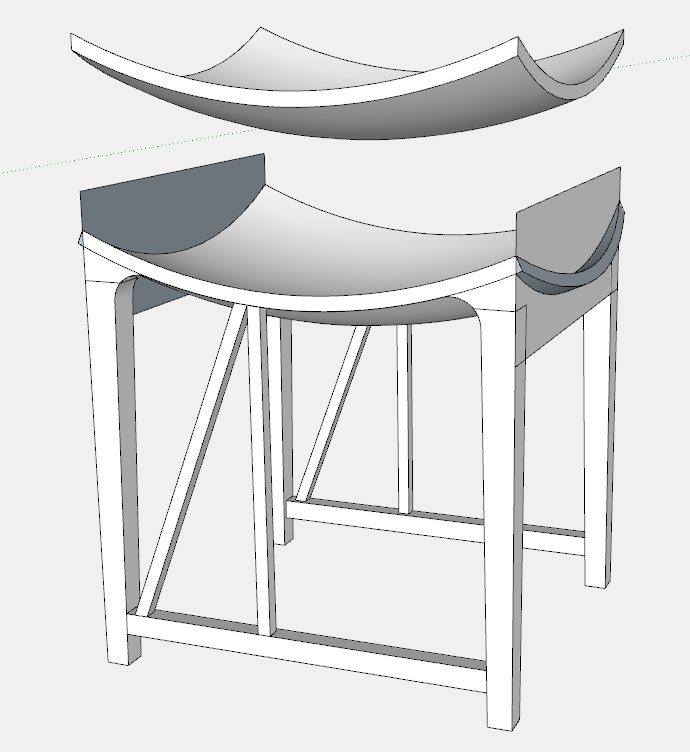
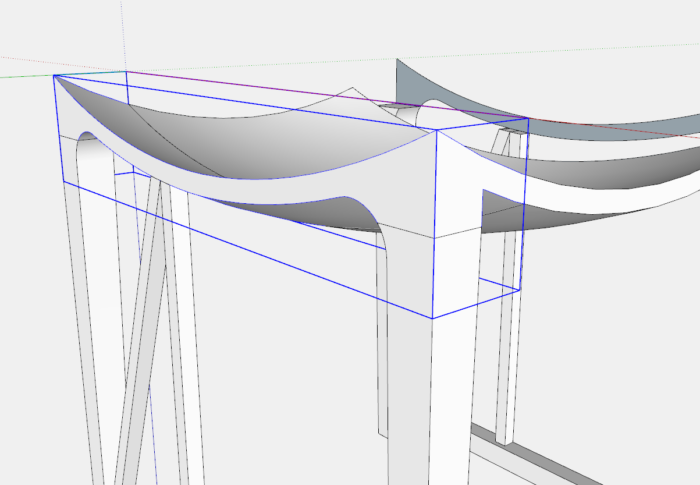
The Top Front and Back Rails are partly made from the ends sliced off the Seat. I used the same type of Cutting Planes to create these sliced pieces.
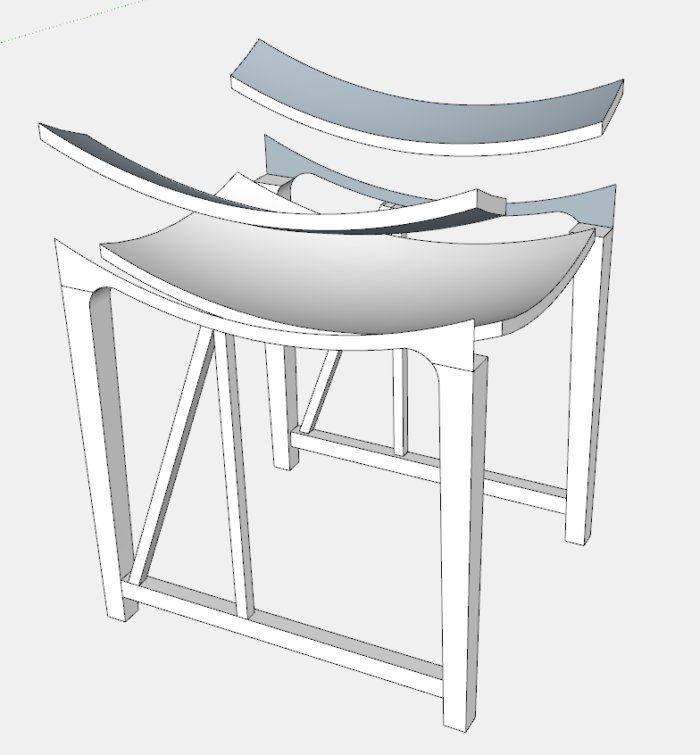
Here I am combining that seat cutoff, to complete the Front and Back Top Rails. These Rails have sockets for Leg tongues protruding from the top surface of the Legs.
Now to slice the remaining Seat surface into the individual Seat Slats. This time I’m using a rectangular Cutting solid (that is a Group). These rectangular pieces are 1/4-in. thick so they not only cut the Slats, but also remove the 1/4-in. space between slats. I used Solid Tools for the Intersections, but this can be done with just the Intersection command (no Solid Tools).
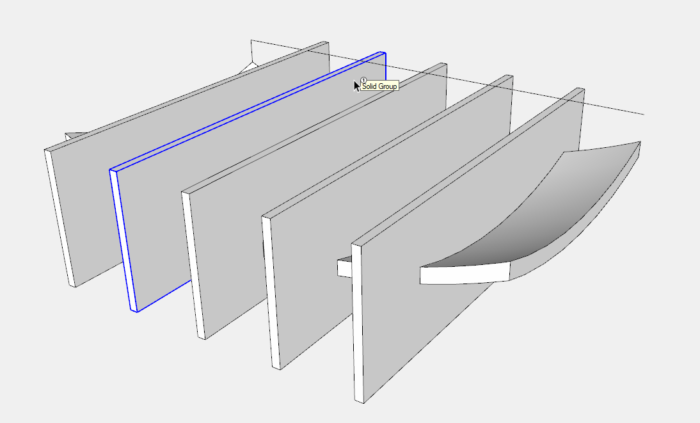
Here are the resulting Seat Slats with 1/4-in. spacing.
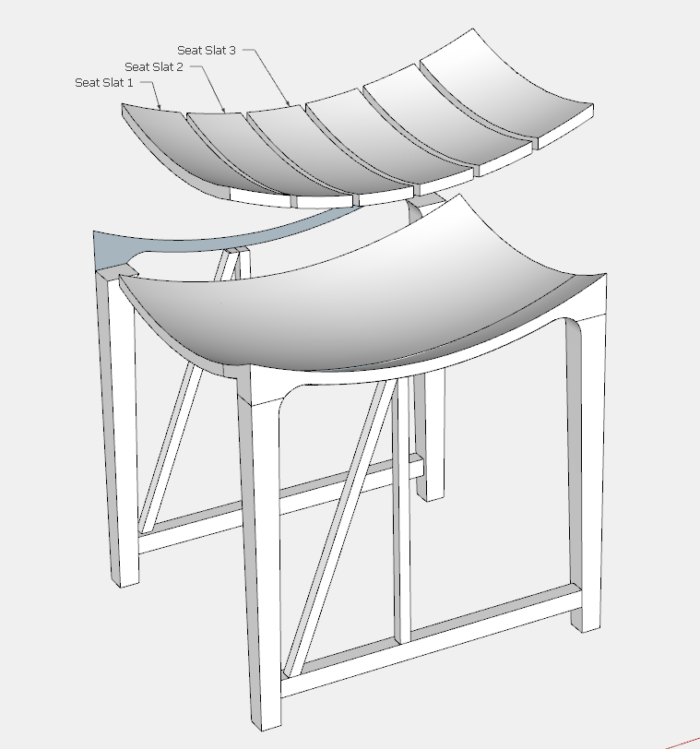
Now I’m finishing up, including all the stretchers, spindles, and joinery.
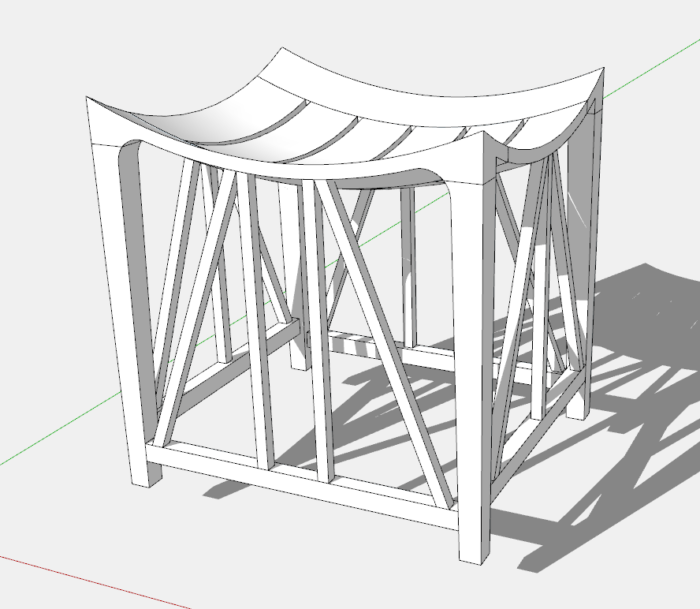
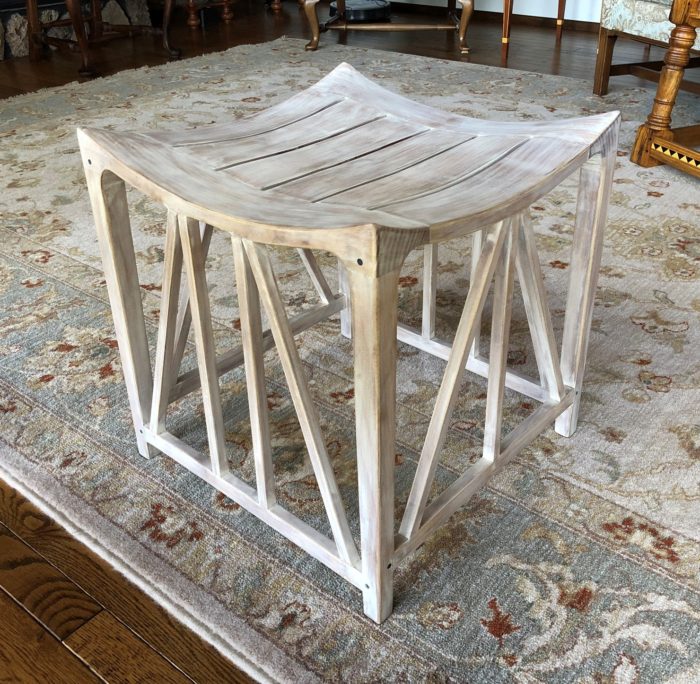
Before doing this re-design above, I proceeded to build the piece based on the flawed design. You can see the flatness of the Seat shape vs. that for the re-design. Nevertheless, the building was an interesting challenge, and the result is a very useful and sturdy piece. I used milk paint as the finish. The original piece was painted white.
Tim
Killenwood.com
Fine Woodworking Recommended Products
Circle Guide

Stanley Powerlock 16-ft. tape measure
Compass







Comments
I too am amazed and intrigued by ancient Egyptian furniture ever since I bought the 3 book set 'Ancient Egyptian Furniture' by Geoffrey Killen. (Any relation to you?) Out of the hundreds of pieces of furniture the two that interest me the most, and that I want to reproduce, are the cosmetic box of the royal butler Kemeni and this curved seat stool that you rendered in sketchup. Thanks for sharing your work and inspiring me.
Log in or create an account to post a comment.
Sign up Log in