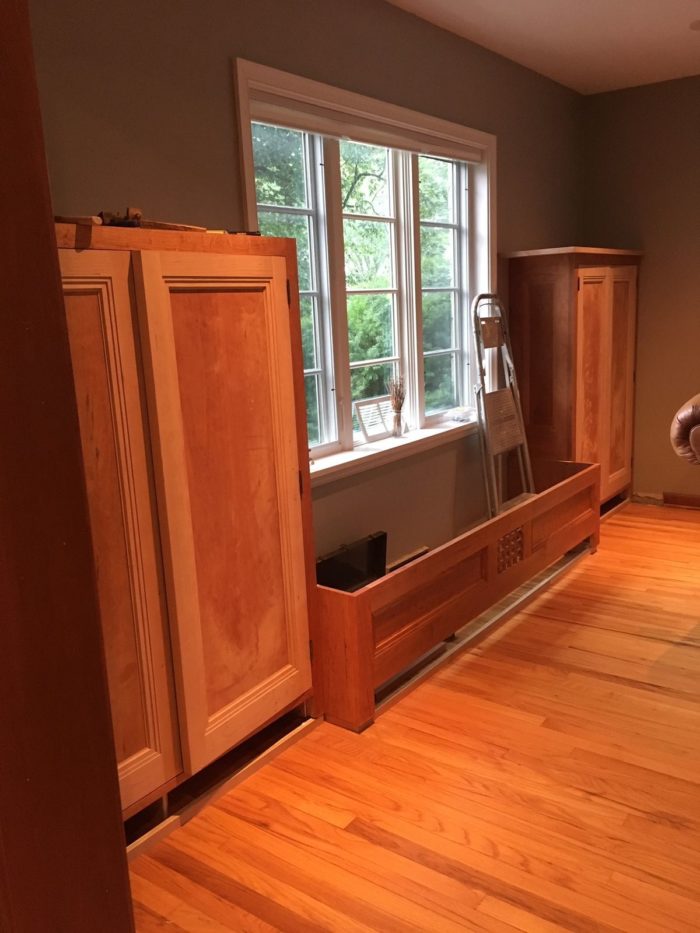
I’m working on a set of built-in cabinets in cherry for a late 1920s house in one of our town’s loveliest historic districts. There are two cabinets flanking a large window, with a 7-ft.-long window seat between them. Each cabinet has a pair of doors, the design of which echoes that of the house’s original architectural doors for interior rooms and closets.
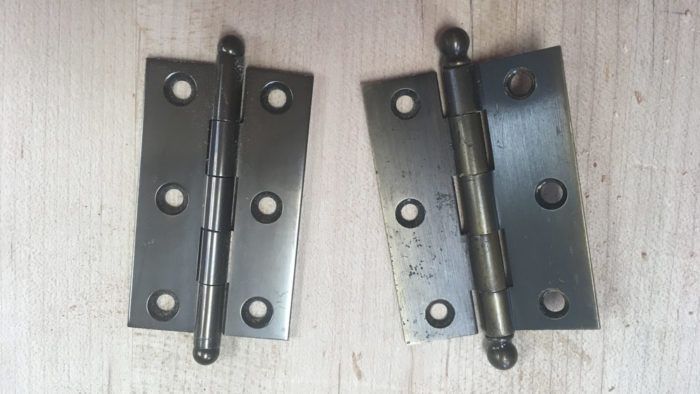
For the past 20 years my go-to for quality butt hinges has been Rejuvenation Lighting & House Parts. Some may scoff at this choice; although I’m not an engineer or a tool-and-die guy, even I can tell that there’s a tad more play between the pin and leaves than one would hope for in a top-notch butt. (No butt jokes, people.) But given that one of my specialties is built-ins for early 20th-century homes, and my market consists primarily of middle-class professionals, most of them academics (as distinct from wealthy collectors, medical device inventors, or patrons of the arts), I’ve found that the hinges from Rejuvenation strike a good balance between quality, period authenticity, and price. They’re virtually indistinguishable from the original ball-tipped butts in many of my clients’ early-20th-century homes.
My greatest complaint about the ball-tipped butt hinges from Rejuvenation has been the disappointing quality of their screws, which I’ve found exasperatingly easy to snap off, even when I’ve drilled a correctly sized pilot hole for the root and shank. My solution is to buy slotted countersunk brass wood screws in the appropriate size from Jamestown Distributors, a source of high-quality boatbuilding supplies. If the hardware finish is antiqued brass or oiled bronze, I alter the color of the screws to match using brass aging solution.
But for such a lovely interior as this one I wanted to use top-quality butt hinges. And this is where things get sticky. My personal go-tos for top-quality hardware are Brusso, Horton Brasses, and Whitechapel. Admittedly, for this job I didn’t look at the Brusso or Horton websites but went straight to Whitechapel, because I’ve used various types of hardware from their catalog for period-style work in the past and have been happy. I sent links to the client for the Whitechapel latches and hinges (the 2-1/2 in. by 2 in., as the doors for this job are nearly 1-1/4 in. thick), and when she approved my recommendations, I placed the order.
The hinges are truly top-notch in terms of fabrication. The operation is silky-smooth, and there’s zero play between the pin and the leaves. And therein lies the rub. There is so little play between the leaves and pin that you have to hold the door in perfect alignment with the cabinet to get the pins in. Sure, this sounds obvious, but in reality, it’s not. One of the advantages of using loose-pin butts is that you can lift a door into place and start tapping the pins home, one at a time, to pull the door into perfect alignment.
With these hinges you have to hold the door in just the right position. This is more easily said than done when you’re talking about a door that’s more than 48 in. tall, 20 in. wide, and almost 1-1/4 in. thick and hung on three hinges. To be honest, even trying to get the pins back into the leaves when they’re not on the door and cabinet is a challenge. I didn’t even bother getting all the pins driven home—I was concerned about the time it would take (not to mention the potential damage to the finish of the hardware) to get the pins out again so that I could remove the doors to continue fitting them, then take them off for finishing.
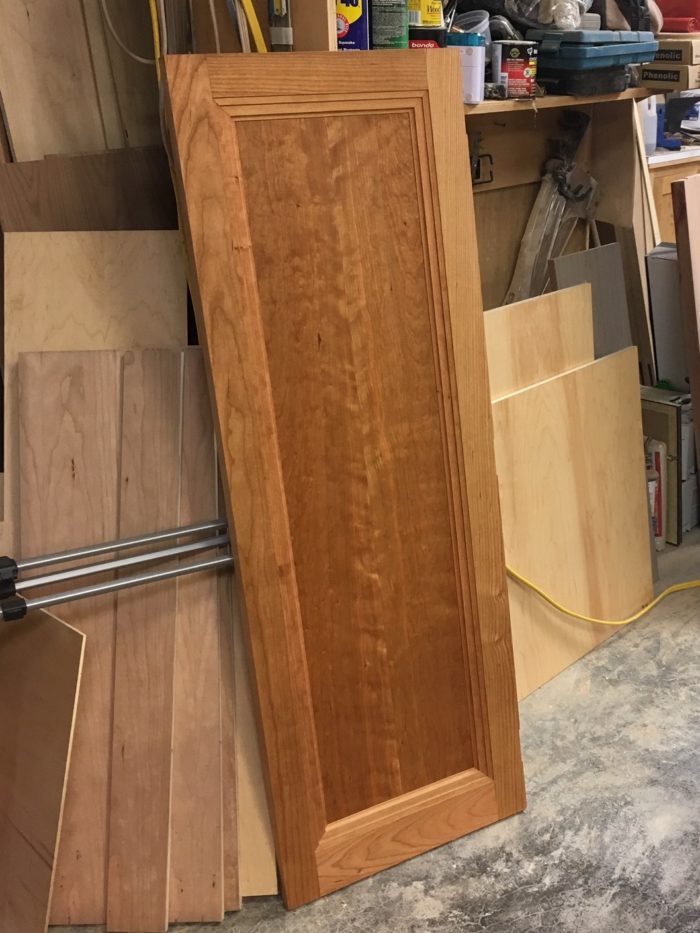
I ended up removing the leaves from the cabinet and putting the hinges together on the door, then screwing the door into the cabinet, which defeats the whole point of using loose-pin hinges.
One other caveat: The “fixed” ball tip at the bottom can fall out. It’s precision-threaded, but in moving the first cabinet off my benchtop to the floor, the vibration was enough to loosen two of the tips and send them skittering across the floor. They are not easy to spot. I recommend that you unscrew these ball tips and store them in a small jar or bag until you have completed the installation, then apply a dab of removable thread locker (available from most hardware stores) and screw them back in. (Incidentally, this is a good idea for any hinges with removable tips.)
Perhaps you’ll have better luck with hinges made to such close tolerances, but I can say that this experience has renewed my appreciation of those from Rejuvenation. In some cases, a little bit of play turns out to be a good thing.
Nancy Hiller is a professional cabinetmaker who has operated NR Hiller Design, Inc. since 1995. Her most recent books are English Arts & Crafts Furniture and Making Things Work, both available at Nancy’s website.
More on FineWoodworking.com:
- Facing Failure- Some go so far as to claim that failure is the key to success, but things are a little trickier when you’re faced with failure of your own.
Consulting With Prospective Clients – Nancy Hiller - Nancy Hiller’s Reality Check(list) – If you’re thinking of turning your passion into a profession you should take a deep look at what is involved in running a legitimate business.








Comments
Decided against your "coffee grounds method" for aging brass like you used on the Cyclops Studio latch for the bedside table?
I don't use that method on a regular basis. It takes too long. I included it in the post you're referring to because it is a quirky use for material found in most kitchens. The acid in the link here takes about one minute, and you can vary the color by decreasing or increasing the soak time.
I have a question Nancy. On hinge leaves such as these, one half has 3 knuckles, the other half has 2. Even on a home's interior doors. Does it matter which way the leaves are arranged -- does the 3 knuckle or two knuckle side go on the door?
John,
With loose-pin butt hinges that have decorative tips, such as these (called ball tips), one tip is fixed and the other is attached to the pin. The fixed finial may be permanently fixed at the factory or, as with these hinges from Whitechapel (and also those from Rejuvenation), screwed into a threaded section at one end of the barrel. When installing the hinges, make sure that the pin drops in from the top. If you install a hinge so the pin goes in from below, you may find that the pin falls out. (Don't ask me how I know this.) I'm attaching a photo of a smaller hinge of the same type from Whitechapel with all the parts separated.
Thanks Nancy. What I was trying to ask, not well, was about the two leaves in your picture. The top leave (leaf?) has three knuckles, and the lower has two. Does it matter which one goes on the door, and which goes on the frame? I'm guessing it doesn't matter on small cupboard doors, but it might on a large and heavy entrance door.
This assumes that the pin can be inserted from either end.
Thanks Nancy,
Good to know.
I am not aware of any reason why the leaves cannot (or should not) be installed either way, and I don't believe it makes a difference. (No doubt there are engineers out there who could weigh in on this.) All I work with, professionally, is cabinet-size doors; architectural doors are hung on larger hinges, in which case the same considerations apply.
I can't think of any hinges I have used that allow you to insert the pin from either end. Usually with loose-pin hinges, the "fixed" finial is either cast in place (or attached permanently during the manufacturing process) or screwed in, as with these hinges in my example. The pin can only be inserted from one end, which means you have to install the hinge whichever way allows the pin to go in from the top, regardless of whether the larger (or smaller) leaf is mounted on the cabinet (or door).
Log in or create an account to post a comment.
Sign up Log in