Video: Michael Fortune’s Design Process
In this video, Michael takes you through his design process step by step, sharing his tips for drawing and brainstorming along the way1. Identify and analyze
I start my design process by identifying what I want to make—a chair, a cabinet, a built-in bench—and analyzing the hard constraints on the piece: what functions it will serve, what space is available, and the requirements of weight, stability, and traffic around it.
2. Set the goal
I clarify what I want from the piece aesthetically and technically. Do I want a completely new design, or something to match an existing style? Do I want to learn new techniques? Work with specific materials? Is the priority function or appearance? Or are the two equal?
3. Generate ideas
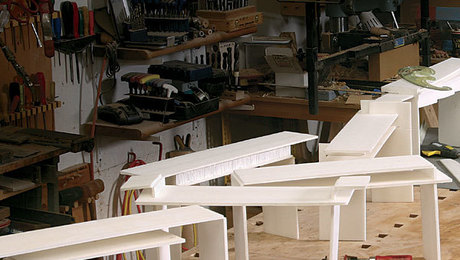
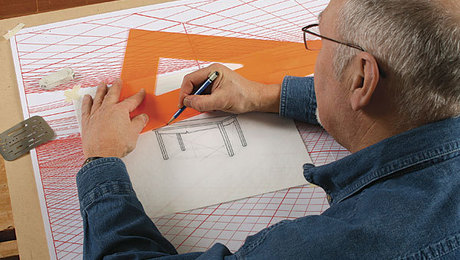
This is the fun part—and it’s the heart of the matter. The key is to generate as many ideas as possible, either on paper or in model form. The tools can include transparent paper and a soft pencil for doodling and drawing, and whatever else works for making quick models: wire, foam, MDF, softwood, Popsicle sticks, and straws.
4. Select
Withhold judgment on your ideas for a couple of days. Then give them a careful review and pick one. The trick here is to make a decision and proceed. Remember that you can make any of the other ideas at a later date. If you procrastinate, you don’t learn anything.
5. Build
Make a full-size mock-up if you need one, but make it quickly and cheaply. You’re looking to refine the proportions of the piece, not work out all the details. Then make a full-size drawing to determine the details of joinery. Proceed to construction of the real piece.
6. Document
While you’re building the piece, take photos and make sketches and notes to document the process. Add them to a file with all your design sketches for the piece, along with photographs of the models and mock-ups.
7. Evaluate
When you’ve built the piece, always review the steps you took and look for ways to make the process more enjoyable and productive. Next time you design, revisit the files for successful pieces to see how their designs developed.
**Michael has recently made his own version of these charts and has them available for $32 shipped. Email him at michael.fortune(at)sympatico.ca
Develop Your Own Designsby Michael Fortune |
|
Put Your Designs in Perspectiveby Michael Fortune |
|
Precise Tools for Drawing Curvesby Michael Fortune |





Comments
Michael never completed the idea of the number 5. How is it used in subsequent steps?
I always love Michael Fortune videos! It is refreshing to know it took him 43 years to get there. I always feel like I'm behing the curve.
Fantastic piece. I was never trained to draw, and this is a wonderful methodology that I intend to try on my next piece. But the only thing I was left wanting to know is, "What are your adjectives, Michael?!!!"
Where can you obtain the perspective chart that Michael uses?
I looked on Amazon for the Lawson Perspective Charts discussed in the video. His article says they are available for $38. Unfortunately they are currently unavailable. They are asking $687 for one used copy. Is there another source?
I would really like to know a source for the Lawson perspective charts as well. It appears that CAD, sketch-up, etc. have driven the hand drafting resources out of the market. Personally, I don't use the digital design stuff for just the reason that Michael Fortune demonstrated--the limitations on the freedom of the hand and eye. FWW--here is a tool that you could reproduce and it would pay for itself. My paypal account is ready!
Alternatively, FWW could run an article on how to mak your own. It's not too hard, really.
Great video. Glad Michael gave his email to Ben and will provide co-it’s of the essential charts. Thanks Ben.
Log in or create an account to post a comment.
Sign up Log in