How To Make One Curve Match The Other
Craig Thibodeau’s technique uses each curve to refine the other in a back-and-forth sanding process that matches them perfectly.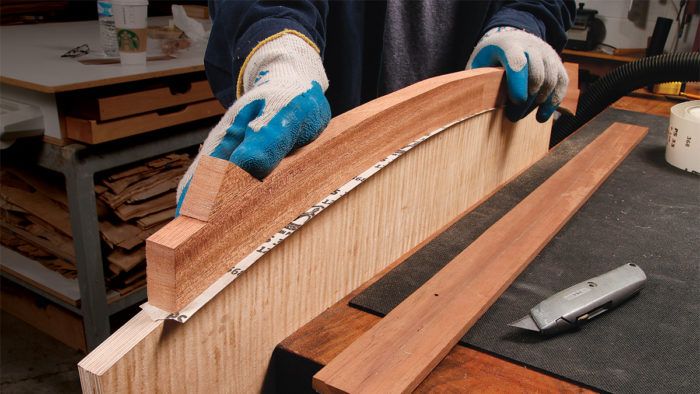
This is an excerpt from Craig’s article “Solid Edging for Curved Tops“
The back-and-forth sandpaper trick
There are any number of ways to smooth the inside curve up to your pencil line: compass planes, spindle sanders, and curved blocks for example. But I’ve discovered a simpler method that uses the parts themselves and a few strips of adhesive sandpaper.
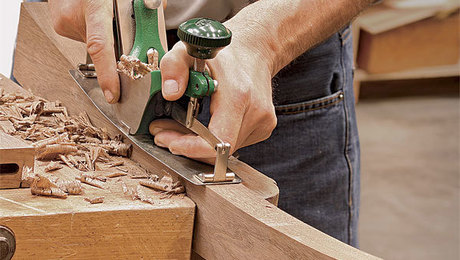
Cut a strip of 120-grit paper just wider than your panel thickness and a couple inches longer than the curve. Press the sandpaper onto the curved panel edge and use it as a sanding block to refine the curve on the edging. You’ll gradually improve the fit and close the gaps. Once the gaps get narrow, stick a new strip of 120-grit paper onto the edging piece and use it to sand the panel edge. Rub the edging back and forth a few inches each way, trying to keep it square to the panel so its edge doesn’t become rounded. Continue this back-and-forth sanding process, changing the paper as needed, until the fit is gap-free.
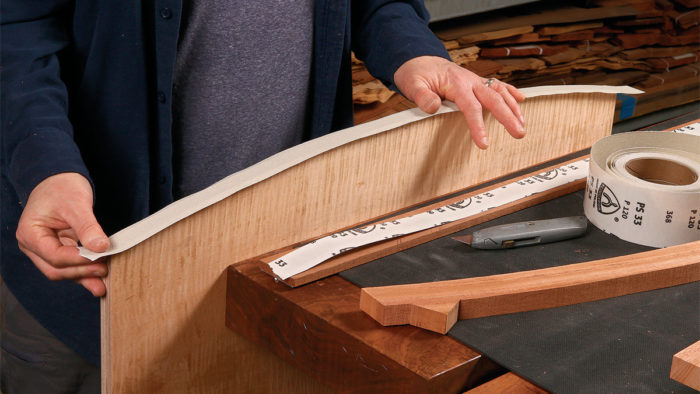
Stick sandpaper on the panel edge. Cut long strips of self-adhesive, 120-grit paper, and press it onto the panel edge.
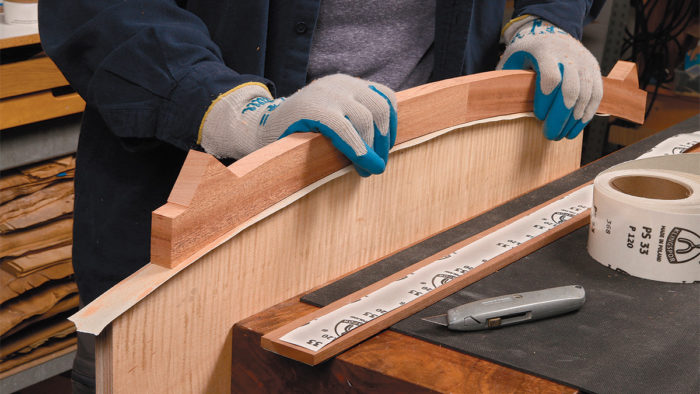
Rub the edging back and forth along the curve, trying to keep it flat and square as you do.
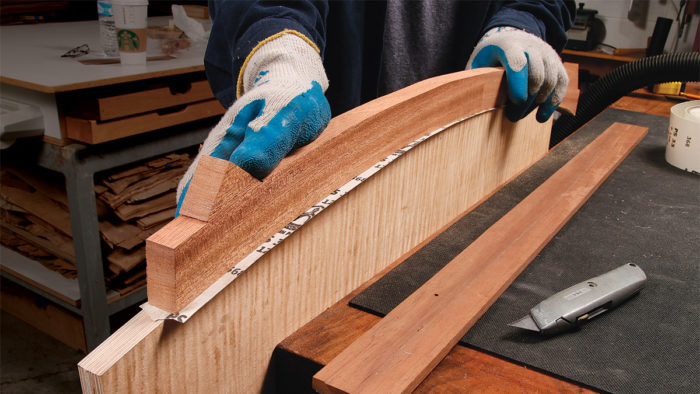
Reverse the paper and repeat the process. Stick the paper to the edging this time, and use it to sand the panel edge. Be especially careful to keep the edging stable and level, to avoid rounding the edge. Gaps will likely be gone at this point, but you can repeat the process if they aren’t.
From Fine Woodworking #277
 |
|
 |
|
 |


Comments
In case it isn't obvious, this method only works if the curve is a circular arc.
Log in or create an account to post a comment.
Sign up Log in