A Trick For Drawing Shallow Curves
Craig Thibodeau demonstrates a simple jig that makes it simpler to draw large single-radius curves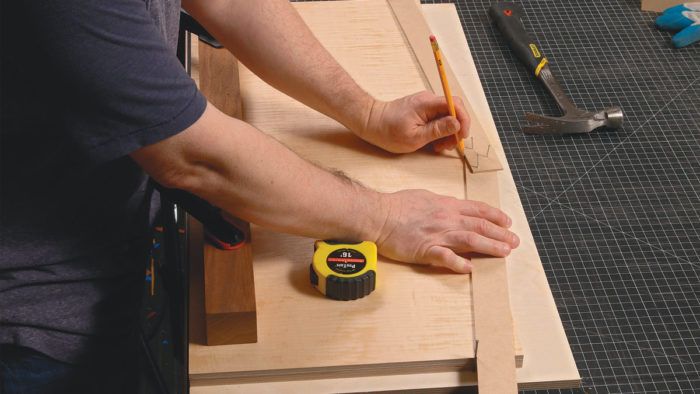
This is an excerpt from Craig’s article, “Solid edging for curved tops” in Fine Woodworking #277.
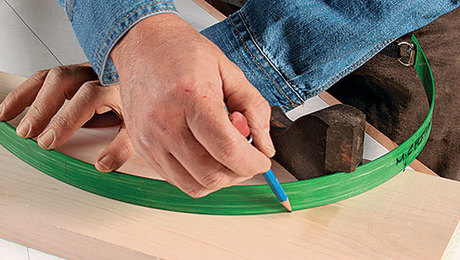
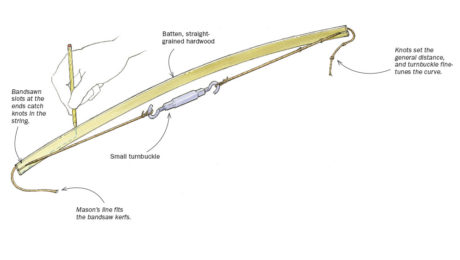
A single-radius arc can be drawn with a long pivoting trammel or long string, but locating the faraway center of the curve is tricky. To draw a shallow, single-radius curve with a known length and width, I use a method demonstrated by Paul Schürch (“Drawing Big Curves,” FWW #175). It requires just a few nails and three pieces of plywood.
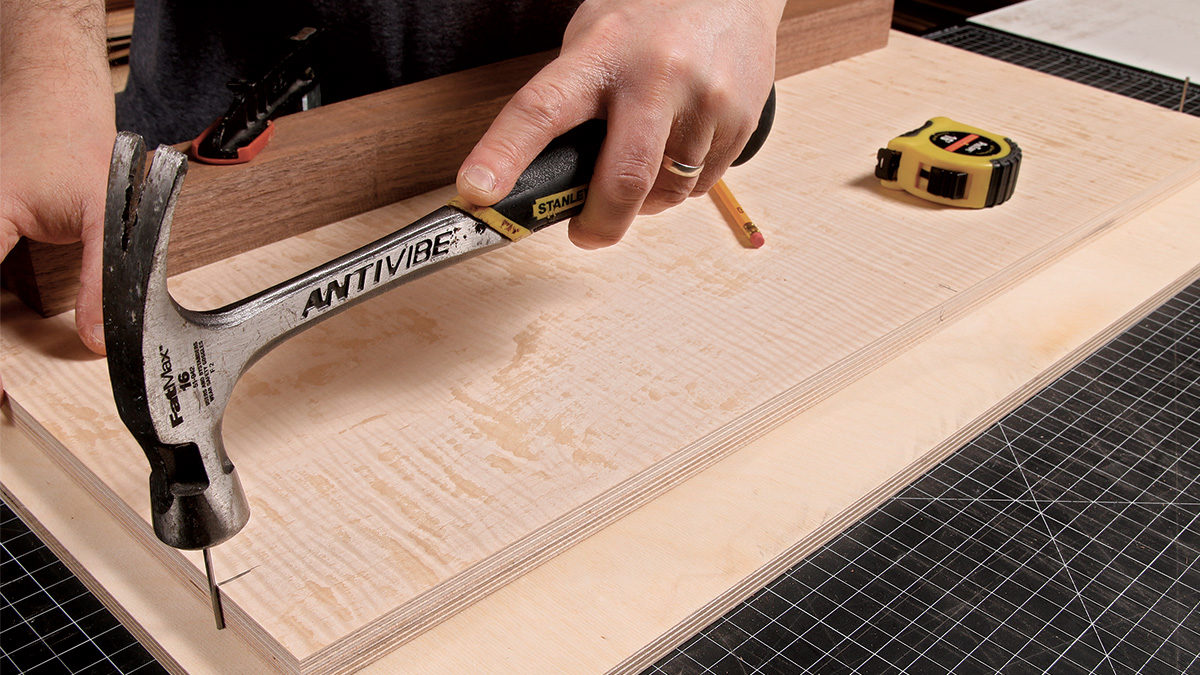
Set your pivot points. Clamp the veneered panel to a slightly larger plywood panel, and drive finish nails at the beginning and end of the curve.
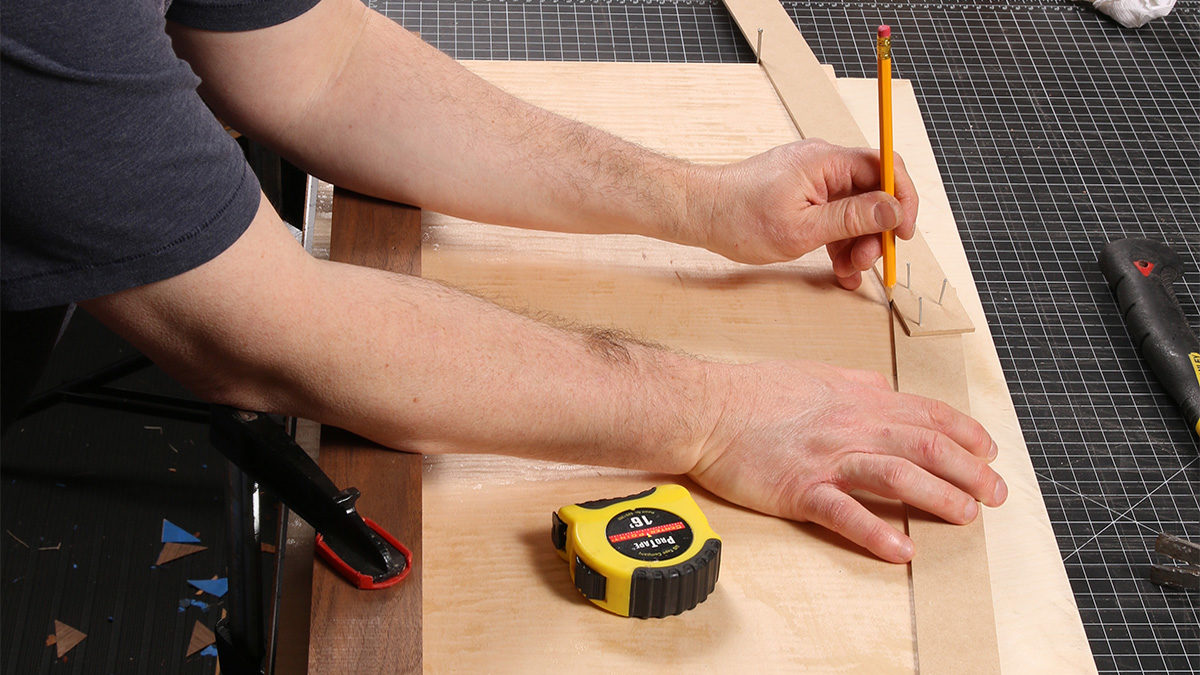
Nail two scraps together and draw.
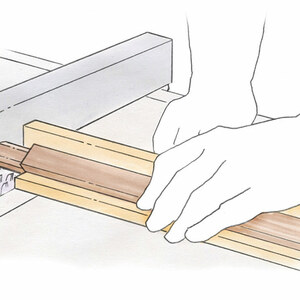
Rest two thin strips against the pivot nails, and fasten them so they meet at the apex of the intended curve. To draw a long curve that connects those three points, rest your pencil in the junction of the two strips and slide the strips along the nails.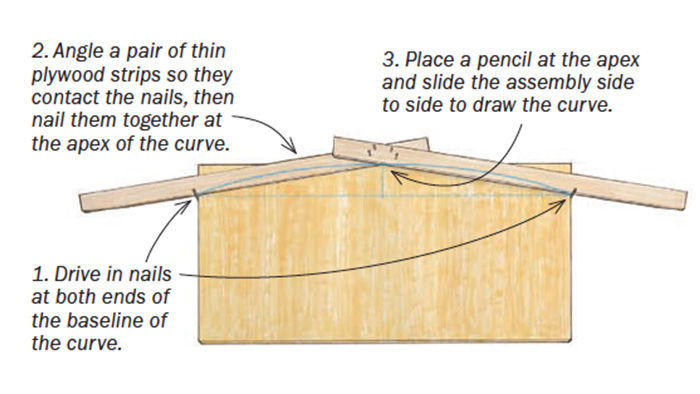
I cut long curves like this on the bandsaw, staying just outside the line, and then use a disk sander, edge sander, or compass plane to bring the curve close to the line. I leave the pencil line visible so I know I haven’t over-sanded. You’ll have a chance to fine-tune the panel’s curve later when you sand the matching edging.
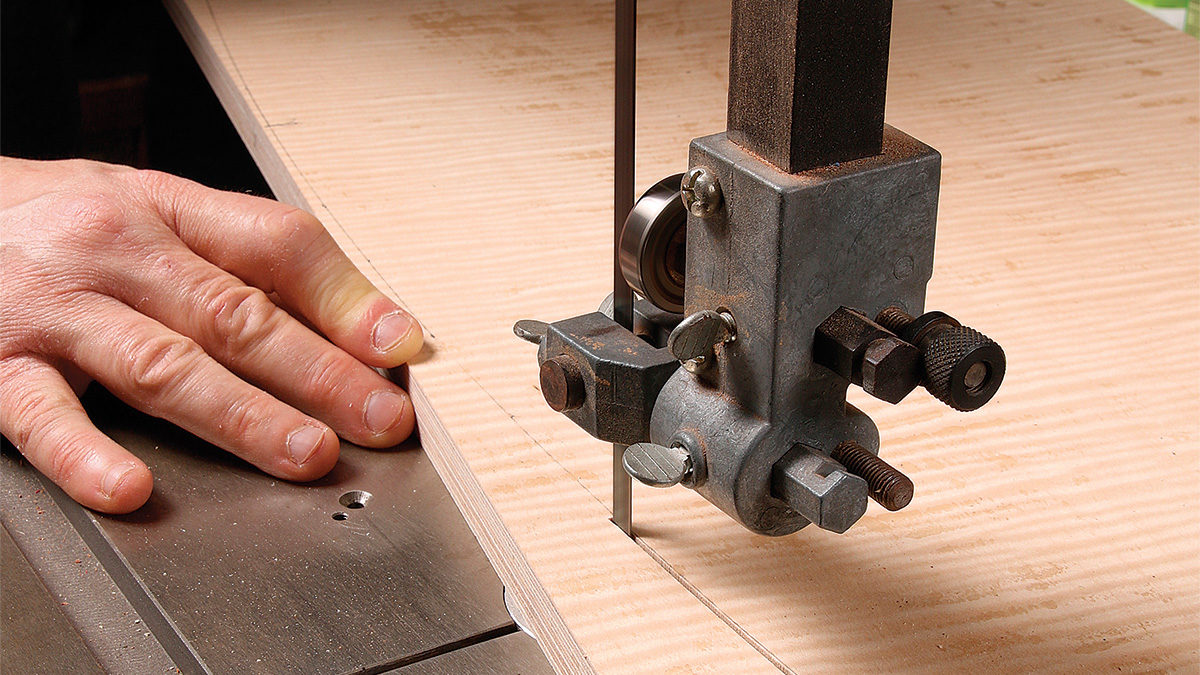
Saw outside the line
Bandsaw as smooth a curve as possible, staying just outside your layout line.
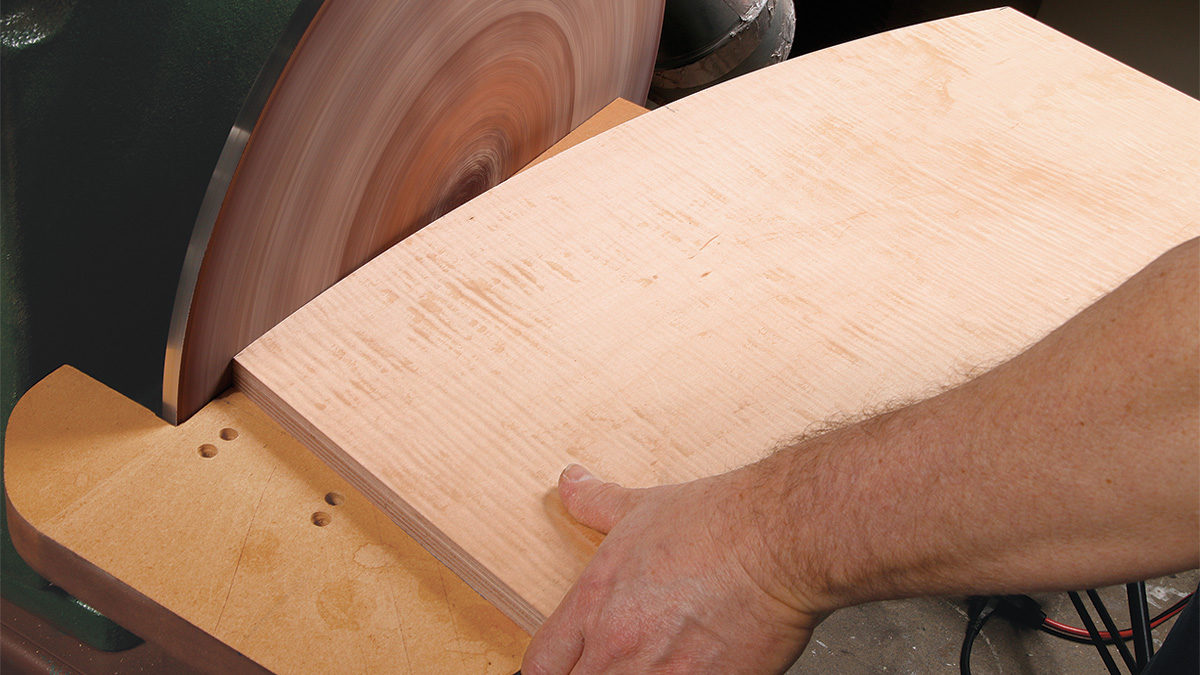
A disk sander is a great tool for smoothing the curve. Work steadily up to the line without passing it, or you might lose track of the curve and end up with flat spots.
From Fine Woodworking #277
 |
|
 |
|
 |
Fine Woodworking Recommended Products

Drafting Tools

Ridgid EB4424 Oscillating Spindle/Belt Sander






Log in or create an account to post a comment.
Sign up Log in