How to Use a Branding Iron
Craftspeople have been branding their work for ages, and it can be an important part of identifying a piece. Here are some tips for how to brand your work.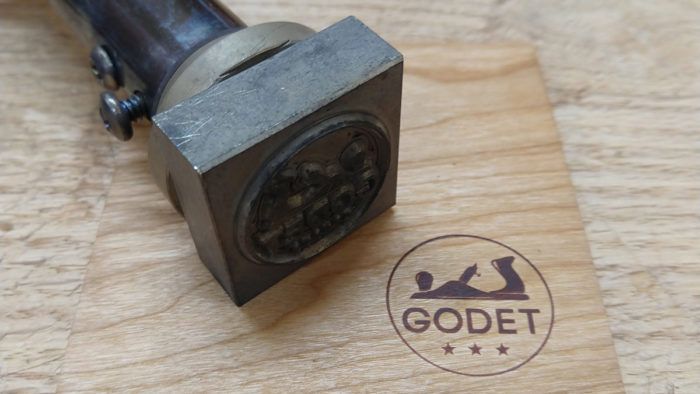
Using a branding iron to mark your work is not a new concept—craftspeople have been doing it for ages. It has recently become a more important part of my work, however, and I’ve learned a few things I’d thought I’d share here.
First, using a branding iron seems like a really simple procedure: Heat it up, stick on your work, and impress your friends and clients with a sharp, professional looking logo or signature. But like many slick advertisements for tools that will “guarantee a perfect [fill in the blank] every time” using a branding iron is trickier than you might think. Complicating things further, it is typically the last thing you do on a project before applying finish, and a mistake now could ruin hours of work.
What’s so hard about using a branding iron?
If pressure is not applied evenly across the whole image, you will get lighter and darker spots on your image. While this can look authentic for signatures/logos in certain kinds of work, you may not be satisfied with it—especially if it’s in a prominent place. If you’re applying the branding freehand, I’ve found the best way is to place the work at typical workbench height, hold the iron by the handle at your chest, and bend forward using your core, rather than your arms, as the source of force.
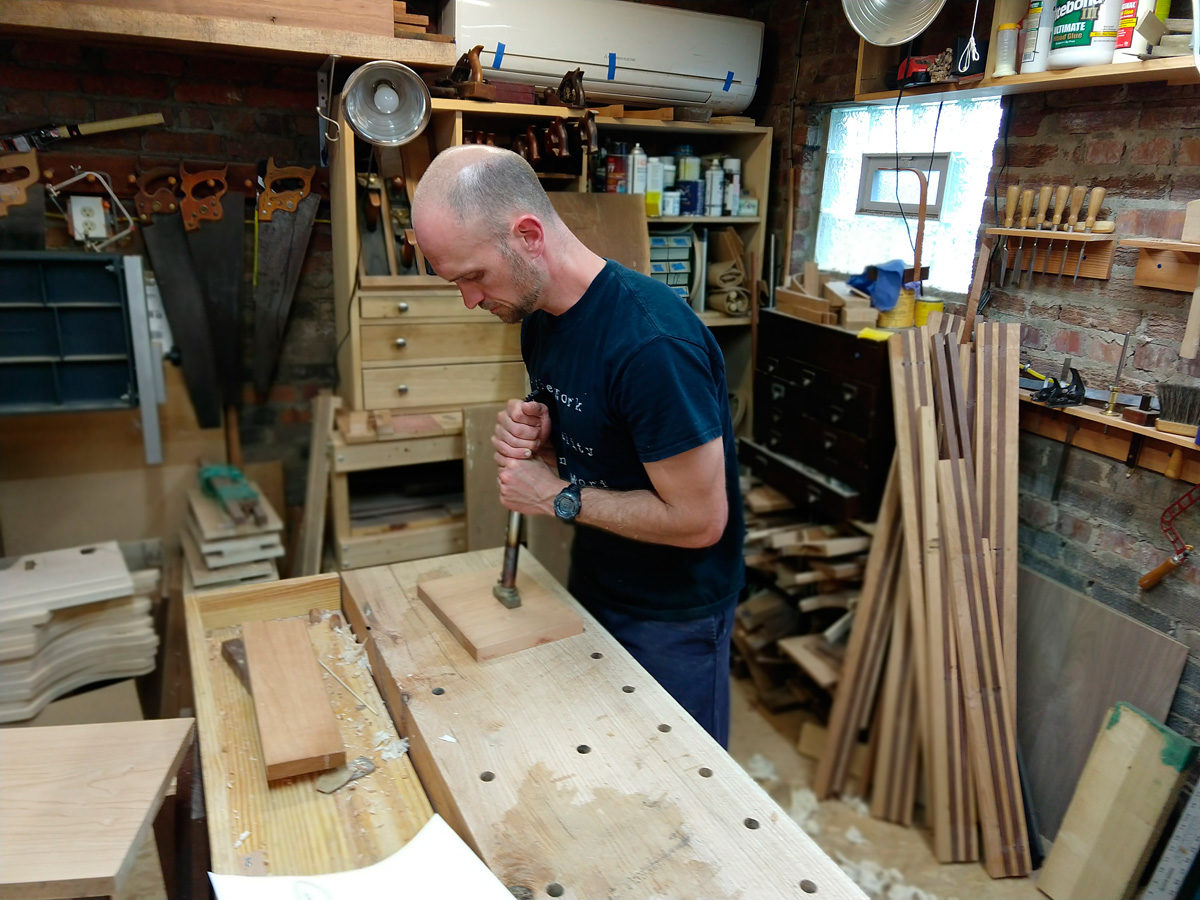
However, my preferred method is to use a drill-press attachment (mine is from Gearheart Industry). Using the drill-press attachment allows you to have the work at eye level and create jigs to repeat the branding multiple times if you’re batching. It generally feels more comfortable, too. Holding a hot iron in your hand is always a little awkward and not without risk, and the thought of accidentally burning an image of my company logo onto my arm does not strike me as either pleasant or good marketing.
The other big lesson I’ve learned is that different woods perform better with different amounts of heat. This surprised me, but perhaps it shouldn’t. You will want to experiment and dial this in for yourself, but generally speaking, harder woods need more heat, softer woods less. It is possible to deal with these differences by simply holding the iron on the piece for a shorter or longer periods of time, but it is more easily achieved by adding a variable temperature controller to your arsenal. I have found that cherry takes a branding better than most species, but every species I’ve tried looks good, once you dial in the temperature and pressure.
As with all woodworking processes, it’s best to mitigate your chances for making mistakes and the few tips I’ve mentioned should help with that. However, if you start daydreaming about building a Maloof rocker while branding your work one day, all is not lost. The three main goofs that can happen are: underburn (image too light), overburn (overdone, edges of image are seared/blurred), and an uneven burn (where part of the image doesn’t transfer). Here’s what you can do:
Underburn
If you are working with a drill-press attachment and a jig to hold your work, you can reapply the branding iron to the same spot and get a better burn. I recommend always keeping the workpiece in place and peeking underneath the iron to check your work before you remove it. If it needs more heat, you can apply it without risk of moving the piece and misaligning the image. If you applied the brand freehand, you need to remove it and start over or forever live with your mistake.

Overburn
Branding irons get very hot and it is easy to overburn your work. This is easier to fix. Depending on the degree of overburn, you can simply plane or sand the piece lightly. Most of the “damage” will have occurred on the surface and a light pass with a smoother, or a few passes with the random-orbit sander and 220- or 400-grit paper will clean it up.
Uneven Burns
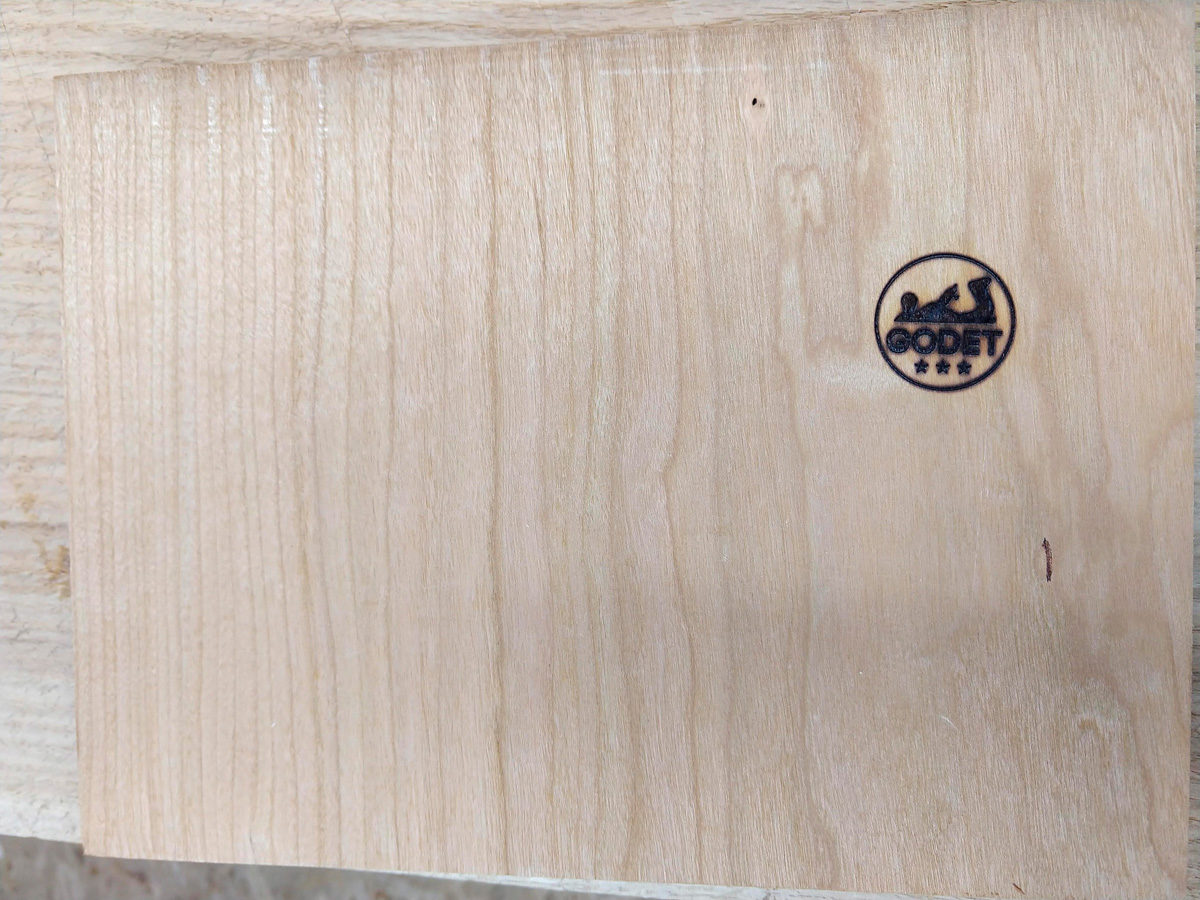
Uneven burns are the hardest to address. If you’re working with a drill-press/jig setup, an uneven burn is a good sign that you need to adjust something with the setup, or check to ensure that the workpiece is perfectly flat. If you want to try to fix it, your best bet is to reapply the brand. If your workpiece is flat, this will help to fix the underburned portion; however, the other section may now be overburned and you will need go back with some careful planing or sanding to address the overburned portion.

Finally, if you want to start using branding irons in your work, you’ll need proper artwork in the form of a vector image. You may need to collaborate with a graphic designer for this, but the value of a professional designer cannot be overestimated and your branding iron company will thank you for the quality image.
–Adam Godet is a pro woodworker in Washington D.C.
 |
|
 |
|
 |
Fine Woodworking Recommended Products
Foam Brushes

Bahco 6-Inch Card Scraper




Comments
Good points. I have the old-fashioned type, one that I hold over an open butane (propane?) torch. I always have some scrap wood around to test the temperature before applying to the piece.
Any thoughts as to the best place for branding ones work? Casework, chairs, tables/desks, etc? On the back where it can be seen or the bottom where it's more subtle?
Log in or create an account to post a comment.
Sign up Log in