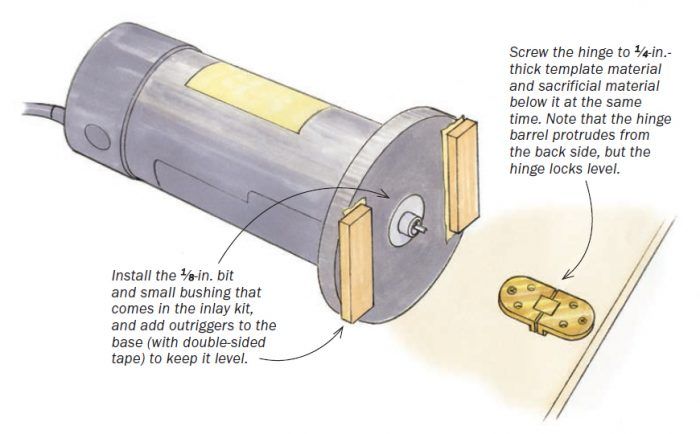
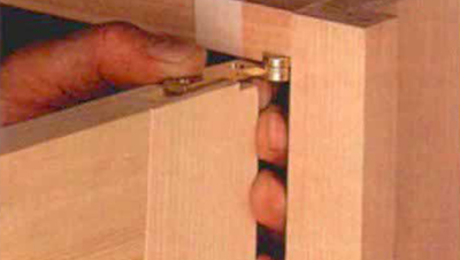
Faced with installing four sewing machine hinges in a very conspicuous location, I tried using a router inlay kit, which includes a 1 ⁄8 -in. router bit and a set of precisely sized guide bushings. Typically these are used with a template to create a recess and a matching inlay. Turns out, if you treat the hinge leaf as the inlay, the kit will produce perfect mortises for curved hinges.
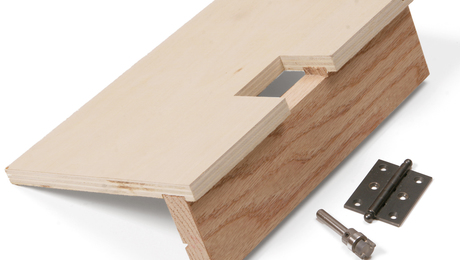
Start by screwing the hinge both to the template material (1 ⁄4 -in. hardboard) and some sort of backer board underneath. The hinge barrel protrudes on the back side, elevating the leaves, but they lock flat and level. Now install the smaller-diameter bushing in a plunge router, as well as the 1 ⁄8 -in. bit, and set the depth to go through the template material and slightly into the backer board. To level and stabilize the router, I make outriggers the thickness of the hinge and fix them to the base with double-sided tape.
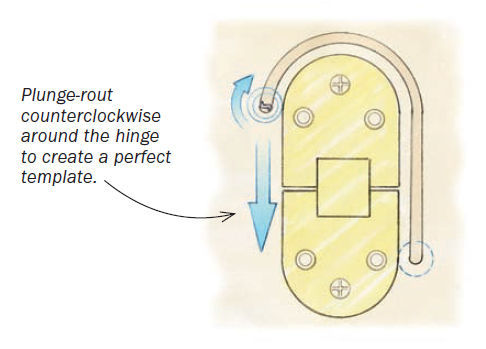
Then, to make the perfect template, you just engage the bushing against the hinge, plunge the spinning bit, and press firmly against the hinge as you rout around it counterclockwise.
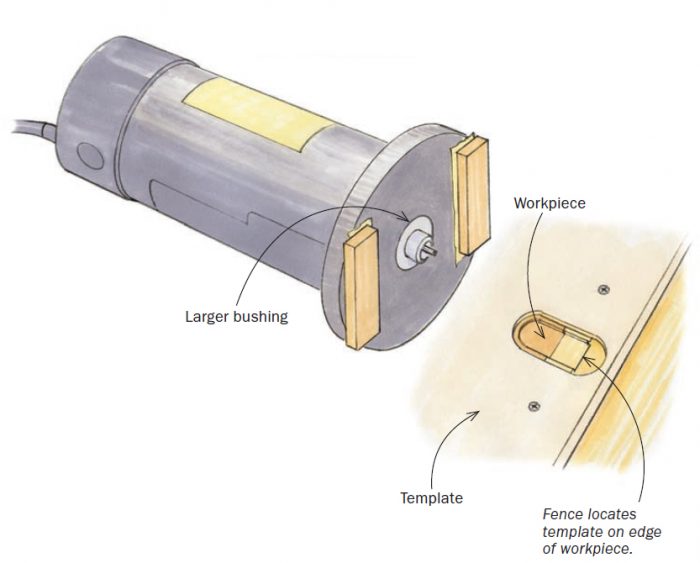
Next, screw a locating fence beneath the template and clamp it to the workpiece. Use the larger bushing this time, set the bit for the correct depth, and rout the hinge mortise.
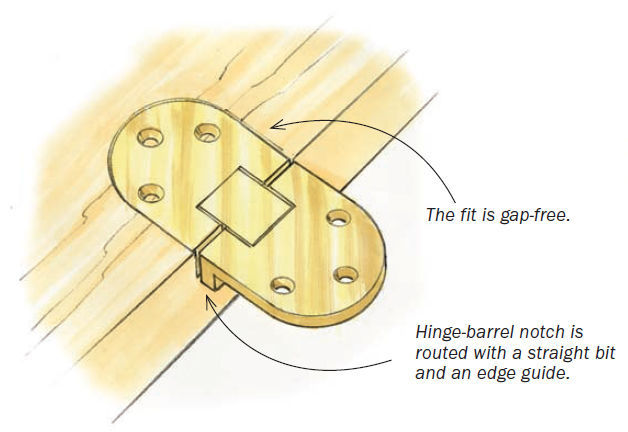
These hinges require a second, deeper mortise for the hinge barrel. That one is even easier to rout: Clamp an auxiliary fence to the router base—or use the edge-guide accessory—and adjust the bit depth.
—Dave Marshall, New Palestine, Ind.
 |
|
 |
|


Log in or create an account to post a comment.
Sign up Log in