10 Ways to Use a Workbench – Start Woodworking S2:Ep10
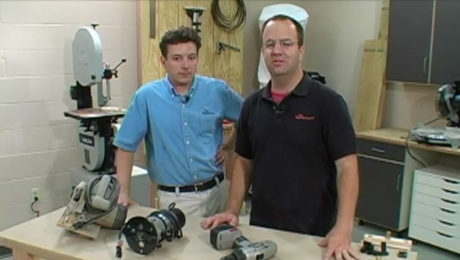
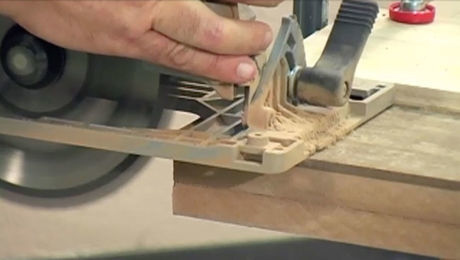
In this episode of Getting Started in Woodworking, we put our new simple, sturdy workbench to work by demonstrating our 10 favorite techniques and accessories for the workbench. These shopmade and store-bought accessories will help you work more efficiently and safely with woodworking power tools and handtools.
10 Workbench Tips:
1. The Woodworking Clamp – The most basic accessory for your workbench is a woodworking clamp. Available in a wide variety of shapes and sizes, clamps can be used to hold down work for a variety of operations.
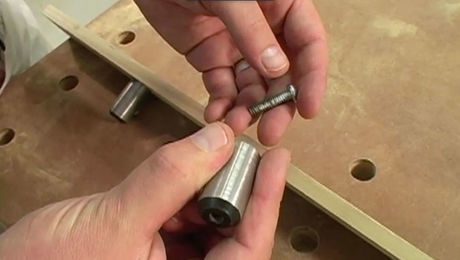
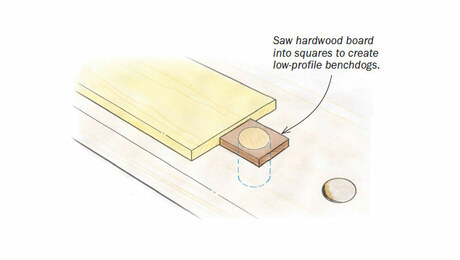
2. The Bench Dog – These workbench accessories come in all shapes in sizes and fit into holes (round or square) cut into the workbench. When used in conjunction with a woodworking vise, they allow you to hold work steady on the bench for handtool and powertool operations.
3. The Holdfast – The venerable holdfast (also known as a hold down) is like having a third hand to help hold a workpiece against a bench for tasks such as planing, chiseling, and carving. It fits into round holes cut into your workbench, and it will hold any shaped piece, from flat panels or tabletops to curved and carved cabriole legs
4. The Planing Stop – A bench stop is simply a piece of wood that is secured to the benchtop to prevent the workpiece from being pushed off the bench when handplaning.
5. The Bench Vise – There are a few varieties of vises available for a workbench, including a tail vise positioned on the end of a bench or a face vise positioned along the edge. In addition to holidng a workpiece between the two jaws, they can be used to hold large workpieces in conjunction with bench dogs.
6. The Board Jack – Similar to a bench dog but positioned on the bench leg, a board jack assists the vise when supporting a long board; one end of the board is captured in the bench vise while the other rests on the board jack.
7. The Vise Spacer – A bench vise can become misaligned when clamping a workpiece on only one side of the vise. To compensate, insert a spacer of equal thickness on the other side of the bench.
8. The Rubber Mat – To keep workpieces steady when using a power sander, you don’t always need to go through the trouble of setting up clamps. Simply place the workpiece on a rubber mat to keep it steady under the vibration of a sander.
9. The Bench Hook – The most common device for securing small workpieces to the bench is the bench hook. This can be made in a variety of ways and may function as a simple sawing support, a miter box, or as a convenient end-grain shooting block for planing.
10. The Coffee Mug – No workbench is complete without a coffee mug to sip on while in the shop. Visit the store to purchase a Fine Woodworking coffee mug and other branded shop gear.
If you have a question about this episode send us an email or post a question in our Q&A forum.
Related links
All About Workbench Jigs
Holdfasts in the Tool Guide
Make Your Own Bench Dogs (FW Online Members Only)
Videos in the Series
-
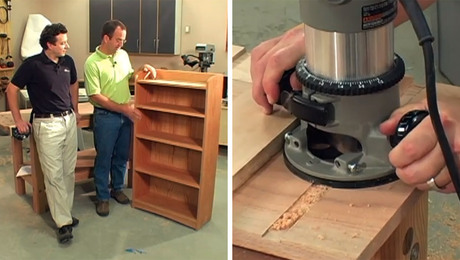
Build a beginner-friendly bookcaseAugust 5, 2019
-
Buying Hardwood LumberAugust 5, 2019
-
How to Rip Lumber Safely on the Table SawAugust 5, 2019
-
How to Crosscut Lumber Safely on the Table SawAugust 5, 2019
-
How to Cut Rabbets and Dadoes with a RouterOctober 16, 2019
-
Hand Sanding and Power Sanding BasicsOctober 16, 2019
-
Best Practices for Cutting and Shaping CurvesOctober 16, 2019
-
Create Strong and Simple Joinery with Screws and Hardwood PlugsOctober 22, 2019
-
Build a Simple, Sturdy Workbench, Part 1October 22, 2019
-
Build a Simple, Sturdy Workbench, Part 2October 22, 2019
-
10 Ways to Use a Workbench – Start Woodworking S2:Ep10October 22, 2019




Comments
Thank you for shoring up my limited knowledge of wood working.
Watching the basics while drinking joe in the morning is like a warm up in sports.
Log in or create an account to post a comment.
Sign up Log in