Shopmade clamps make edge banding easy
Mike Farrington demonstrates how these simple clamps will help you apply edge banding like a pro.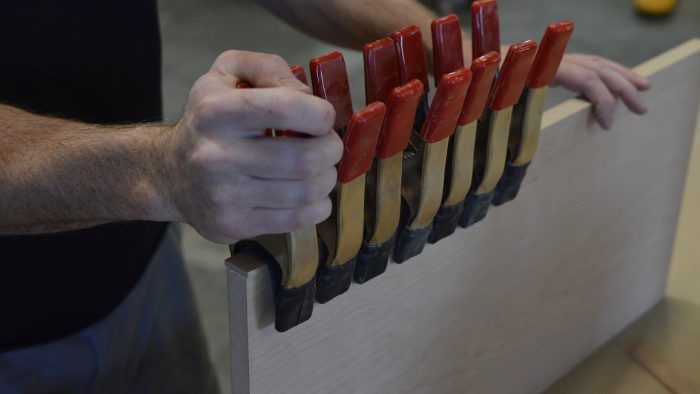
Last week I finished up a pair of display cases. These are for the lobby of a local veterinarian clinic and will display a few different products they sell. These cases are not made of solid wood, but rather MDF-core plywood. During this build I used one of my very favorite techniques to cover up the edges of the plywood. The short version is, I used some shop-built edge-banding clamps and some 1/8-in.- thick solid-wood edge banding. This blog post is my best endeavor to explain how I accomplish results that even expensive industrial edge-banding machines would struggle with, and I do it on a curved surface. Better still, I do it with inexpensive shop-built clamps.
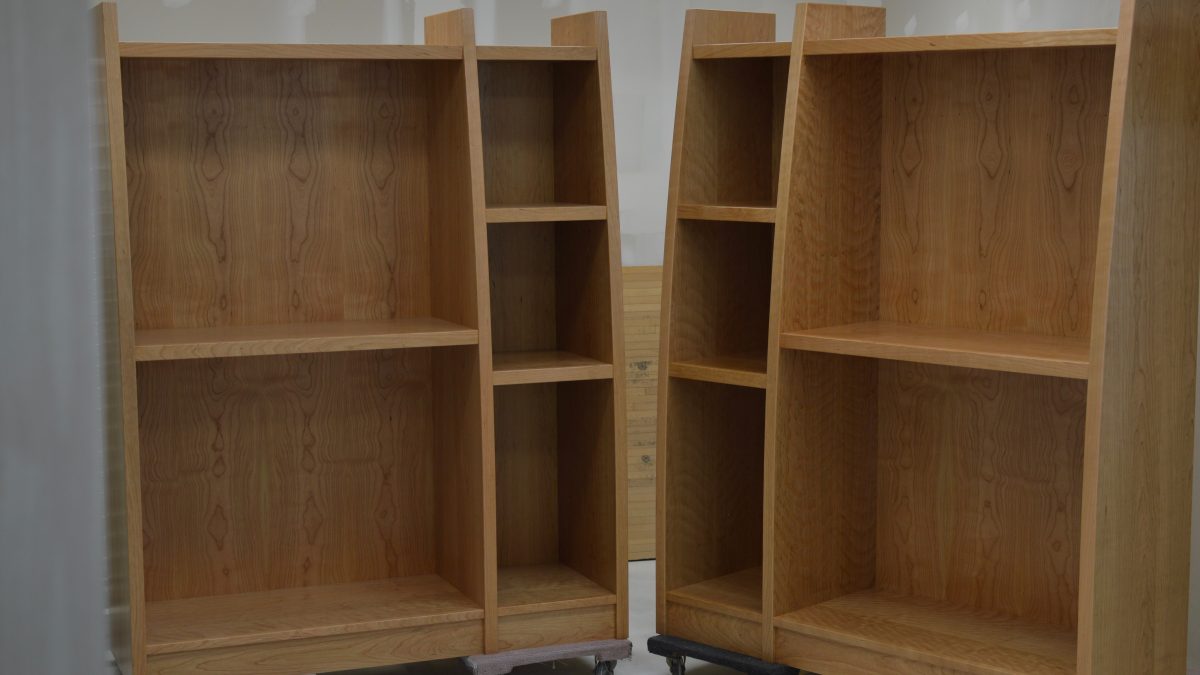
A few words about edge banding. Edge banding is a by product of the cabinet industry using less solid wood in an attempt to reduce costs and create a more competitive product. Over the years, edge banding has gotten a bad rap, much like veneer. However, also like veneer, edge banding can be done in a variety of ways, all with different levels of quality. This method is my attempt to hit the highest level of quality.
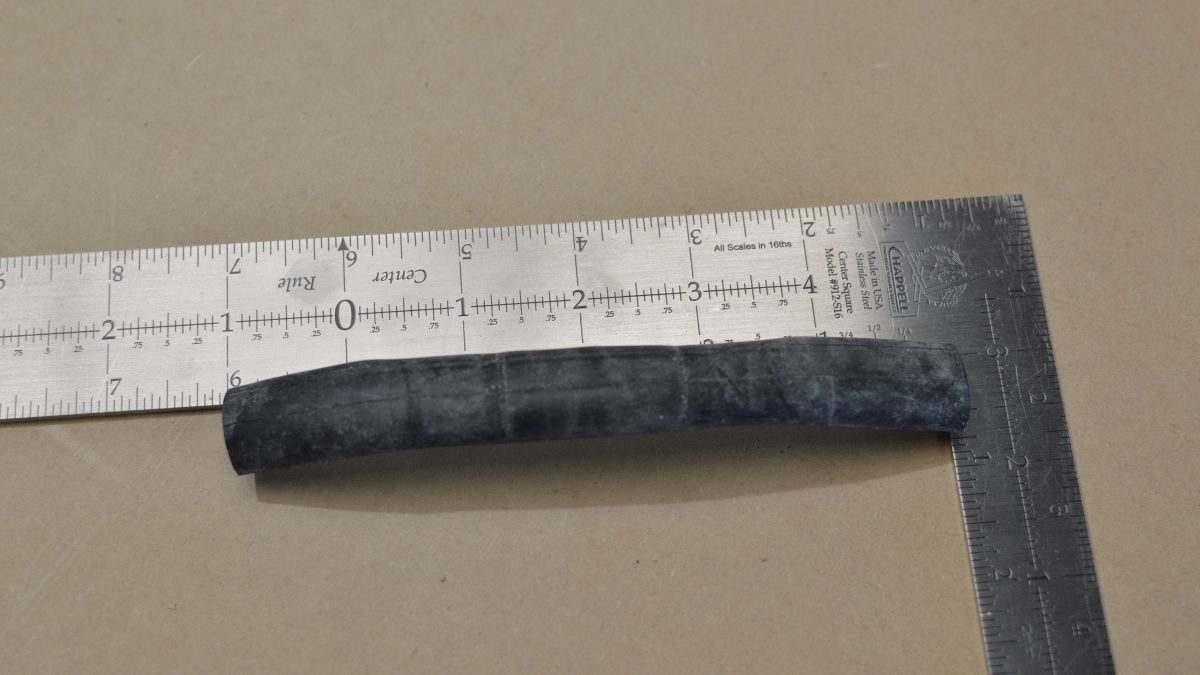
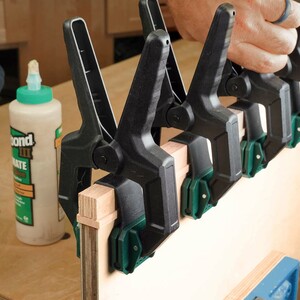
To get started I bought a bunch of inexpensive spring clamps. I bought a pack of 100 6-in. spring clamps on Amazon for about $115. With the spring clamps in hand, it’s time to take one over to a local bike store. Ask the clerk if they have any extra road bike tubes with a width of 25 to 32mm (1-in. to 1-1/4 in.). Most of the time they will give you as many tubes as you would like. Small punctures make inner tubes useless for a bike, but perfect for edge banding clamps. Or go ahead and buy a couple. Cut these tubes into 6-in. lengths.
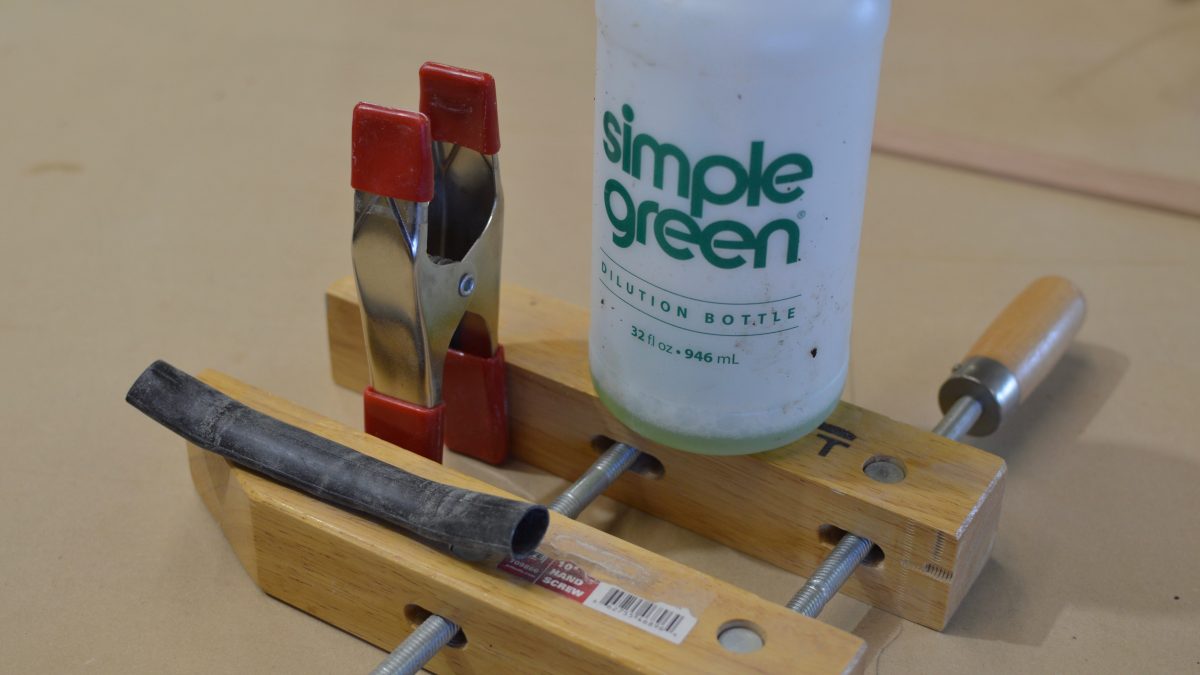
Next, assemble the clamps. I used some diluted Simple Green as a lubricant to slide the tubes over each jaw of the spring clamp. I don’t think Simple Green is the best thing to use, it’s just what I had on hand. Use something that evaporates and doesn’t leave too much residue.
Slide the inner tube onto one side:
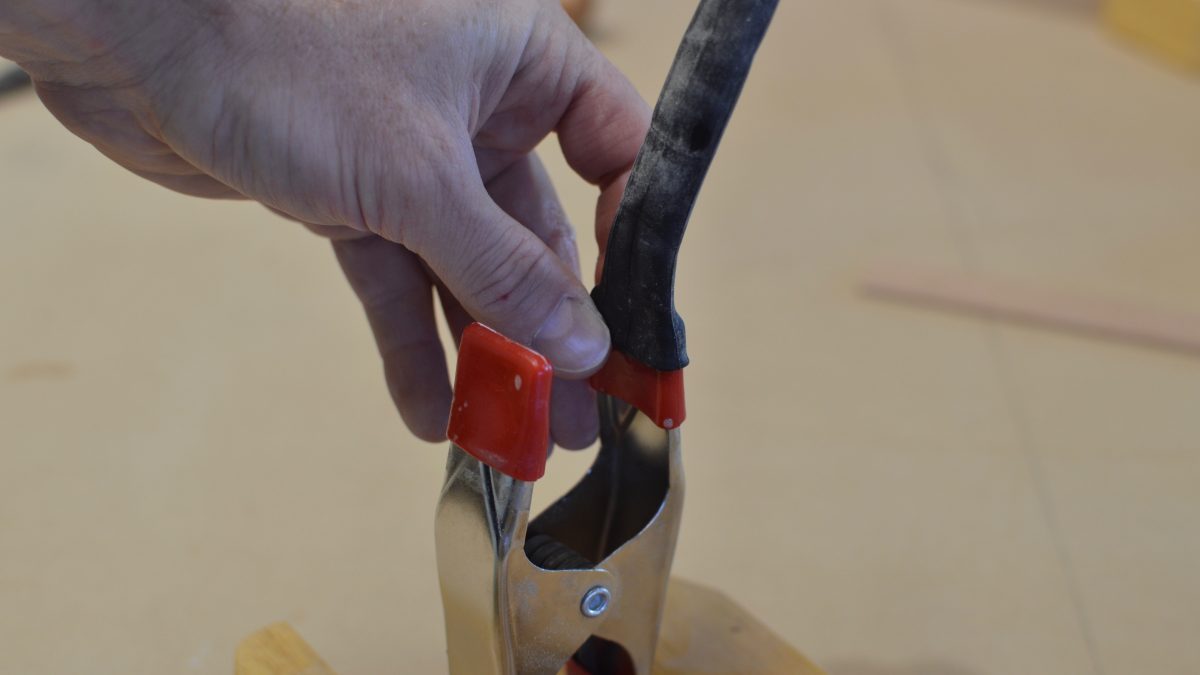
… then the other.
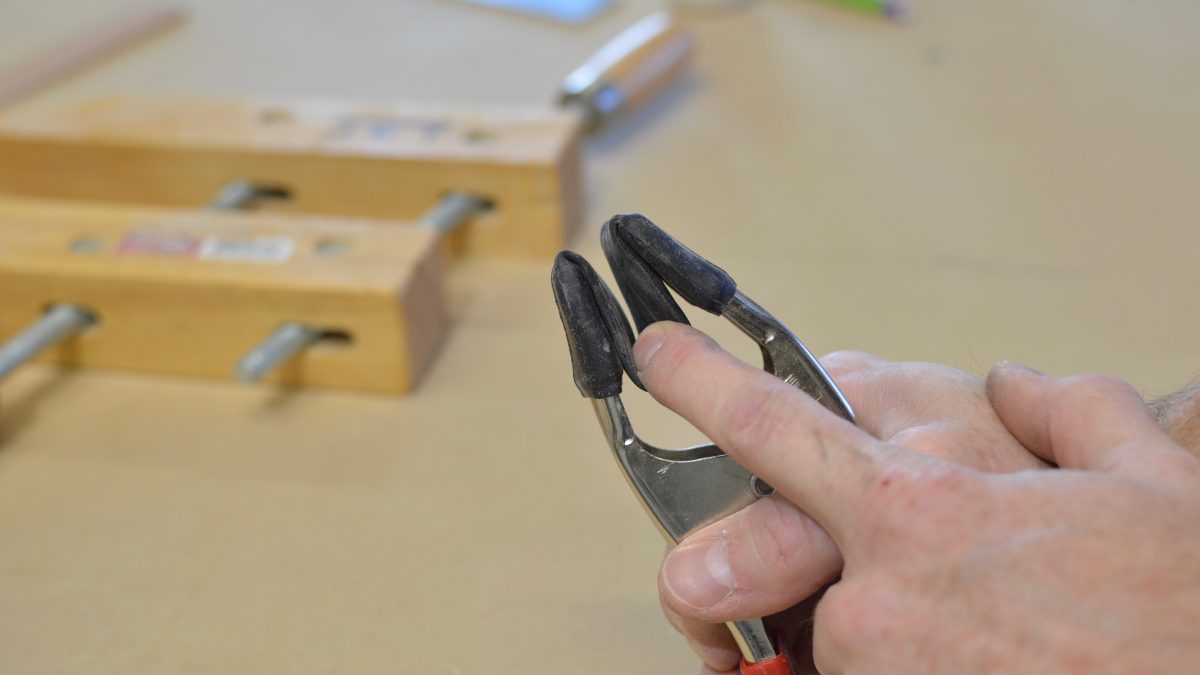
Finish by folding the excess into the clamp.
Putting the clamps into use
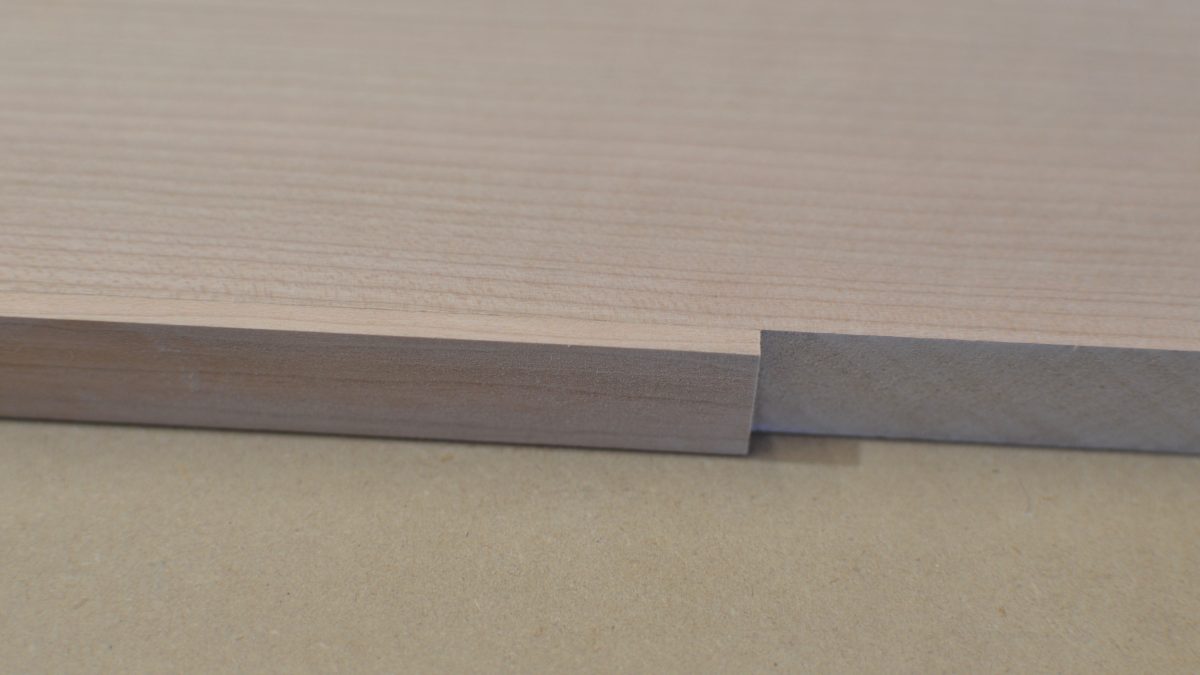
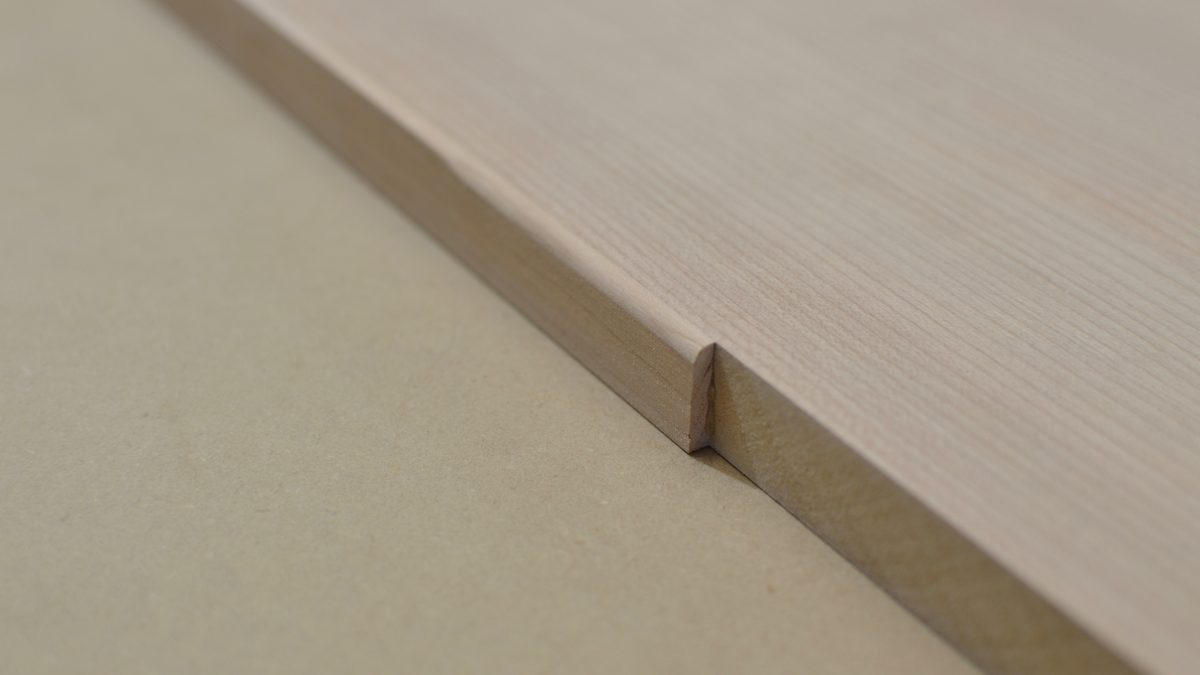
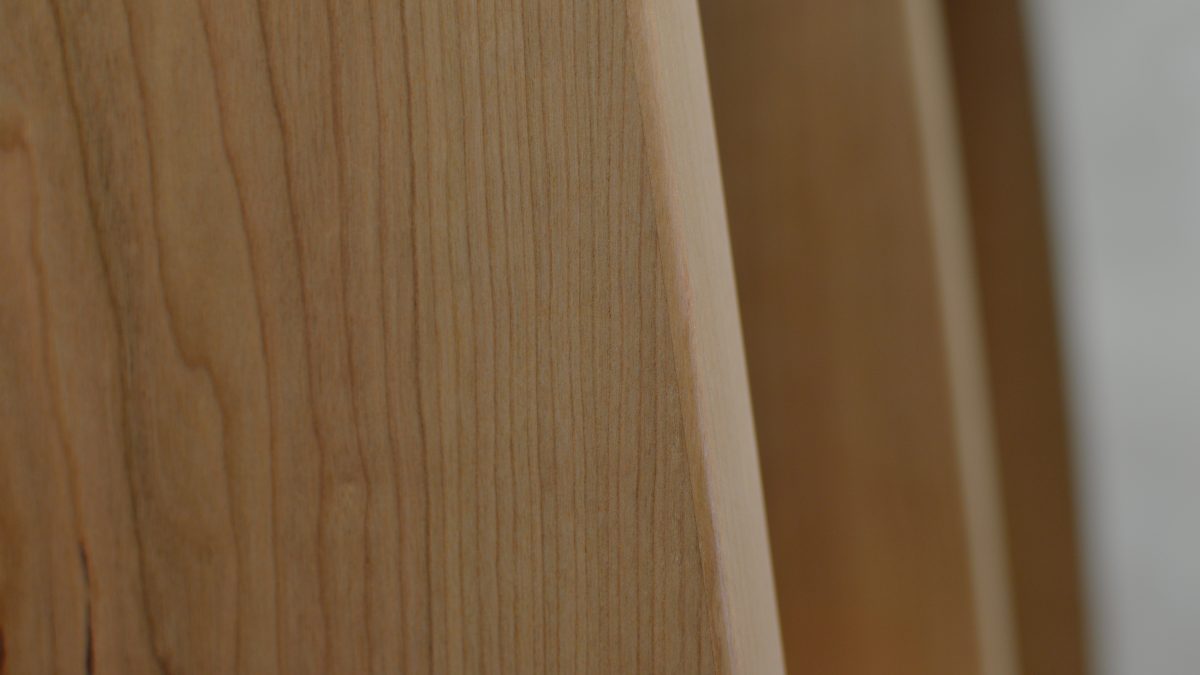
At this point the clamps are ready to go, it’s now time to put them to use. After my plywood is cut to size, I mill up some edge banding material. I normally cut it about 1/8 in. to 3/16 in. wide. I use a variety of thicknesses from 1/8 in. all the way to 3/4 in. plus. For this project I went with 1/8 in. because I wanted it to conform to the curve easily.
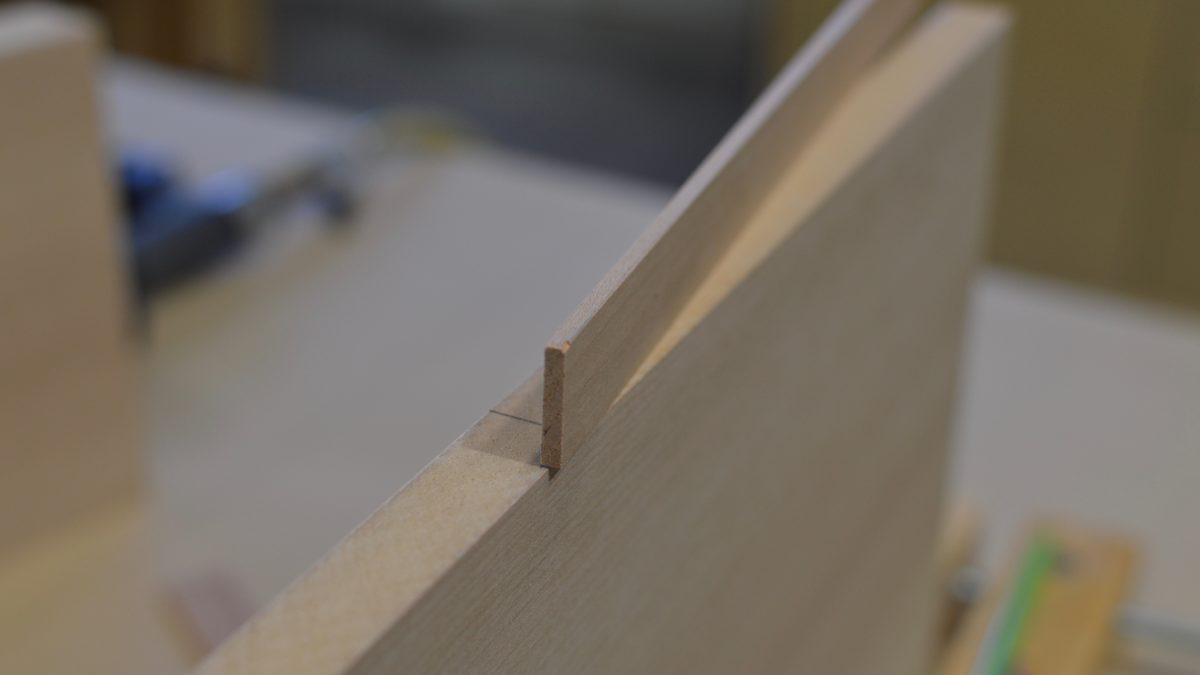
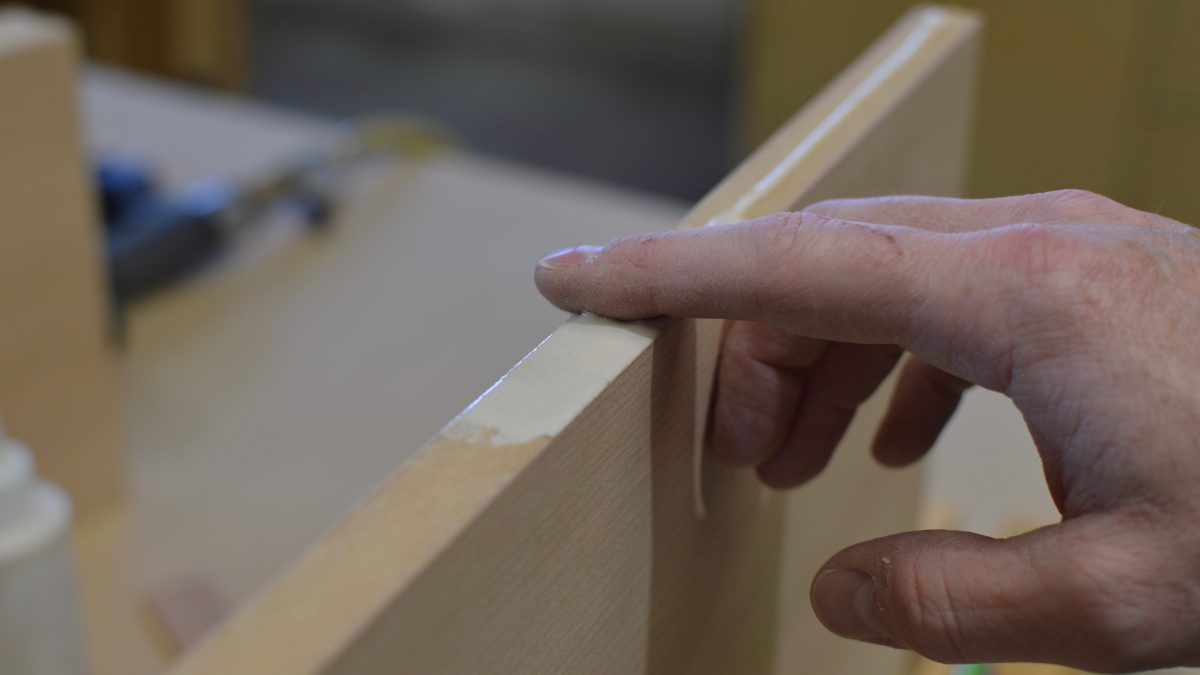
I use any kind of wood glue; in this case I used Titebond 3. I like a nice even coat so I use my permanently attached glue spreader. I aim to use enough glue for a nice wet coat, but not enough to cause a mess. A little squeeze-out is perfect. I leave things clamped up for 30 minutes to an hour. Once the squeeze-out is hard enough that it won’t smear, I move on to the next step.
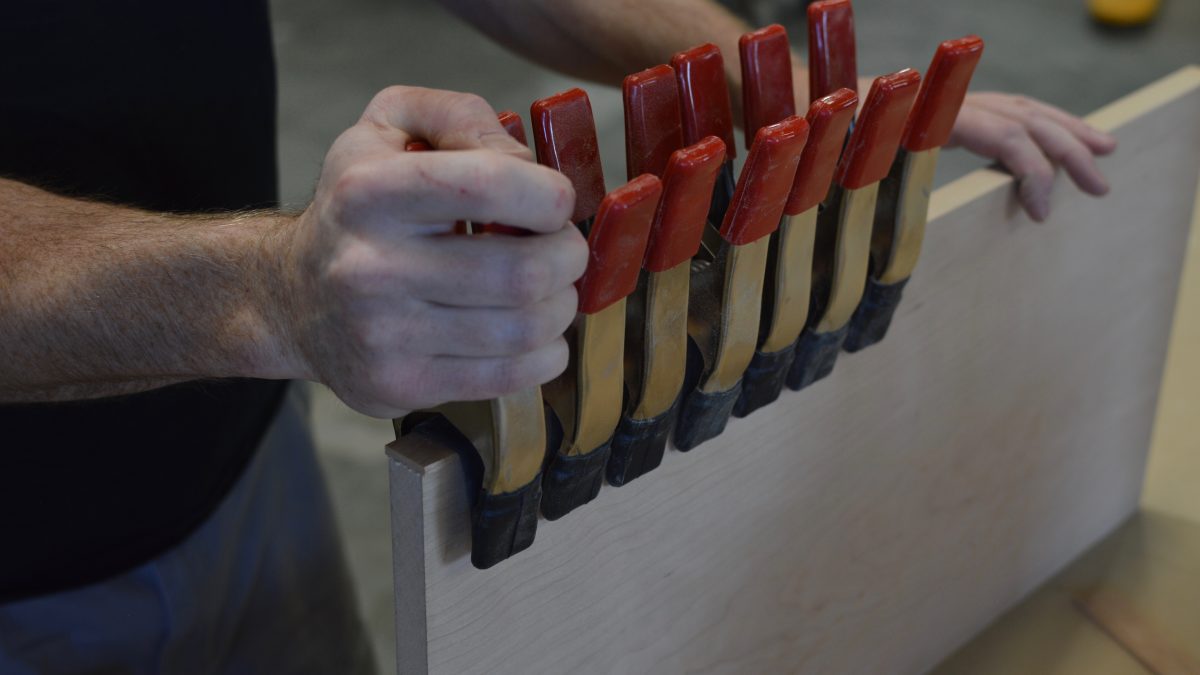
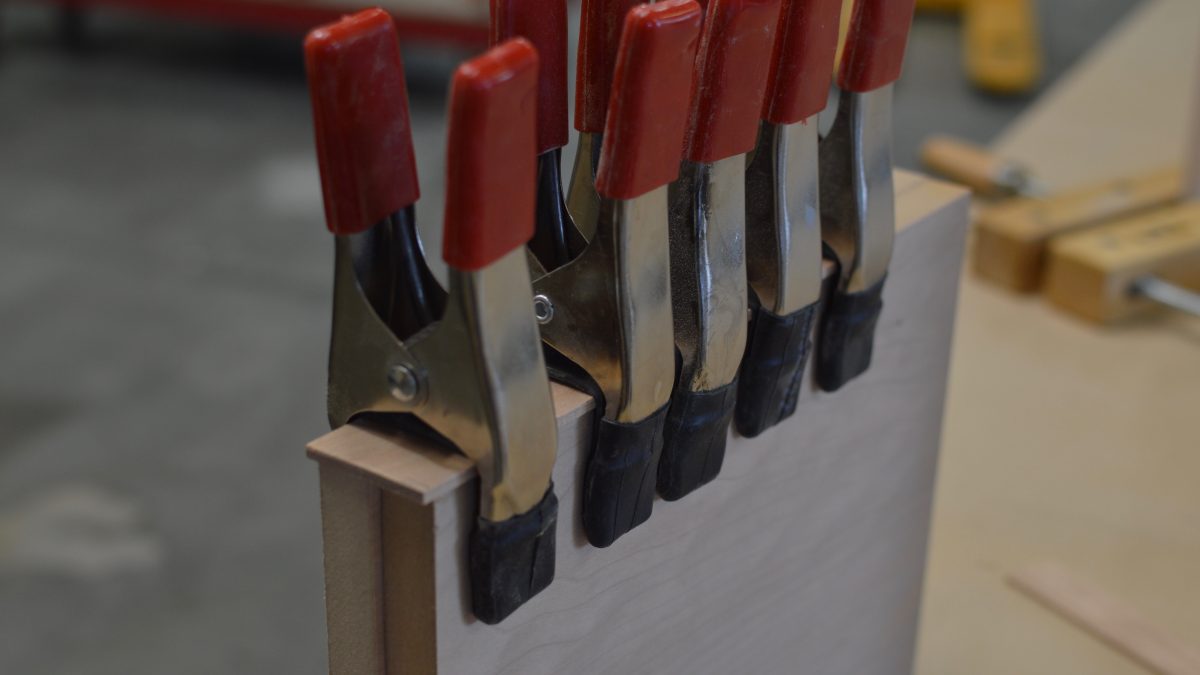
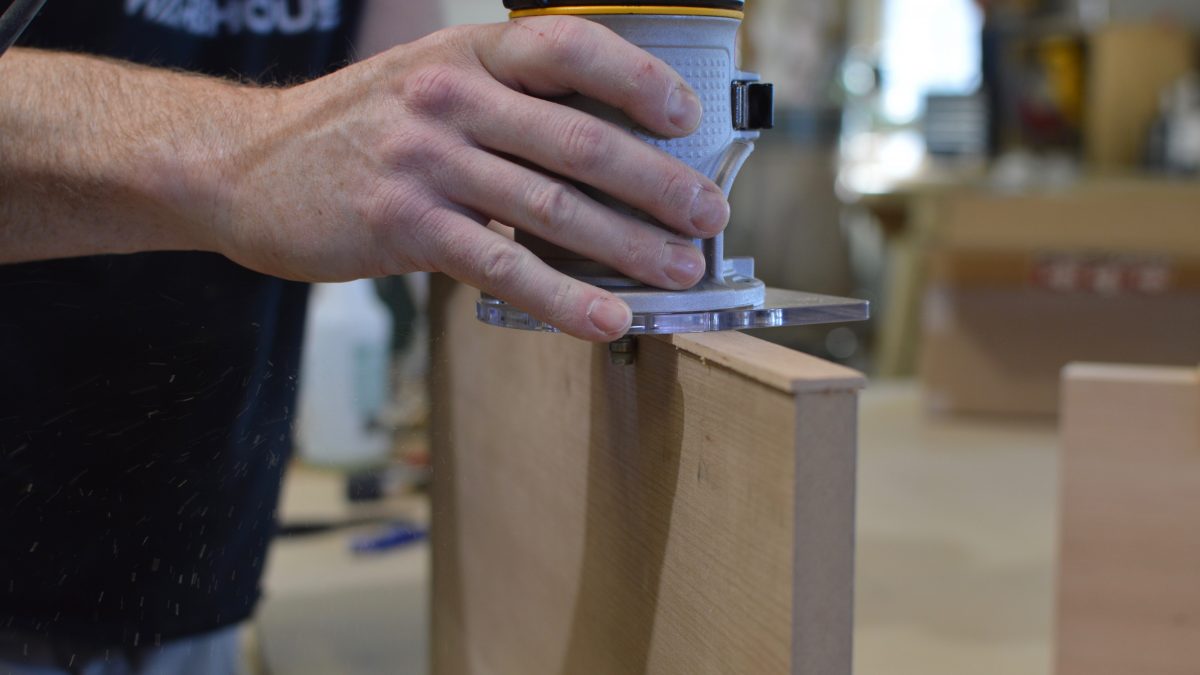
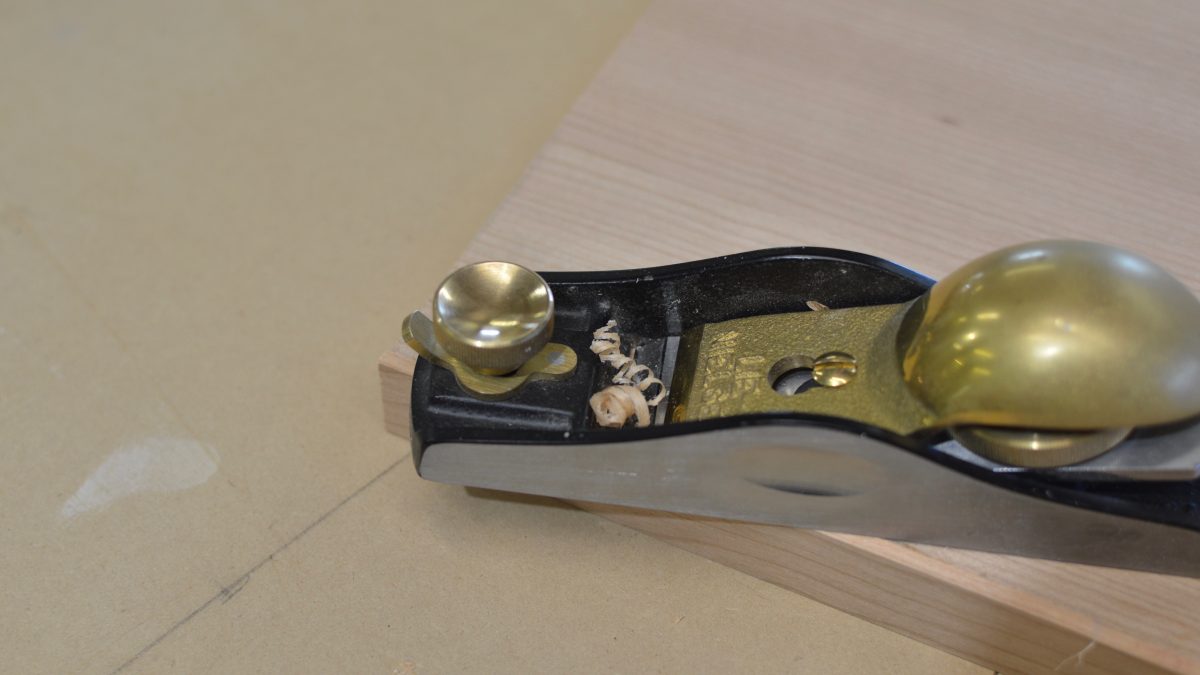
The last step is to cut back the overhanging material. I use a tool known as a lipping planer, but a router with a flush-trimming bit, or a good old-fashioned block plane would work great too. I clean up the ends with a flush-trim saw, router, tablesaw or a special attachment for my biscuit joiner called the Lamello Nova.
One final note about this technique. This is not my original idea. As with most things in my life, I saw it somewhere “on the line” and have been using it for a few years now. I like this method for edge banding so much I just wanted it to share it with any and all who dare read this blog. I used to do this same procedure with blue tape. I find this method better because the elasticity of the inner tubes applies a better clamping pressure. I also find it faster.
If you would like to see this method in action I have a couple links to videos where I use this very technique, including a build video documenting these bow-front display cases and showing how I use this method to edge-band a curved surface.
 |
Six Ways to Edge PlywoodJUNE 1, 2002 |
 |
|
 |
Fine Woodworking Recommended Products

Bahco 6-Inch Card Scraper
Whiteside 9500 Solid Brass Router Inlay Router Bit Set







Log in or create an account to post a comment.
Sign up Log in