Build a Simple and Stout Workbench
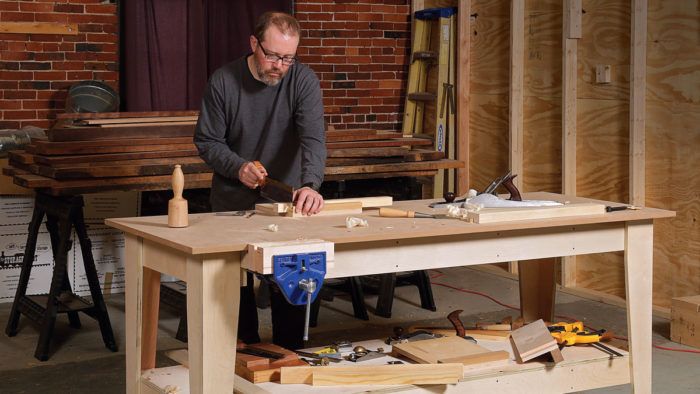
Designed for student use at the Center for Furniture Craftsmanship, this easy-to-build, no-nonsense workbench can stand up to lots of use and abuse.

Synopsis: This bench design is used for the student workbenches at the Center for Furniture Craftsmanship, so it has to be an easy-to-build, no-nonsense affair that can stand up to lots of use and abuse. It is built from inexpensive materials and can be adjusted to fit any space, or even adapted for use as a sharpening station, finishing table, or router table. Simple plywood, MDF, and a few hours of work are all you need to make this bench.
It’s hard to do good work without a good bench. But I want to spend my time designing and building furniture, not workbenches, so I like one that’s quick to build without sacrificing quality. My go- to for this comes from the Center for Furniture Craftsmanship, where I used to teach.
These student benches are no-nonsense affairs that, in some cases, have stood up under decades of considerable use. They not only work well but are a breeze to make, use inexpensive materials that are easy to get, and can be sized to fit nearly any space.
The base is made with common birch plywood, although cheaper CDX plywood would work just as well. You don’t have to include the shelf down below, but adding it makes this bench nearly bombproof. The top is 3⁄4-in. MDF, which is more durable than you might think. When I was at the school, some benches still had their original tops. Still, if yours wears out over time, it can be replaced easily.
As a bonus, the form is also quite versatile. At the school, some benches had melamine tops and were used for drafting, finishing, layout, and vacuum pressing. Some had insert plates that turned them into router tables. Shrink the design, and you have a sharpening station. I’m making a full-size workbench here, but the design is a blank canvas, so feel free to adapt it however you see fit.

Rigid plywood base
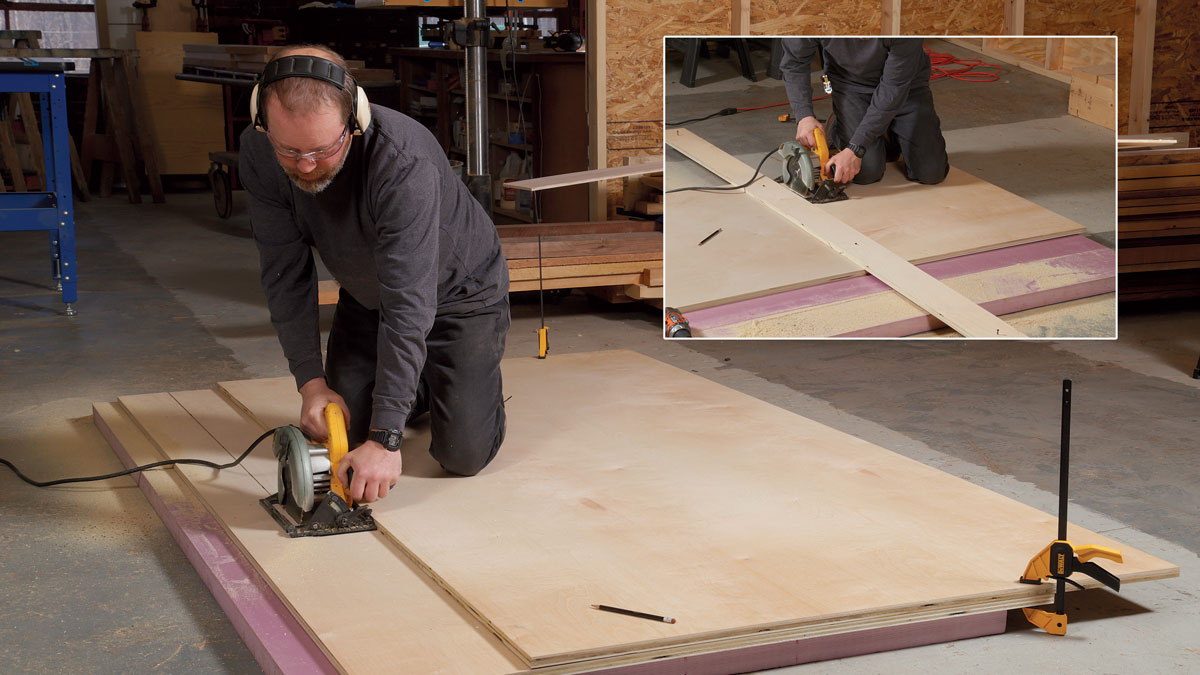
For a workbench this size, the base comes from two sheets of plywood. When I break down the plywood, I start by laying it on a large piece of rigid foam on the floor and use a circular saw. Running a full-size sheet through the tablesaw can be tricky and starting on the floor makes the process easier.
To view the entire article, please click the View PDF button below.


Comments
Hello fellow Mainer! I really enjoyed your article. I’m just getting into wood working and what better way to start is by making a work bench! One question I have concerns your method of attaching the legs with glue and screws in an x pattern. Could short carriage bolts be an alternative?
Like your bench design, simple and practical for a first bench. What type of screws are you using? They appear to be sheet rock screws, but you do not mention predrilling. I plan on using Spax screws, but there is a wide variety and would like a suggestion. Thanks.
Due to stay at home orders, I do not have access to my typical plywood supplier. However, I do have access to dimensional lumber. Would it be problematic to make the legs, aprons, bracing, and stretchers out of solid wood instead of plywood? I would likely stick with plywood or MDF for the shelves and top. I think this design would still hold up and wood movement wouldn't be a major concern.
I don't see why that would be a problem.
Log in or create an account to post a comment.
Sign up Log in