A Joiner’s Tool Kit
Peter Follansbee gives a glimpse into his hand-tool kit to show us what's there and why it's important.
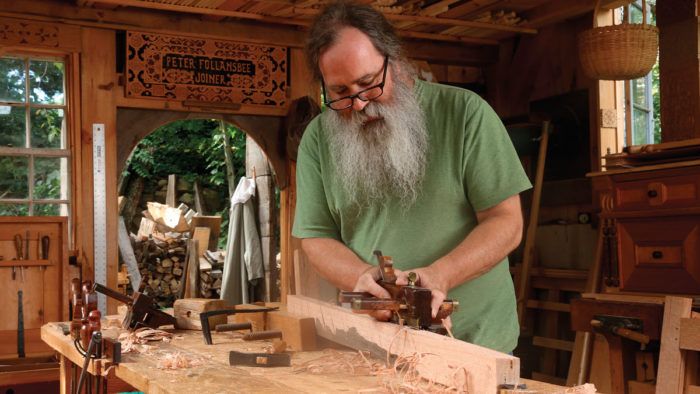
Synopsis: The first, most vital step in Peter Follansbee’s all-hand-tools approach to furniture making is to start with straight, riven stock. If you do that, you need just a modest-sized set of tools to do the rest of the work, such as a hatchet, a variety of handplanes, a handsaw, measuring and marking gauges, chisels, various carving tools, and more. Follansbee gives a glimpse into his tool kit to show us what’s there and why it’s important.
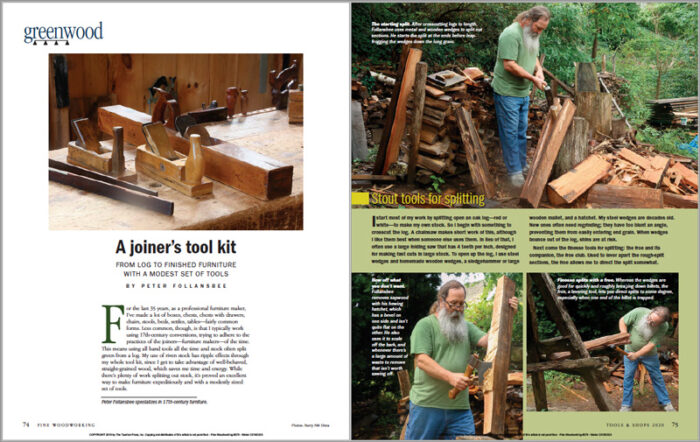
For the last 35 years, as a professional furniture maker, I’ve made a lot of boxes, chests, chests with drawers, chairs, stools, beds, settles, tables—fairly common forms. Less common, though, is that I typically work using 17th-century conventions, trying to adhere to the practices of the joiners—furniture makers—of the time. This means using all hand tools all the time and stock often split green from a log. My use of riven stock has ripple effects through my whole tool kit, since I get to take advantage of well-behaved, straight-grained wood, which saves me time and energy. While there’s plenty of work splitting out stock, it’s proved an excellent way to make furniture expeditiously and with a modestly sized set of tools.
Stout tools for splitting
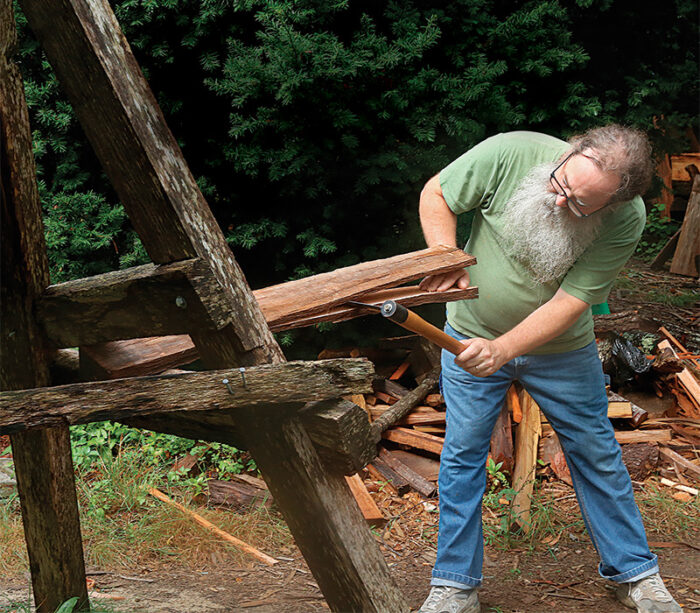
I start most of my work by splitting open an oak log—red or white—to make my own stock. So I begin with something to crosscut the log. A chainsaw makes short work of this, although I like them best when someone else uses them. In lieu of that, I often use a large folding saw that has 4 teeth per inch, designed for making fast cuts in large stock. To open up the log, I use steel wedges and homemade wooden wedges, a sledgehammer or large wooden mallet, and a hatchet. My steel wedges are decades old. New ones often need regrinding; they have too blunt an angle, preventing them from easily entering end grain. When wedges bounce out of the log, shins are at risk.
Next come the finesse tools for splitting: the froe and its companion, the froe club. Used to lever apart the rough-split sections, the froe allows me to direct the split somewhat.
Dimensioning devices
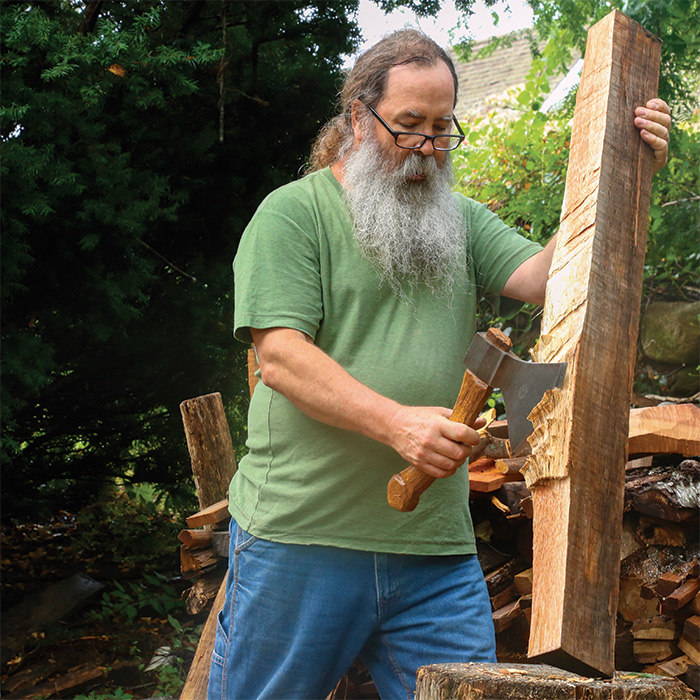
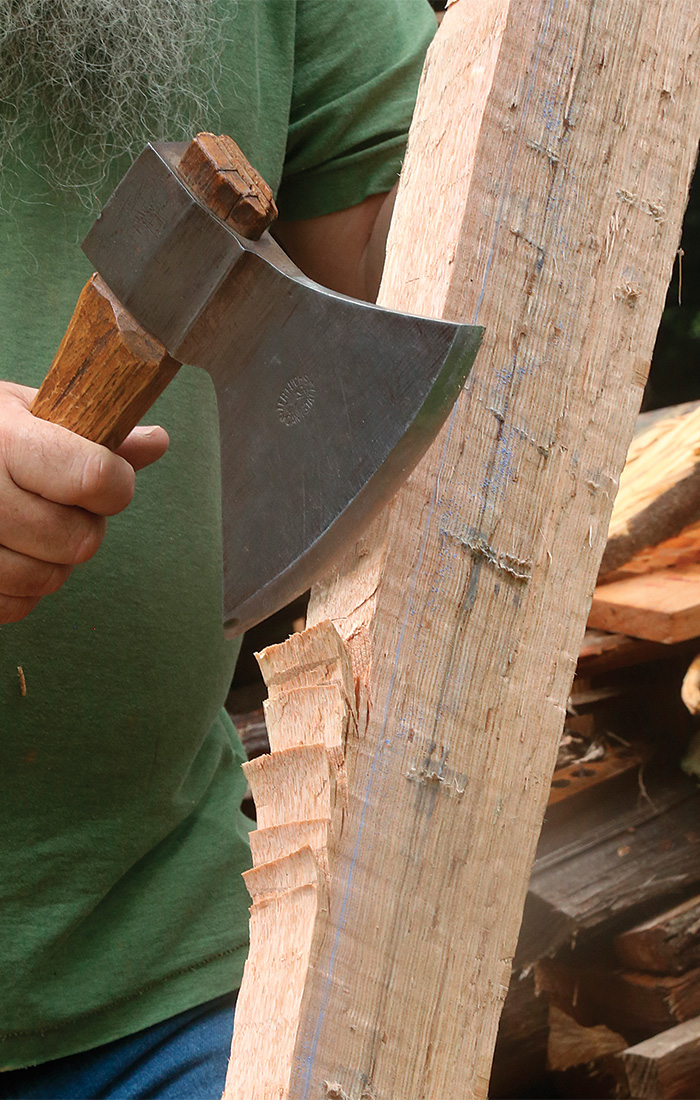
Because I split my workpieces from straight logs, I can rely on a hewing hatchet for accurate cuts. The tool isn’t absolutely necessary, but I’d hate to practice this craft without one. My favorite is a single-bevel model with a large, curved cutting edge, about 6 in. long, which allows it to slice through wood easier than a straight edge. It weighs around 2-1 ⁄ 2 lb. and has a short handle. Its inside face is slightly convex, allowing it to ever-so-slightly scoop the chips off the board’s surface. But don’t worry if you can’t find one. Common double-bevel hatchets can do the trick too. How to make a straight edge. Follansbee uses a chalk line to mark out the reference edge, usually just under the sapwood. Then he hews close to the line with his hatchet before planing.
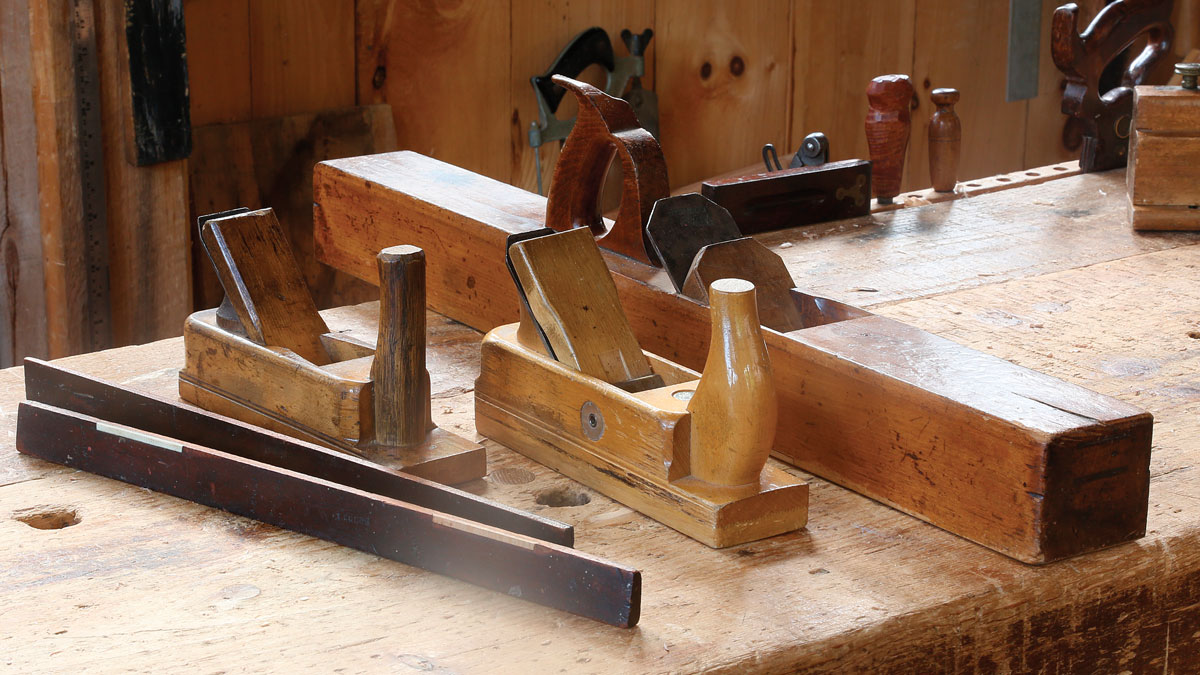
Then there are my planes—a scrub, a jointer, and a smoother. With truly straight workpieces, I don’t even have to worry about grain direction. My planes have wooden bodies; metal-bodied ones can react poorly with the tannins in green oak.
To cut boards to rough length, I use a 21-in. saw marked “A.J. Wilkinson & Co.”—the hardware store where my father worked.
Winding sticks, a marking gauge, and a straightedge are essential during dimensioning to ensure workpieces are flat and square.
Peter Follansbee specializes in 17th-century furniture.
From Fine Woodworking #279
For the full article, download the PDF below:
 |
|
 |
|
 |
Fine Woodworking Recommended Products

Suizan Japanese Pull Saw
Hedgehog featherboards

Starrett 12-in. combination square



Comments
I admire the tenacity and skill of someone like Peter. I won't follow his example, as I like my power tools AND my hand tools, but I do admire it.
Log in or create an account to post a comment.
Sign up Log in