Versatile Bench Design
The Center for Furniture Craftsmanship uses this workbench design as the basis for a router table, a drafting table, a sanding station, and more.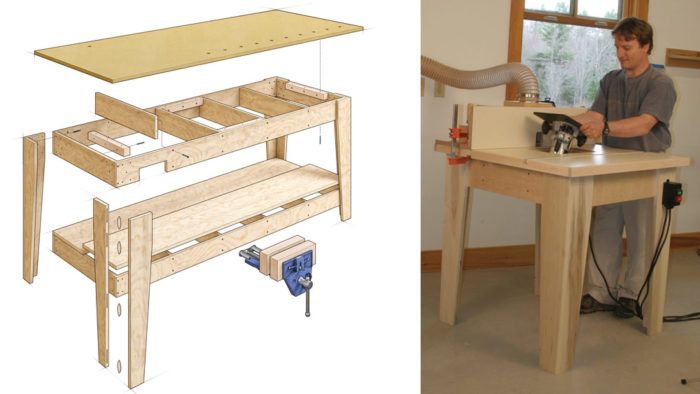
The Center for Furniture Craftsmanship (CFC), a woodworking school in Rockport, Maine, is renowned for its teachers and students—and the artful, often complex furniture they come up with. Yet much of it, from drafting to construction to finishing, is done on a fleet of no-nonsense work surfaces that share similar bones.
Mason McBrien, a former facilities manager and instructor at the school, uses this design in his article “Build a Simple and Stout Workbench,” built with some plywood for the base, an MDF top, and a vise with hardwood jaws for good measure. Some of these benches at the school have been in service for decades, a testament to their reliability, considering how many students use these yearly. But as the article notes, the options don’t stop at workbenches. Simply by changing the dimensions a bit—easily done thanks to the design’s torsion-box construction—or the material for the top, and you can reskin the bones for a whole other purpose.
For one, the bench is easily converted into a router table. In fact, J. Peter Schlebecker, another CFC alum, writes about building and using one in his article “Rock-Solid Router Table.” By lengthening the legs, making the aprons nearly equal length, dropping the shelf, and covering the top in laminate, he ends up with an excellent router table. 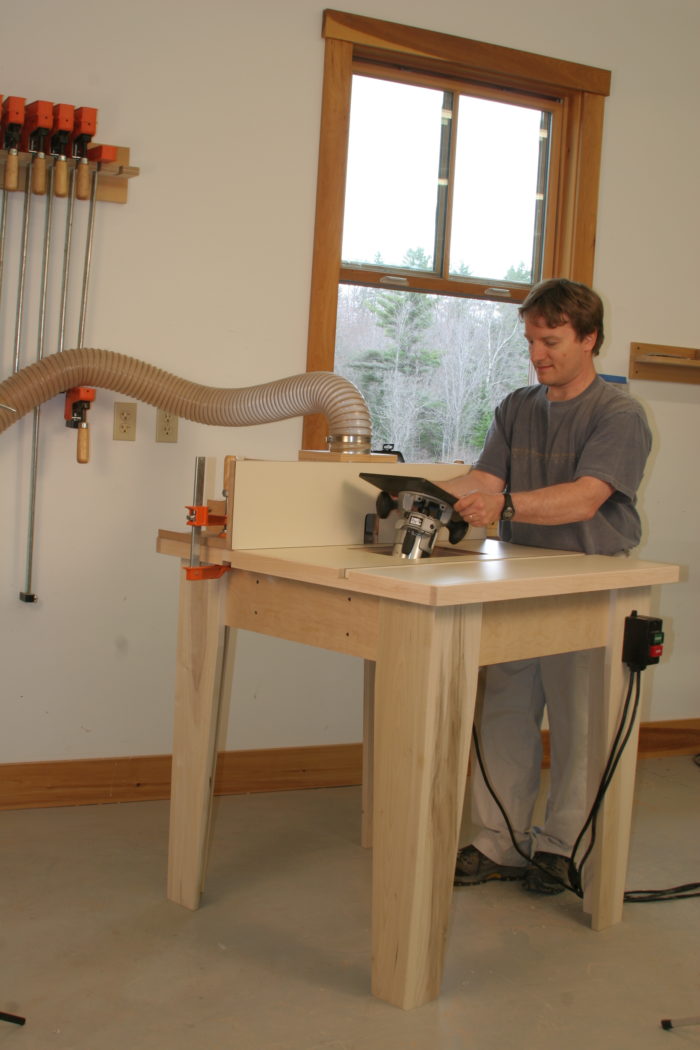
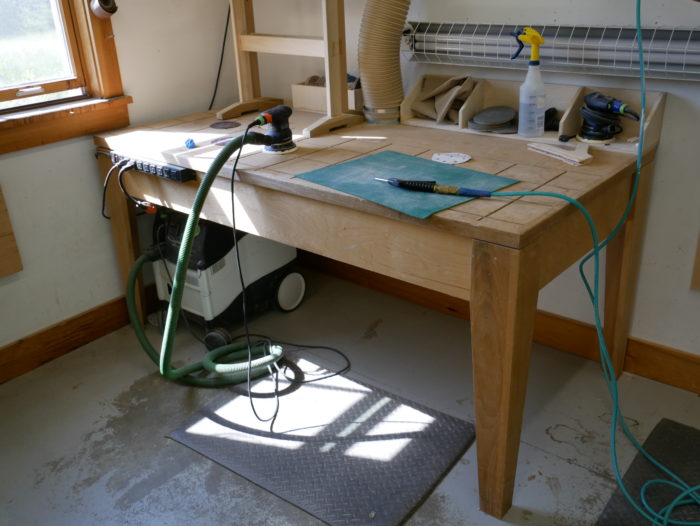
By keeping the build rectilinear, you can make a pair of workshop luxuries much more accessible: a sanding station (just nix the shelf) and an assembly/drafting table, which, thanks to its melamine top, is easy to clean.
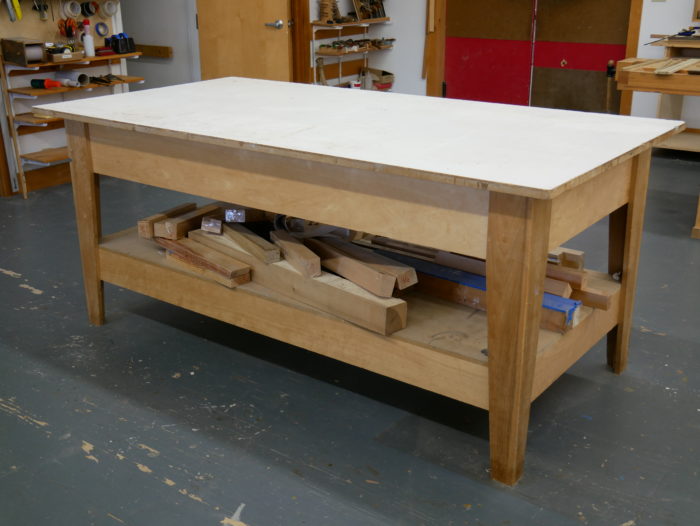
Another benefit of the torsion box design is that it’s likely to stay flat, making the build worthy of consideration for a vacuum press table, like the one below.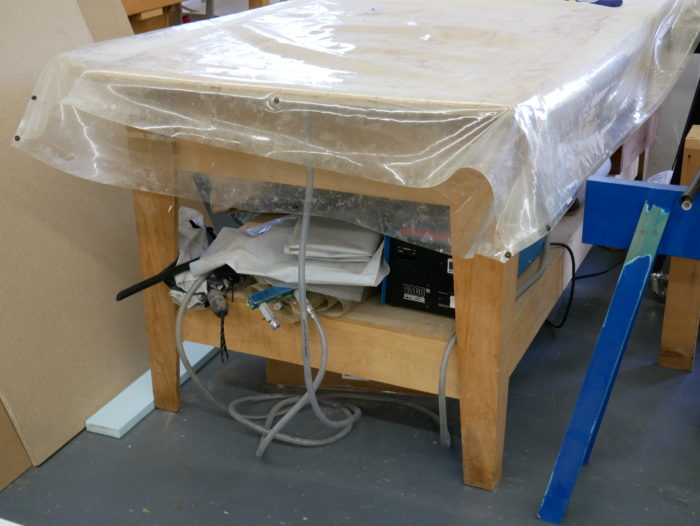
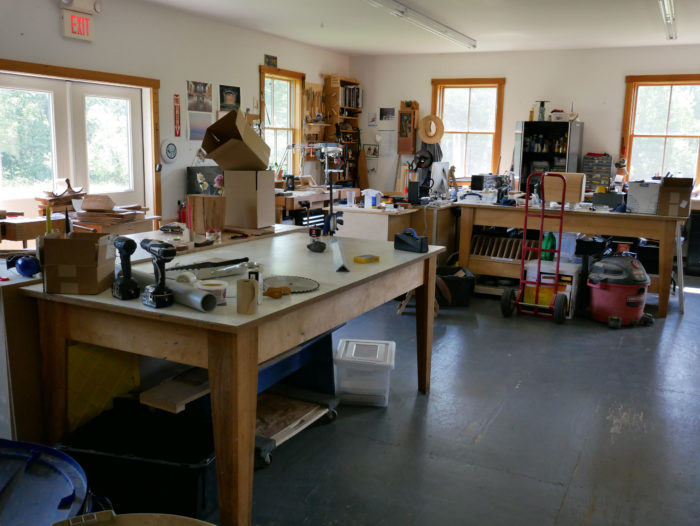
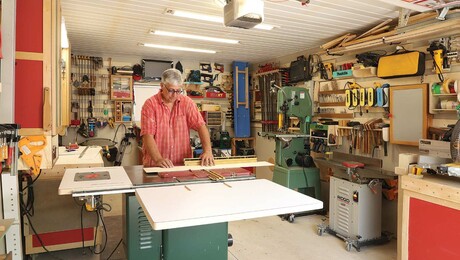
So take a cue from CFC and use this design to get more from your shop time. The options abound, and as you can tell from the photos, this prestigious school has returned to the design again and again, making it a familiar sight there.
Fine Woodworking Recommended Products
WoodRiver Router Bit Storage Case
Woodriver Rechargeable Desiccant Bag





Comments
Really enjoyed your article. I’m just starting out building a wood shop and trying to decide what kind of bench designs to employ. I like the simplicity and flexibility of the design you present. I am though curious about the method of attaching the legs using glue and screws in an x pattern as outlined in Mason McBrien‘s article. Would using carriage bolts be a possible method of attaching the legs? Not 3 in an x pattern but maybe two in a diagonal pattern. Any thoughts?
I built this bench on the weekend. I made it a little smaller than the one in the article but I cannot believe how sturdy this bench is. I didn't glue the legs onto the bench but it would be easy to still do this if needed. Great plans and an easy to read article - Thank you.
I did two screws in diagonal pattern for each side of each leg - top and bottom. The bench is solid. You could use carriage bolts if you wanted but I think it would be overkill in the plywood. This will be my go-to-design for new benches going forward.
For this project could pocket hole screws be used as an alternative to using biscuits? I don’t own a biscuit joiner but it occurred to me that I already own a Kreg Jig.
I just finished my workbench, and I'm really happy with it. Instead of biscuits I used construction screws and glue on the legs, they're solid. I put a 9" vise on, and instead of only screw and gluing the blocking in, I put two fat horizontal bolts clear through the apron and blocking. I opened up the vise all the way and leaned on it, the table picked up about a half inch on the opposite leg, that's all. I used a portable workbench, a straight edge and a circular saw to cut all the pieces. I made sure to true them all up, so it is solid, square and flat. I put three coats of clear satin Urethane on the top, two coats on the maple plywood below, inside and out. (I'm building a small wood boat in my backyard, so everything has to be weatherproofed.) It is a perfect solution for me. Thanks so much for the plans!
Log in or create an account to post a comment.
Sign up Log in