A Woodworker’s Layout Tools: Marking
Tom McLaughlin discusses the marking knives, gauges, pens, and pencils he uses every day in the shop.
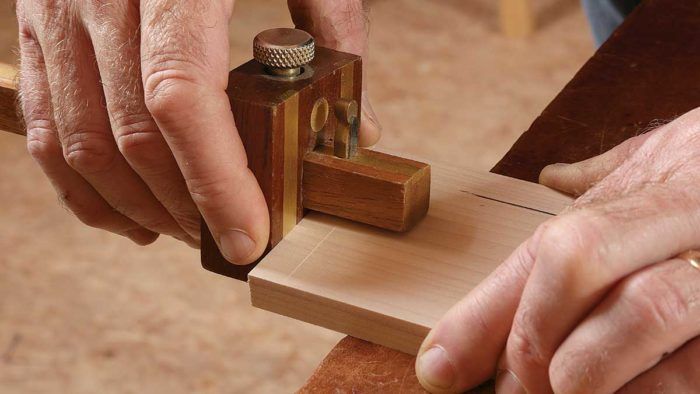
Synopsis: The first essential step in becoming a competent woodworker is skillful layout. You may have exceptional skills with a saw, chisel, handplane, and spokeshave, but if you haven’t mastered accurate layout, you won’t hit the mark. Tom McLaughlin discusses the layout tools he turns to every day: tape measure, rules, squares, gauges, knives, and markers.
Good marking and measuring tools are essential to fine work. The hand tools that cut and shave—planes, chisels, saws, and spokeshaves— tend to get all the glamour and attention. But even the most precise work with those tools is only as good as the layout that precedes them. After all, of what use is it to skillfully saw and chisel to a line if the line itself is not accurate?
Like many, I enjoy checking out the latest marking gadget or gizmo, but sometimes simple is best. Either because it’s difficult to improve on traditional, time-tested designs, or perhaps because old habits are hard to change, I usually reach for a trusty handful of classic layout tools, many of which look the same today as they did centuries ago. Other times, newer is better, although none of these tools has a ton of bells and whistles. Here are a few of my favorites.
 Marking knife
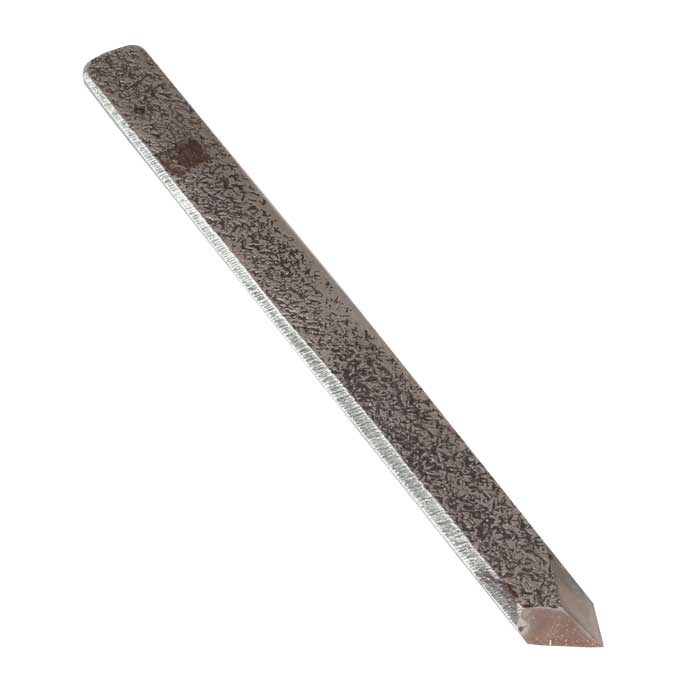
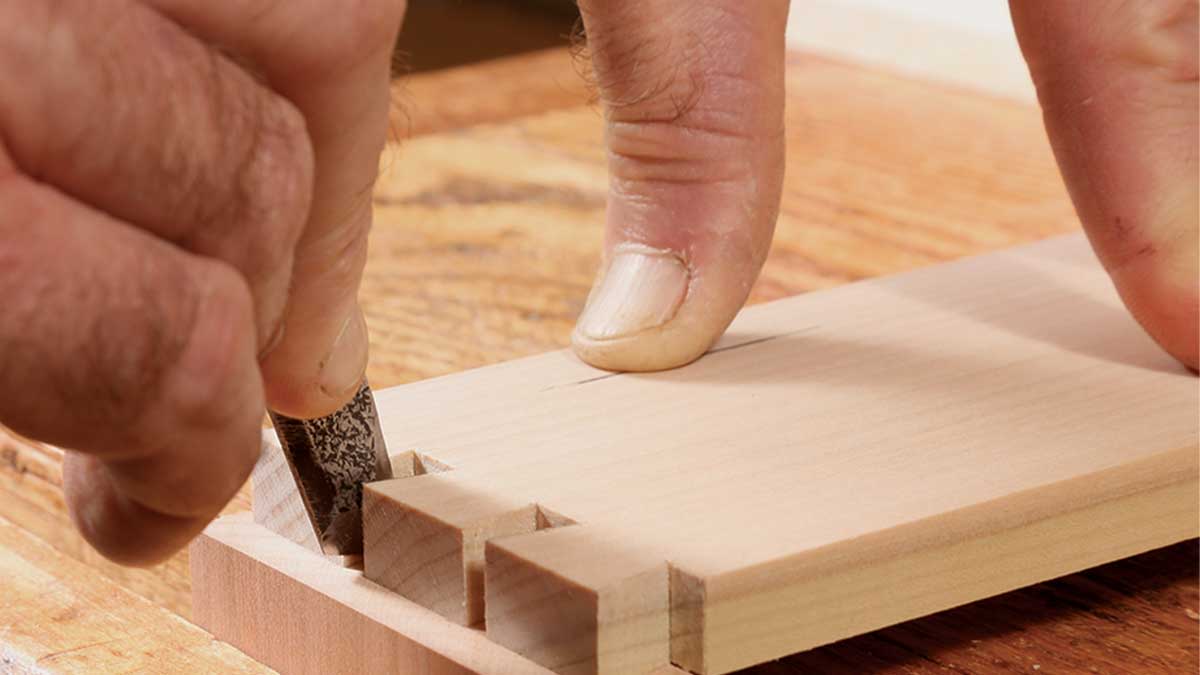
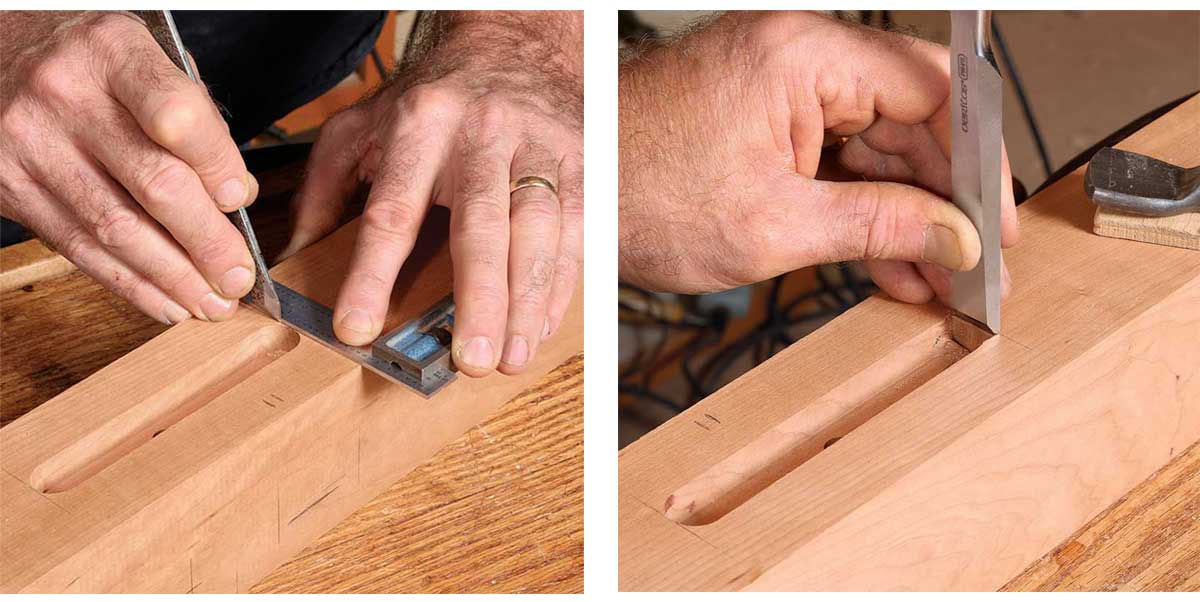
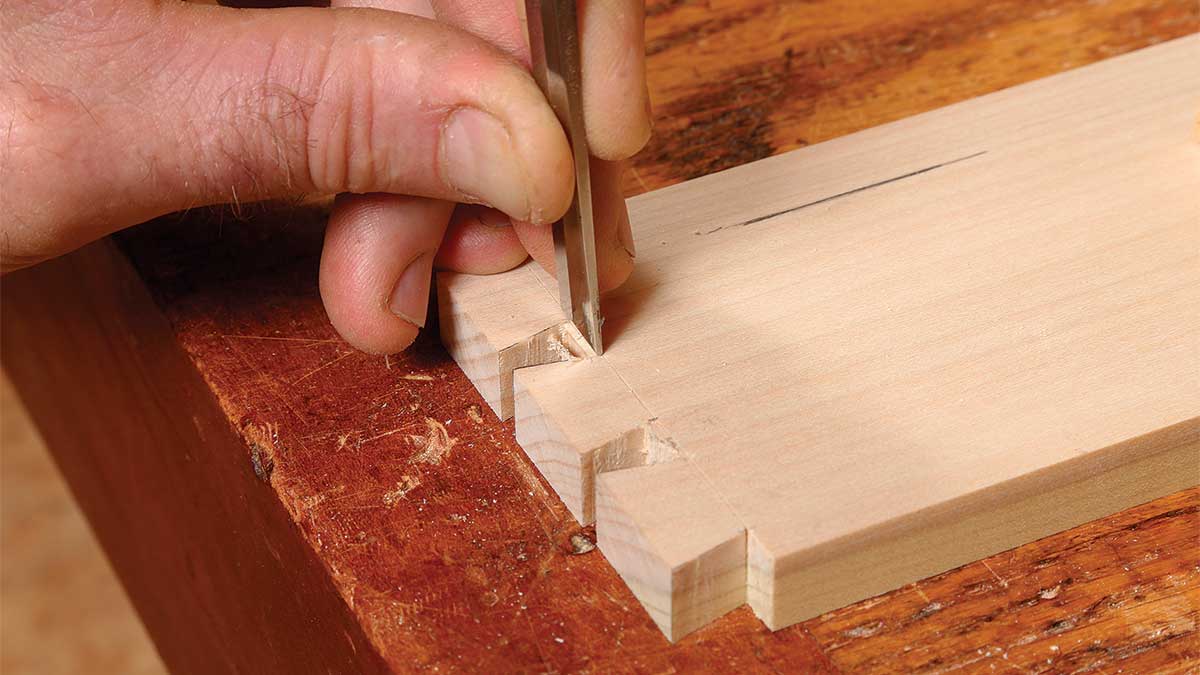
When the utmost precision is required in a line, a marking knife is my tool of choice. I use mine most commonly when transferring the shape of dovetails. With the tails sawn out, the exact shape must be traced onto the pin board.
The marking knife excels in this process because of the geometry of its edge. I’ve found the optimal marking knife has a beveled edge on one side and is flat on the other. The flat back is referenced against the shape to be outlined, and the resulting scored line precisely identifies the cut line. I avoid knives beveled on both sides because I find it is less reliable to index a beveled edge against the workpiece being outlined, as the blade can unintentionally drift away slightly or accidentally cut into the piece you are tracing.
Marking gauge
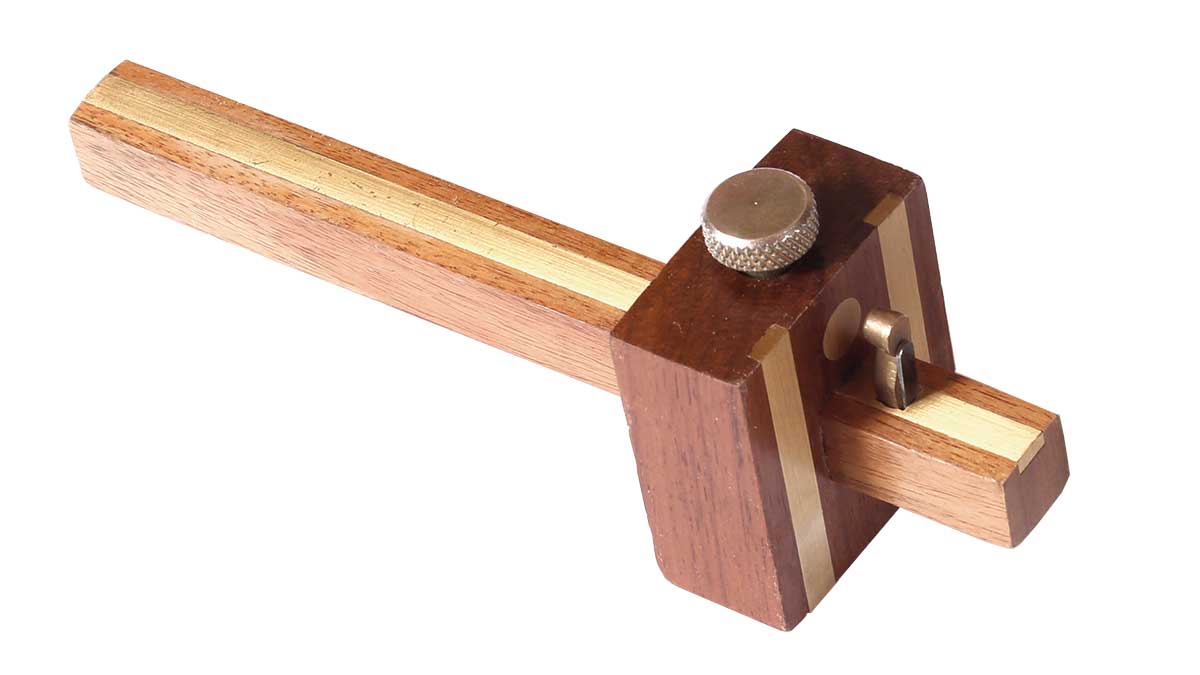
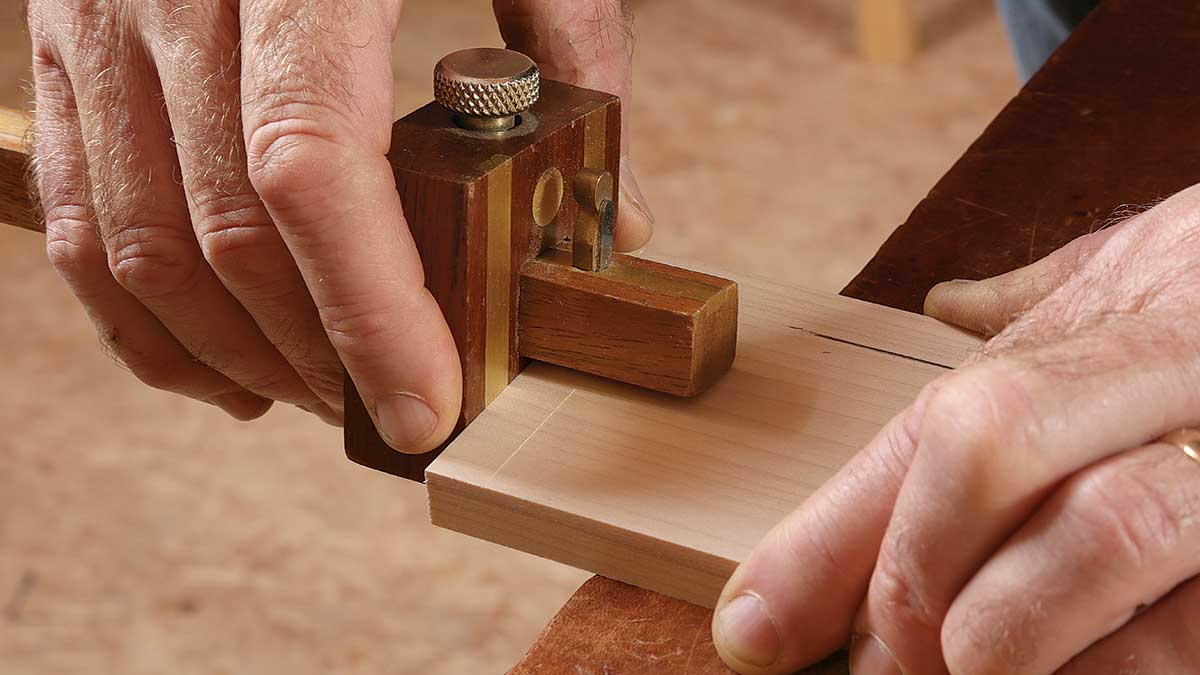
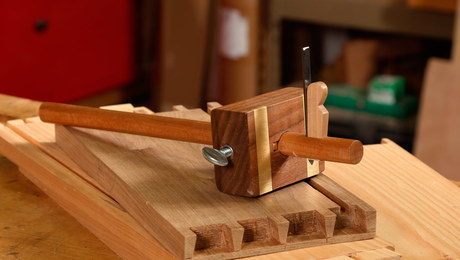
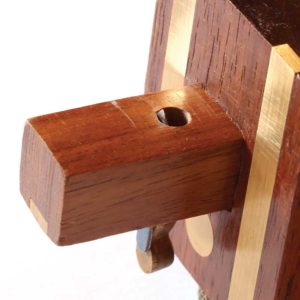 I always feel like I’m using an old-world tool when I pick up my marking gauge. It’s ingenious in its simplicity: a fence that adjusts along a beam equipped with a marking implement at the end.
Marking gauges come in many shapes and sizes and are made of wood, metal, or some combination. The traditional types have blocky wooden fences, while some contemporary models are round and solid brass. Assuming good quality, both types work well. It comes down to personal preference. I like the heft of the round style, but I still use the older style, specifically one with inlaid brass wear strips. It’s what I started with, and it has served me well.
I am more particular about the marking implement. Traditional marking gauges have either a round pin or a small beveled knife point. The pin works fine when running along the grain, but it drags when marking across the grain, tearing a ragged line. My preference is the knife type with its beveled edge toward the fence, which produces a crisp, clean, sliced line. Gauges with this type of blade are often called cutting gauges.
Markers
I use a variety of writing tools when drawing on wood depending on the level of precision, speed, and visibility I need.
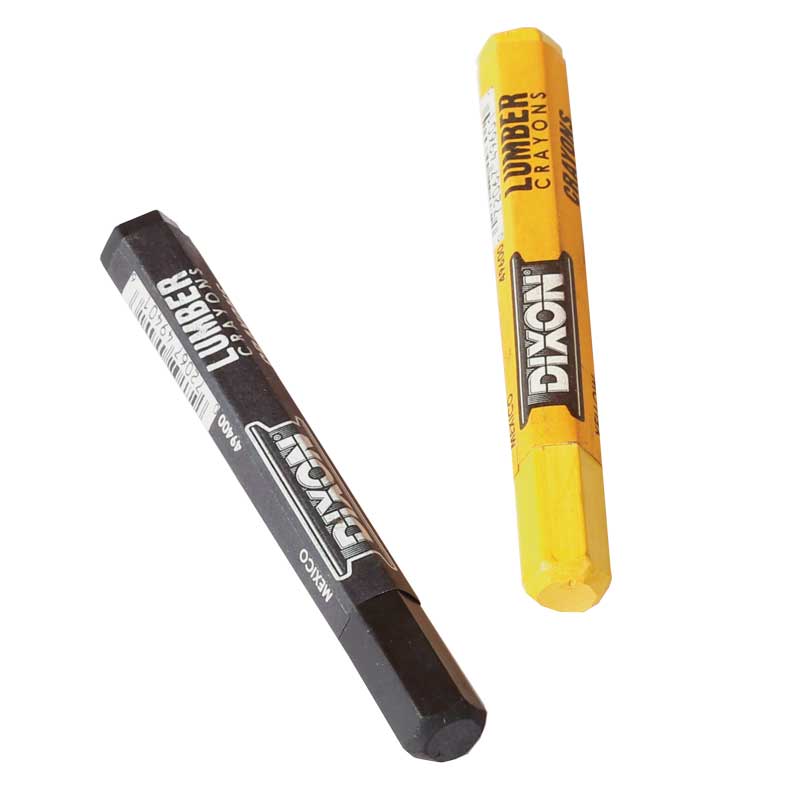
The lumber crayon is the most coarse. Made from a dense wax, it writes easily on rough surfaces. When picking out planks for a project, I use a lumber crayon to approximately outline the parts—legs, top, rails, etc.—directly on the stock.
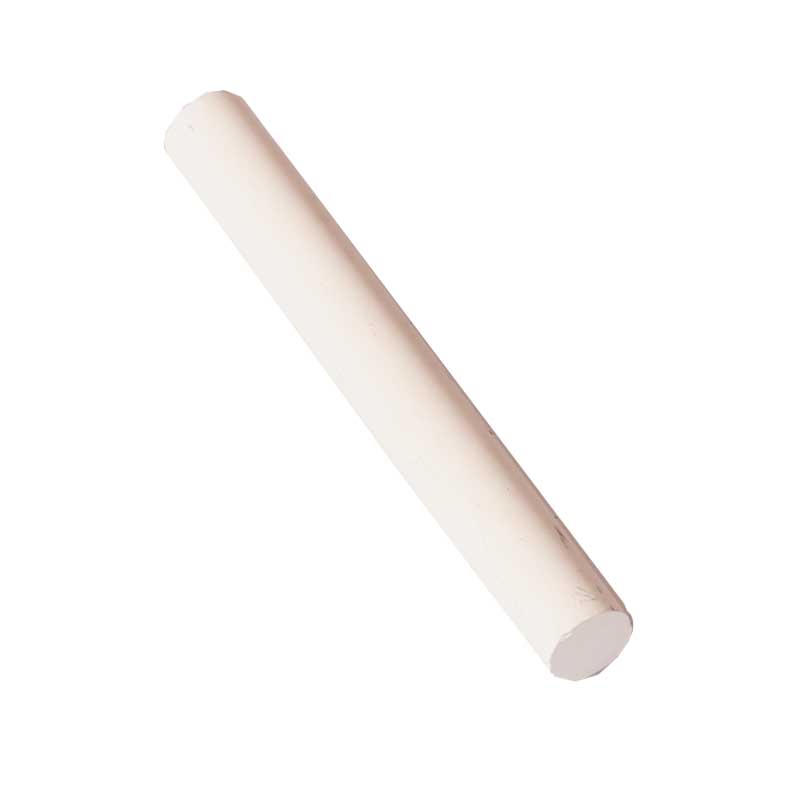
After the parts have been surfaced, I pick up the chalk, which is great for labeling parts while you’re prepping them. It’s highly visible and, as pieces get sanded and closer to completion, easy to remove.
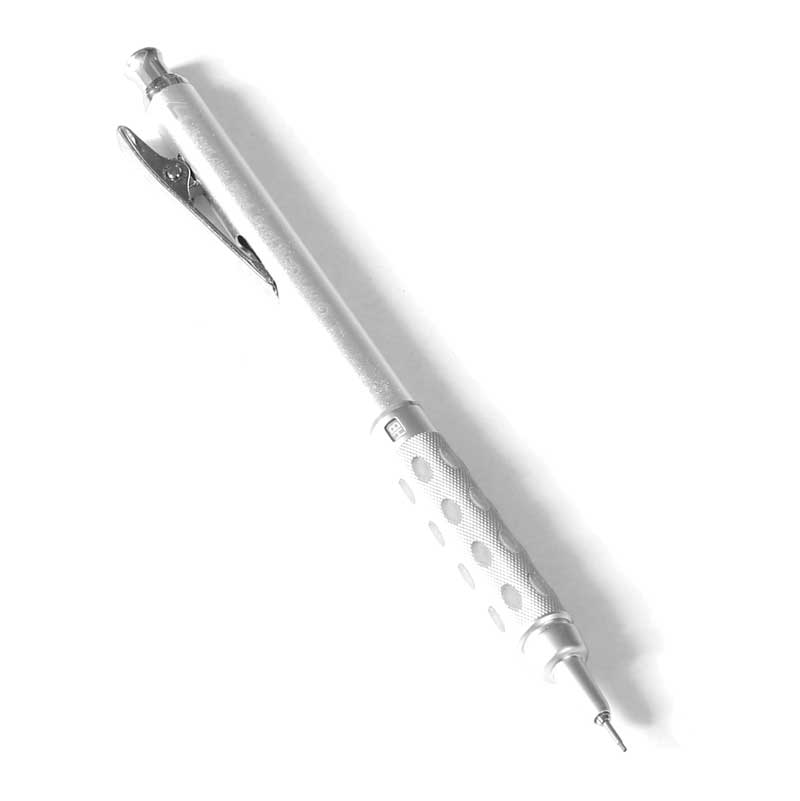
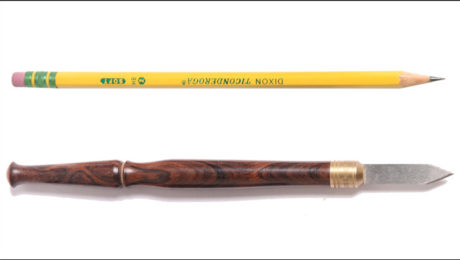
For greater accuracy, don’t overlook the simple pencil. I use it for marking a clear, clean line when the precision and seat of a knife line aren’t required. This comes into play particularly with machine work, where I use a pencil to help set up a machine but then rely on fences and stops once my settings are dialed in. A few years ago I became sold on mechanical pencils, which offer a consistent fine line without sharpening. I prefer 0.5-mm and 0.7-mm lead, which offer a good balance of fine and durable. My Pentel Graph Gear 1000 Automatic Drafting Pencil has proved resilient even in a shop environment.
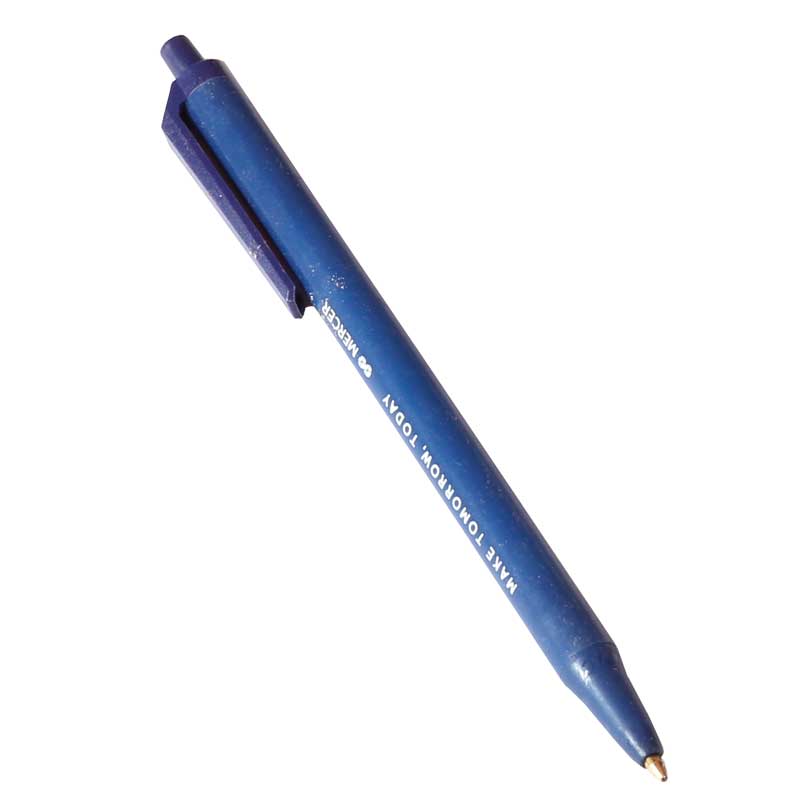
I often substitute a ballpoint pen for a pencil when I need a bold line and the workpiece is still in its early stages, so the line can be easily removed later. Like a mechanical pencil, a ballpoint pen produces a line of consistent width, but its extra width and richer color make it easier to see.
 |
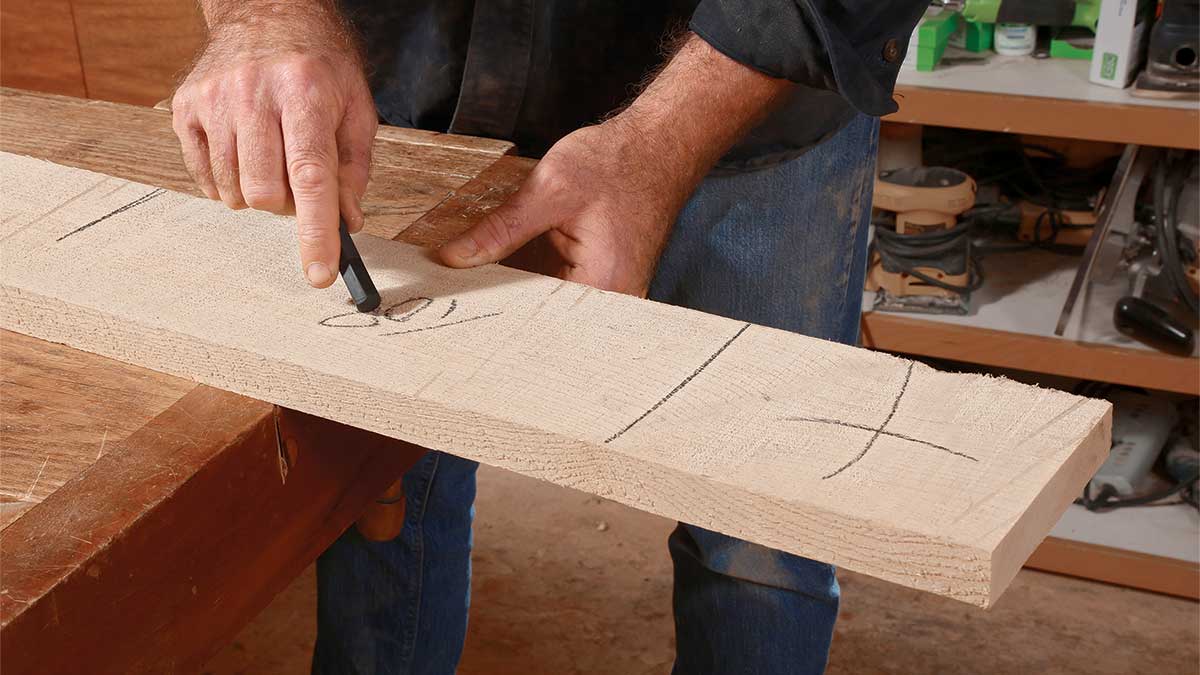 |
Lumber crayon handles rough layout on rough surfaces. Lumber crayons make bold marks on lumber, so they’re great when laying out parts on rough-sawn stock. Use black lumber crayons on light woods and yellow on darker species.
 |
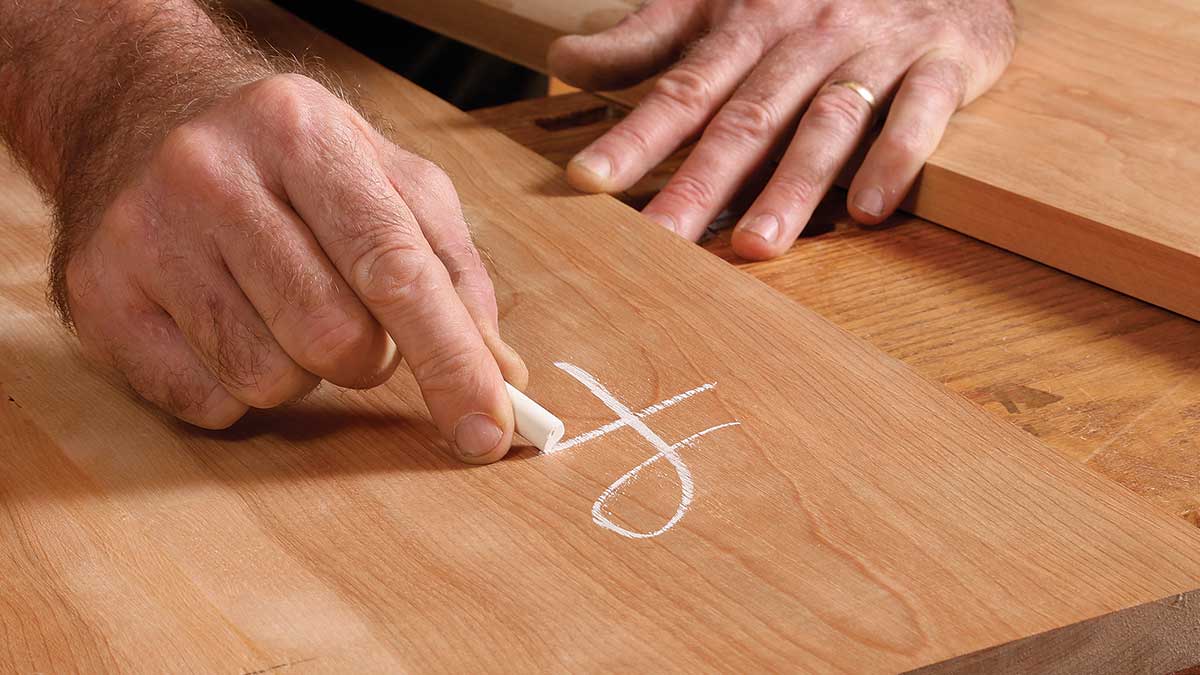 |
Chalk for surfaced parts. Chalk is easy to see, which helps keep parts organized. Plus, it’s easy to remove when pieces get sanded as the project wraps up.
 |
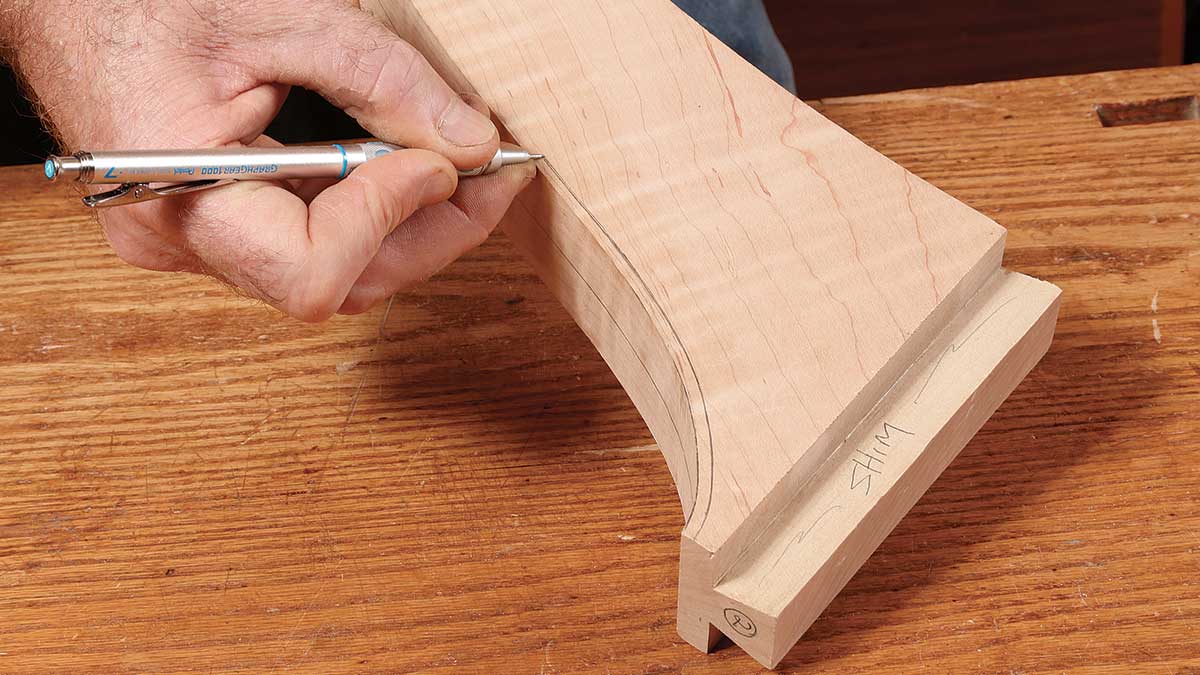 |
Pencil pairs well with finger gauge. When laying out elements like chamfers and curves, where he wants to avoid a scored line, McLaughlin prefers a mechanical pencil. He uses his middle finger like the fence on a marking gauge.
 |
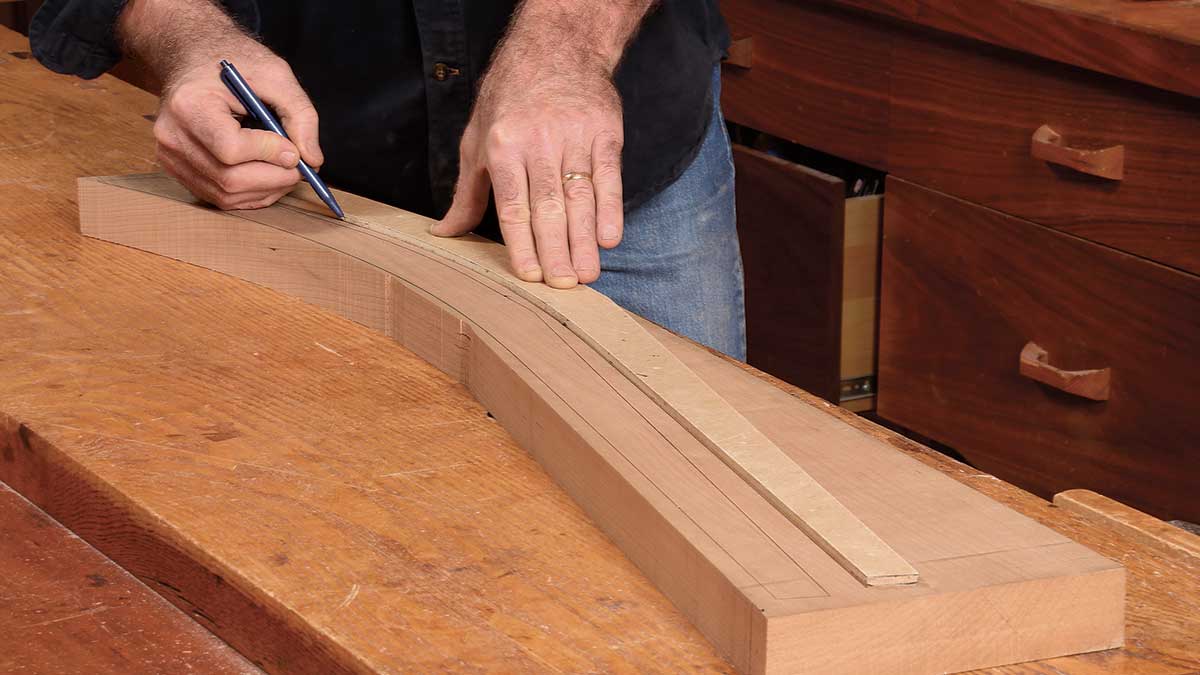 |
Pen leaves bold, visible line. McLaughlin uses a standard ballpoint pen when he needs layout lines that are clean but easier to see. He most commonly uses one on jointed and planed stock when laying out curved lines he’ll cut at the bandsaw.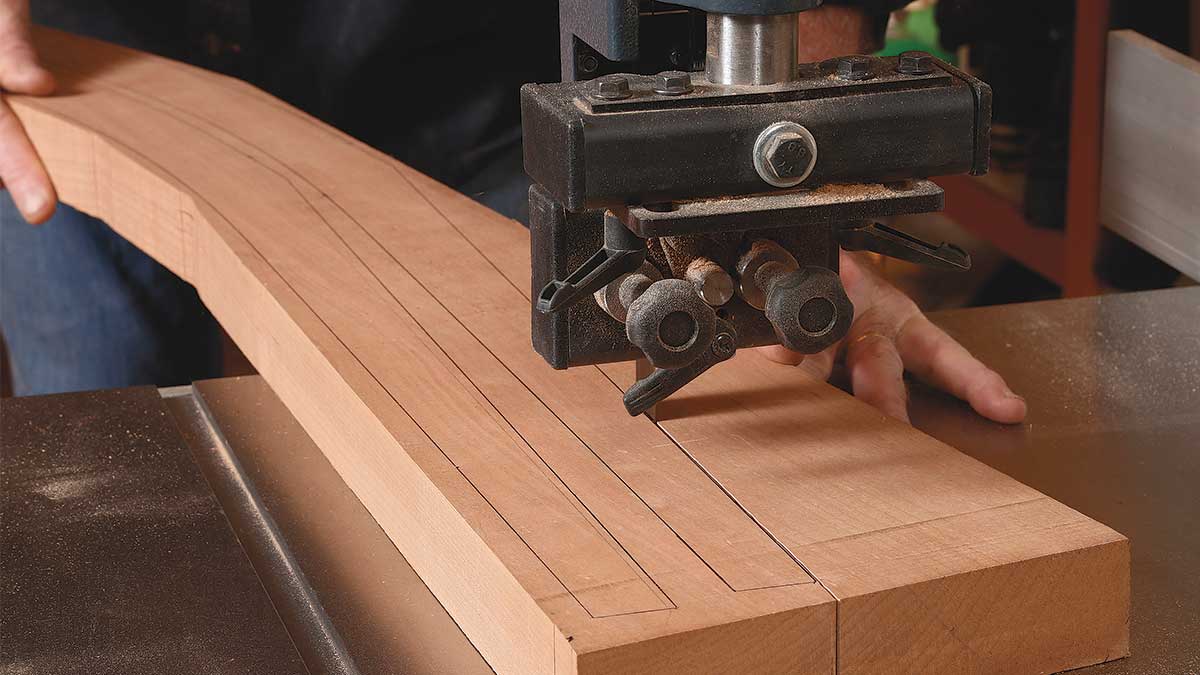
Tom McLaughin is a furniture maker and teacher in Concord, N.H. (epicwoodworking.com).
Photos: Barry NM Dima
From Fine Woodworking #280
 |
|
 |
|
 |
Fine Woodworking Recommended Products
Veritas Wheel Marking Gauge

Bahco 6-Inch Card Scraper

Starrett 4" Double Square


Log in or create an account to post a comment.
Sign up Log in