Ep 2: Laying Out and Rabbeting the Case
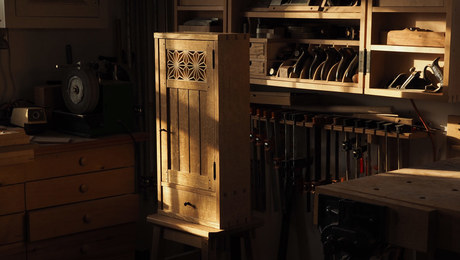
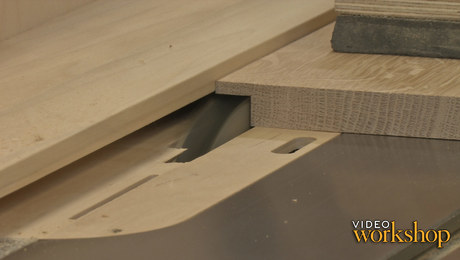
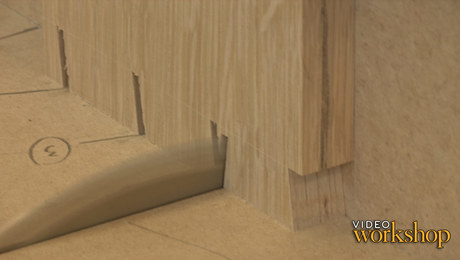
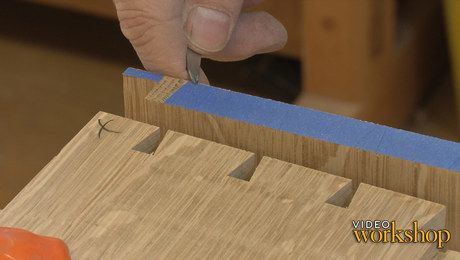
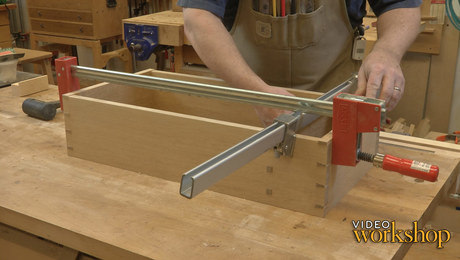
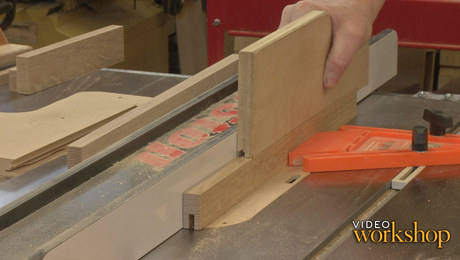
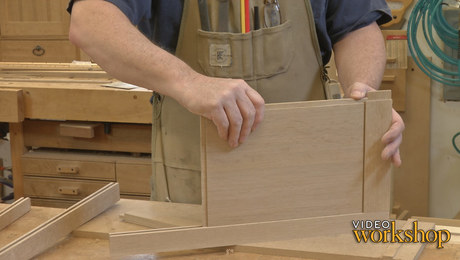
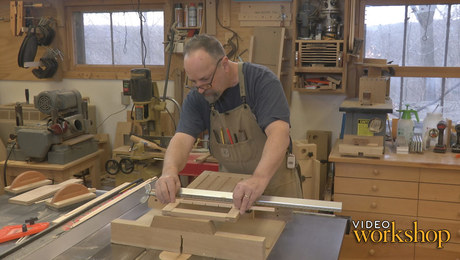
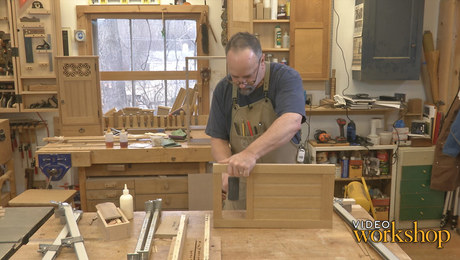
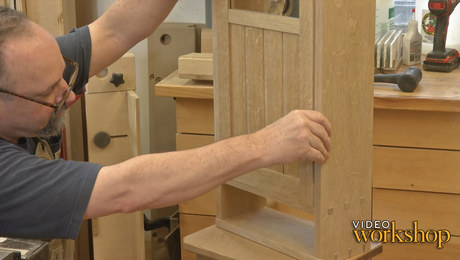
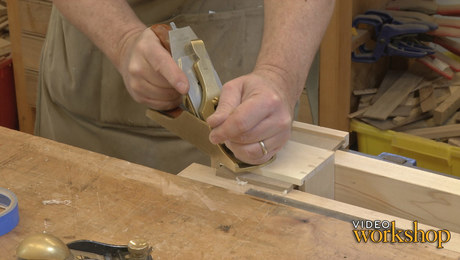
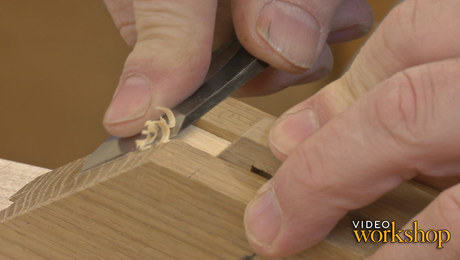
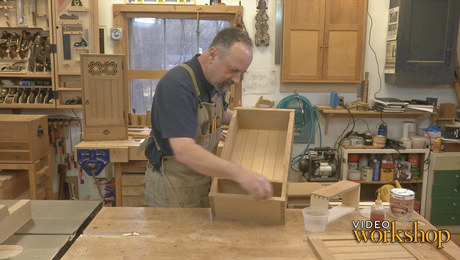
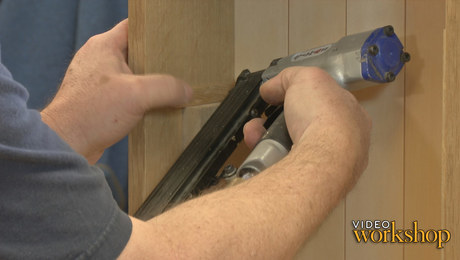
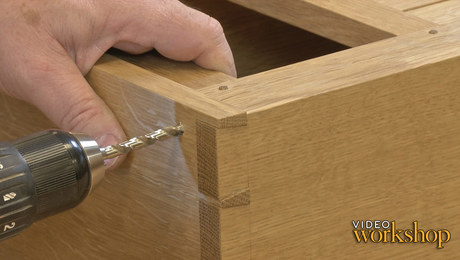
Mike Pekovich begins the wall cabinet project, laying out all of the carcase parts, systematically marking where joinery will go, and rabbeting the case on the tablesaw with the help of an L-fence.Videos in the Series
-
Ep 1: Hanging Wall Cabinet with Mike Pekovich–IntroDecember 17, 2019
-
Ep 2: Laying Out and Rabbeting the CaseDecember 17, 2019
-
Dovetailing on the Table SawDecember 24, 2019
-
Ep 4: Hand-cut pins with a twistDecember 31, 2019
-
Ep 5: Fitting the dovetailsJanuary 7, 2020
-
Through Mortise-and-Tenon LayoutJanuary 14, 2020
-
Ep 7: Drilling and chopping mortisesJanuary 21, 2020
-
Ep 8: Cutting the tenonsJanuary 28, 2020
-
Ep 9: Prefinishing and gluing up the caseFebruary 4, 2020
-
Ep 10a: Making the door frameFebruary 11, 2020
-
Ep 10b: Creating the door panel and dry-fittingFebruary 11, 2020
-
Ep 11: Sizing the kumiko gridFebruary 18, 2020
-
Ep 12: Door glue-upFebruary 25, 2020
-
Ep 13a: Fitting the doorMarch 3, 2020
-
Ep 13b: Mounting the door hingesMarch 3, 2020
-
Ep 14: Door detailsMarch 10, 2020
-
Half-Blind Dovetailed Drawer – part 1March 17, 2020
-
Half-Blind Dovetailed Drawer – part 2March 17, 2020
-
Drawer Grooves and Glue-UpMarch 17, 2020
-
Ep 16: Shiplapped back boardsMarch 24, 2020
-
Ep 17: Fitting the drawerMarch 31, 2020
-
Ep 18a: Kumiko–Asa No Ha pattern part 1April 7, 2020
-
Ep 18b: Kumiko–Asa No Ha pattern part 2April 7, 2020
-
Ep 18c: Trimming a kumiko panel to sizeApril 7, 2020
-
Ep 19: Simple shellac and wax finishApril 14, 2020
-
Ep 20a: Installing the shelf supports and hardwareApril 21, 2020
-
Ep 20b: Installing a bullet catch–ConclusionApril 21, 2020



Comments
I'm about to start building this, great timing, can't wait for the rest of the videos. Thanks you from New Zealand, cheers Taff
The quality of the video content just keeps getting better. Great stuff FW. WAs the reason I got an unlimited membership and the reason I will keep it!
ok, I have lines drawn and rabbits cut. Now what
Plenty more coming every Tuesday till April!
thanks just got the arched table roughed out, now this. Way Cool
I know you will be doing a final surfacing of the whole project (hence I could wait to ask this, but...), does the grease pencil on the carpenter's triangles, etc ever cause any problems with finishing by getting into the open grain of the oak? Loving this so far btw!
Great video series! Funny thing is that I was about to make a cabinet just like that, so timing is great BUT I think you should increase the publishing rate, I wont wait until April to finish mine!
You guys are taking this site to the next level constantly. There is no where better to get information like this, its so valuable and is like having a full day one on one private lesson with a professional. Subscribing to this site is one of the best and first investments a new or seasoned woodworker should make.
Any way to make these videos playback speed variable? 1.25,1.5,1.75,2 etc...... I really like to watch them more than once and I usually watch them the second or third time a little faster. The videos are awesome.
I've been wanting to build a cabinet for the bathroom for some time and this might be the one I build. I also made the block for Kumiko when Mike made the kumiko video. with this, I'll put those to work too.
I took this class from Mike, in Kansas City, last spring. Wonderful class and Mike is a great teacher. I've been thinking of making a couple more of them for gifts and this will be a great refresher course. Thanks FWW.
Your videos for this project are great, you can tell you enjoy teaching as well as building! I can’t wait to see future videos for this project. My only comment is please wear better eye protection while using your table saw and other power tools. Your eyeglasses didn’t look like approved safety glasses and appeared to have very little protection for your eyes as they were not close to your face and with no side shields. One errant wood chip or sliver traveling at the speed of sound and it could be lights out, and that would be especially tragic.
Searched Fine Woodworking for guidance/plans for the L-Fence Mike is using. All I can find is a much simpler design which I already have and wish to upgrade. Please advise...and congrats on a great video series...I'll be eagerly looking forward to the follow-on episodes.
Brian Reeves
It would be great to have a blog post on the upgrades Mike Pekovich has made to Bob Van Dyke's rip fence and L fence. I like how Mike has made his L fence an accessory instead a stand alone unit.
I have been a FWW follower for many years and have always been impressed with the professionalism and unlimited knowledge of the craft we all love.
Awesome video
what other wood besides white oak, would work?
Terrific video - is there a way to get the dimensions?
Is there a place where we can download the plan for this cabinet (materials list, etc)?
There are plans for the cabinet sans kumiko panels here: https://www.tauntonstore.com/project-plans/wall-cabinet-in-white-oak-project-plan.html
I modified the model of the cabinet used for those plans and added the kumiko panels as I described here: https://www.finewoodworking.com/2016/12/26/drawing-kumiko-panel
I expect you could do the same.
I'm really enjoying this series and learning a lot from it. Another vote for details on Mike's version of the table saw rip fence and L fence attachment. I get the height adjustment of the main middle part of the L fence, but can't figure out the purpose of the blocks on either end.
I was wondering about the blocks on either end of the L fence setup as well. Only thing that I can figure is that maybe they're to help to keep the fence sliding straight up and down when making adjustments rather than racking. But that's just a guess.
It looks to me as if the L-fence is a modification of Mr. Van Dykes rip fence from the article titled Supercharge Your Rip Fence from the Jan/Feb 2013 issue. Looks like the center of the Front Face has been cut out so the L-fence can be inserted. Maybe the ends are left as guides like you guessed.
https://www.finewoodworking.com/2012/12/06/supercharge-your-rip-fence
First, great series. I provided what I thought was constructive feedback on unlimited and this is exactly the kind of thing I asked for in my comments (and expected when I converted from online) and FW responded. really well done - truly some of the best content out there anywhere - now please keep it coming. It shouldn’t be just every Tuesday until April, - should be every Tuesday of the year! Mike is a natural, but you could rotate around. Anyway, I’ll be making the cabinet for sure and look forward to the next series soon. Second, I too am admiring the L Fence. I made the rip fence attachment awhile back and had thought about somehow adding an L fence even then. So, I’m going to make one. I do think it appears the end blocks just help make up/down adjustment smoother and more aligned. They also shorten the fence, which given the base design is so long, that probably doesn’t hurt. However, I’m struggling with the purpose of the bevel or cove -whichever it is, on the foot of the L. Is that for elegance or functionally necessary somehow? Am I missing something obvious?
Where do I find the dimensions for the rabbet mention in episode 2 and the front panel thickness?
1/2 inch (2/3 the thickness of the stock) by 5/8 inch wide (to allow for back boards that are 5/16 inch thick plus a 5/16 inch french cleat to hang the cabinet.
Crazy that we have to pay an additional $16 for the plans from the Taunton Store!
Log in or create an account to post a comment.
Sign up Log in