Through Mortise-and-Tenon Layout
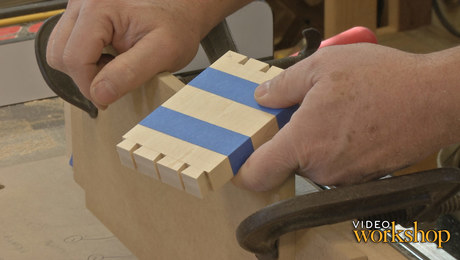
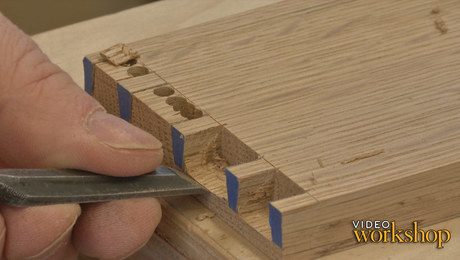
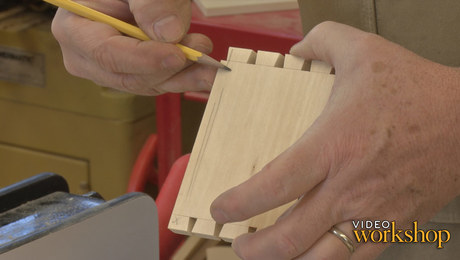
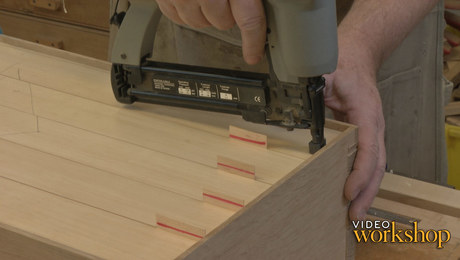
Learn how to systematically lay out both the mortises and tenons using blue tape and clever spacer blocks.
Start your 14-day FREE trial to watch this video
Plus, access more than 500 video workshop episodes when you become a member
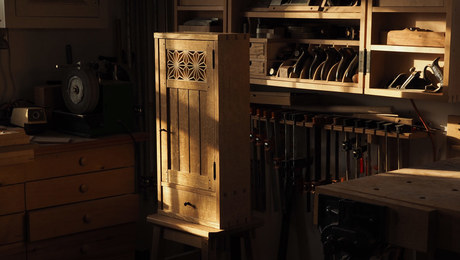
Through-dovetailed case, through-mortise-and-tenons, half-blind dovetailed drawer, frame-and-panel door, and a beautiful kumiko panel–Mike Pekovich’s hanging wall cabinet video workshop packs a lot of techniques into a small piece.
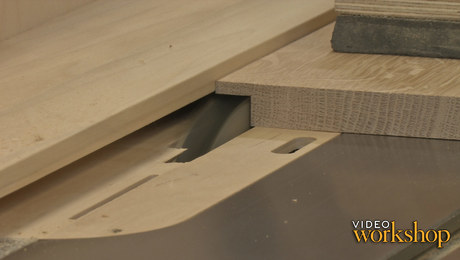
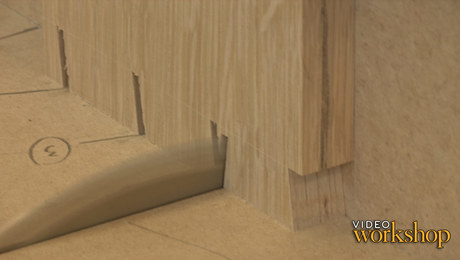
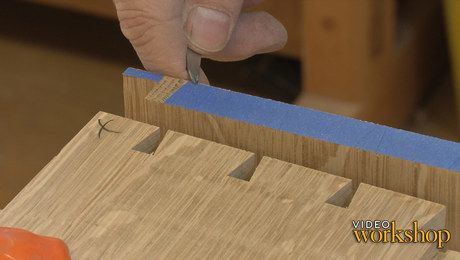
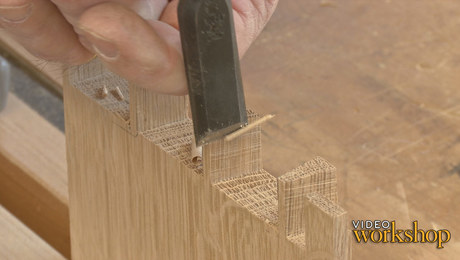
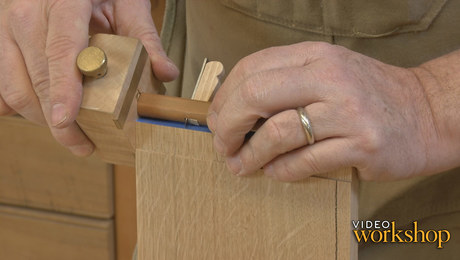
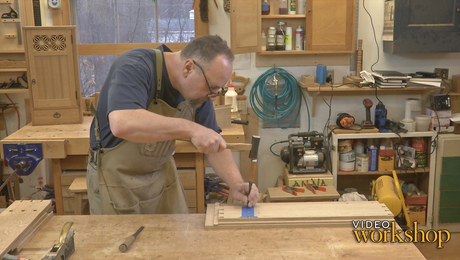
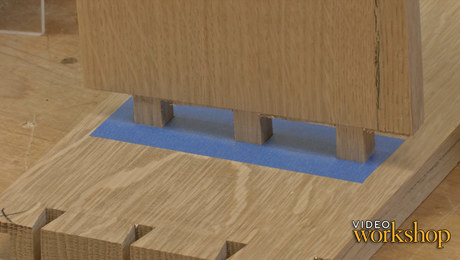
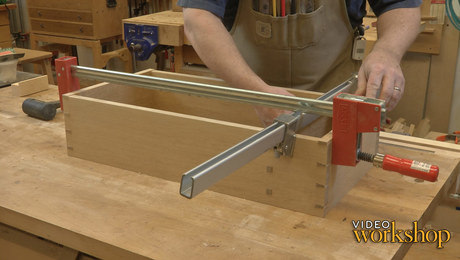
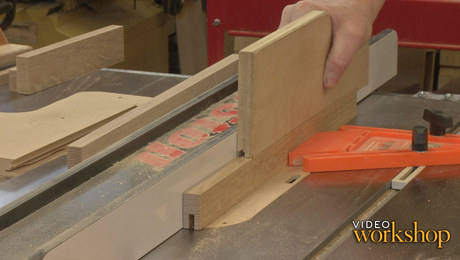
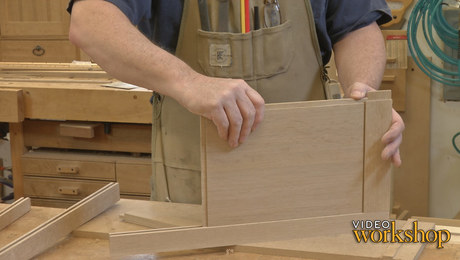
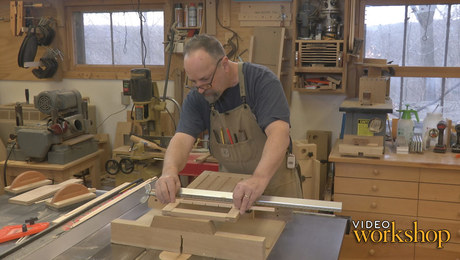
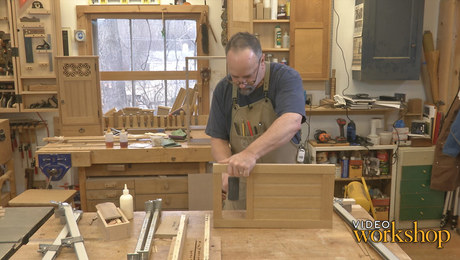
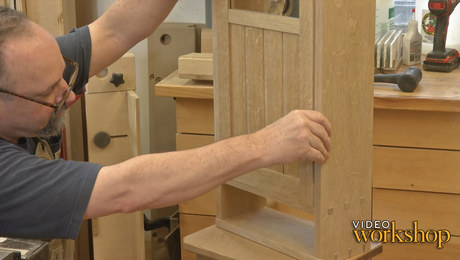
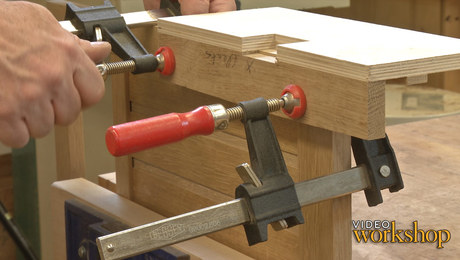
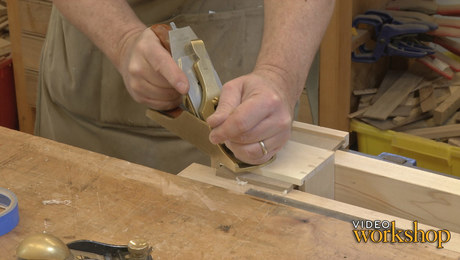
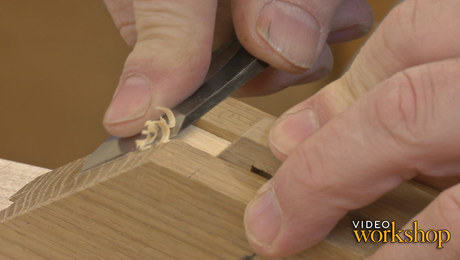
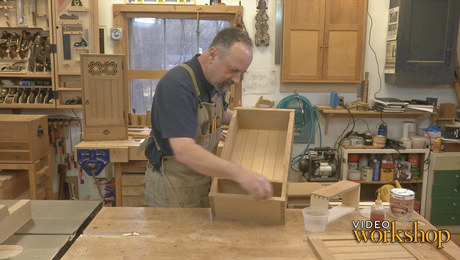
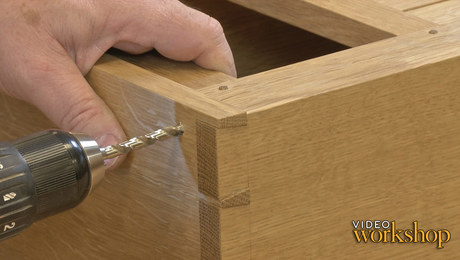
In this episode, Mike systematically lays out both the mortises and tenons using blue tape and clever spacer blocks.
Videos in the Series
-
Ep 1: Hanging Wall Cabinet with Mike Pekovich–IntroDecember 17, 2019
-
Ep 2: Laying Out and Rabbeting the CaseDecember 17, 2019
-
Dovetailing on the Table SawDecember 24, 2019
-
Ep 4: Hand-cut pins with a twistDecember 31, 2019
-
Ep 5: Fitting the dovetailsJanuary 7, 2020
-
Through Mortise-and-Tenon LayoutJanuary 14, 2020
-
Ep 7: Drilling and chopping mortisesJanuary 21, 2020
-
Ep 8: Cutting the tenonsJanuary 28, 2020
-
Ep 9: Prefinishing and gluing up the caseFebruary 4, 2020
-
Ep 10a: Making the door frameFebruary 11, 2020
-
Ep 10b: Creating the door panel and dry-fittingFebruary 11, 2020
-
Ep 11: Sizing the kumiko gridFebruary 18, 2020
-
Ep 12: Door glue-upFebruary 25, 2020
-
Ep 13a: Fitting the doorMarch 3, 2020
-
Ep 13b: Mounting the door hingesMarch 3, 2020
-
Ep 14: Door detailsMarch 10, 2020
-
Half-Blind Dovetailed Drawer – part 1March 17, 2020
-
Half-Blind Dovetailed Drawer – part 2March 17, 2020
-
Drawer Grooves and Glue-UpMarch 17, 2020
-
Ep 16: Shiplapped back boardsMarch 24, 2020
-
Ep 17: Fitting the drawerMarch 31, 2020
-
Ep 18a: Kumiko–Asa No Ha pattern part 1April 7, 2020
-
Ep 18b: Kumiko–Asa No Ha pattern part 2April 7, 2020
-
Ep 18c: Trimming a kumiko panel to sizeApril 7, 2020
-
Ep 19: Simple shellac and wax finishApril 14, 2020
-
Ep 20a: Installing the shelf supports and hardwareApril 21, 2020
-
Ep 20b: Installing a bullet catch–ConclusionApril 21, 2020




Comments
This series has been fun to watch, very practical and informative. I have already sent a rip blade to be ground at 8.5 degrees and built the pin router jig. Thanks for your patient and very worthwhile teaching.
I have actually built this cabinet and get lots of complements. Thank you. My technique was a bit different and worked. However, I am going to give your technique a try also because I like the looks of the dovetails and think your methods have broad application to other projects.
But there is a question: So what has happened to hearing protection while running pretty loud and high pitched running machines such as table saws and routers. Could end up saying "What?" a lot later on in life. The wife won't like repeating things. I can guarantee that.
Spectacular series Mike (and Ben)! I’m waiting for a new episode each week like its Game Of Thrones.
Thanks, guys. Really appreciate the quality of work and the quality of the video production. Please keep the video workshops coming.
Hey Mike. Great instruction. What marking gage is that? And where'd you get the shop apron? Thanks
Thanks for this great series. This is really helping me understand case layout, which I am about to tackle with Mike's hand-tool chest project. Since I am using white oak for that, the use of this wood in this project is also helping me figure that out.
Two birds with one stone.
I am really enjoying this series, and being three years on I don't have to wait til next week to continue, but that same time lag probably means I don't get a couple of answers. Why not mark the mortises first to avoid the dovetail gaps that may catch the corner of the marking gauge? And when he first marked for mortise thickness he pulled his ruler back for the bottom of the thickness.
Log in or become a member to post a comment.
Sign up Log in