Drawer-height progressions in SketchUp
Dave Richards demonstrates how to scale drawers using various methods and how to adjust them to use in future projects.Drawer-height progression in an interesting thing. Shallowest drawer on top and each drawer below is deeper than the one above it. At least that’s the way they are done in most styles of furniture. There seem to be as many ways to create the height progression as there are furniture styles.
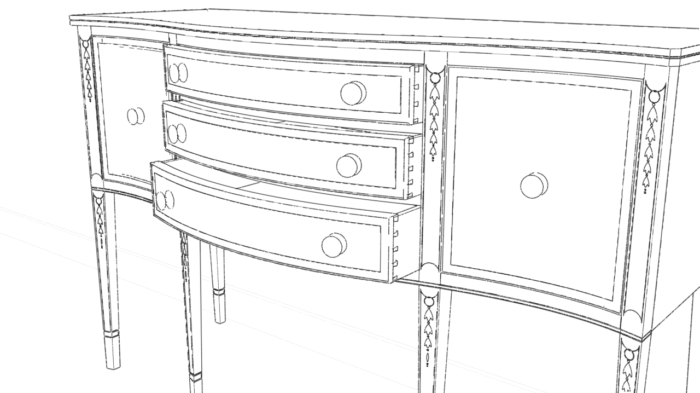
You can see the height variation in pieces like Steve Latta’s Serpentine Sideboard…

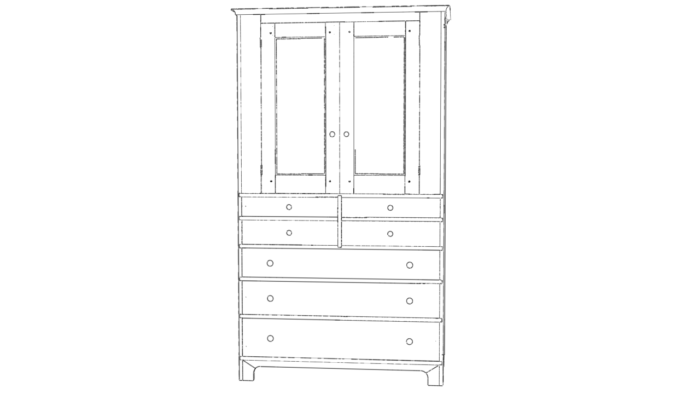
…and Christian Becksvoort’s Classic Shaker Cupboard…
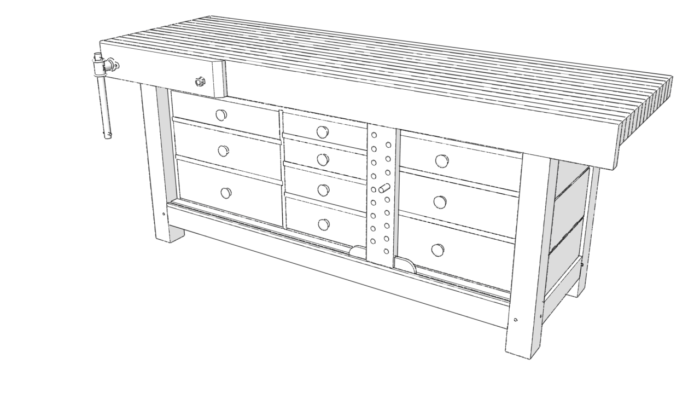
…and in the drawer case for the Ultimate Shaker Workbench.
A few days back, I was asked how to create the drawer progressions in SketchUp. I don’t think this is specifically a SketchUp thing but using the tools in SketchUp to lay them out is. There are a numerous ways to do this in SketchUp. One way is to use the Scale tool to scale copies of the first drawer front to create the additional ones. You might set the top drawer height and then scale copies by some factor. Maybe the first drawer is 5 in. tall and the next one you scale by a factor of 1.2. The third one is 1.2x taller than the second and so on.
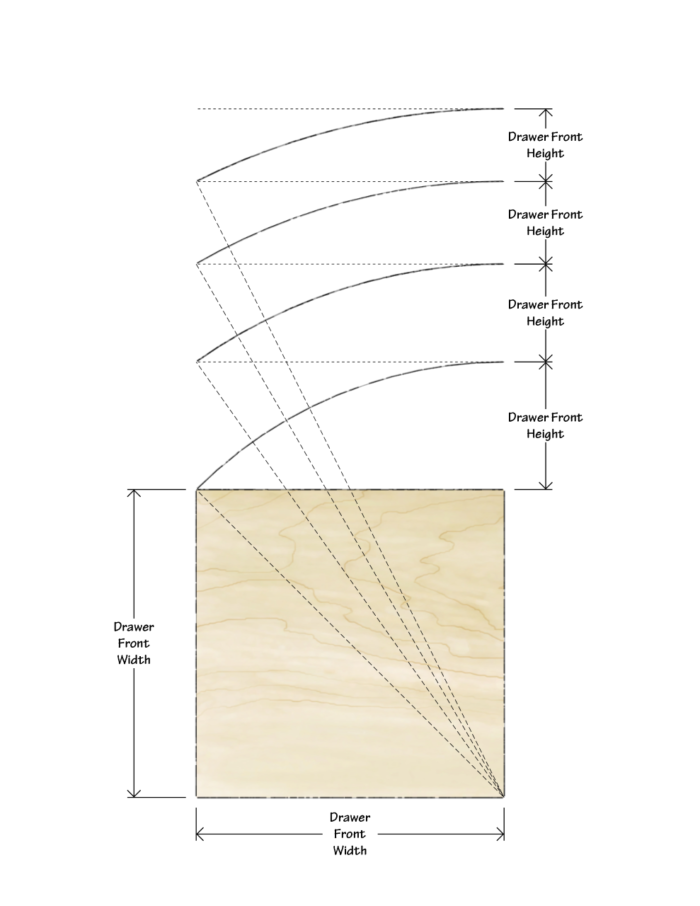
Another method employs the Hambridge Progression. The basics of this progression determines the height off the width of the drawer front. You can do this one mathematically but I think graphically is much easier. I’ve drawn out an example, below. In the video I demonstrate how to make this drawing and then how to use it.
It’s not very often that the height of a project can be sort of arbitrary. Normally there are some sort of parameters that need to be considered. For example, the height of a desk isn’t normally defined by the height of the drawer stack. Usually the height of the drawer stack is determined after the height of the desktop is established. The same sort of consideration would come into play with Latta’s sideboard, Becksvoort’s cupboard, and the Shaker Workbench.
In the video I’ll show you a way to save the Hambridge Progression component and then how to adjust it so you can use it in future projects.
Hopefully you can get some ideas about how you can use this when designing your own projects.
Have a great New Year!
–Dave




Comments
Great idea!
I had not heard of the Hambridge Progression, so this is really useful! Thanks!
One note: I think you've modified your original drawer height ratios by adding the drawer dividers the way you have. Subtracting the height of the dividers from the height of the opening, and then scaling the guide to fit that measurement would, I think, better preserve those relationships.
Yes. You are correct. I did that to simplify the demonstration. I use the mid lines on the top and bottom of the case for setting the overall height of the Hambridge guide. Another way to do this would have been to subtract the heights of the dividers from the height of the opening and use the difference to set the height of the guide. It would actually come out quite close to what I showed, though.
In reality, you would likely wind up modifying the heights of the drawers slightly to make them easier to construct in the shop. The Hambridge progression on it's own creates dimensions that would be difficult to work with in most shops. For example, starting with a 24 in. square, the Hambridge progression yields heights for the bottom four drawers of 9.41125 in., 7.628094 in., 6.430781 in., and 5.665631 in. I'd hate to have to rip drawer fronts to those widths even with my Incra table saw fence. :)
-Dave
Log in or create an account to post a comment.
Sign up Log in