How to Cut Coves on the Table Saw
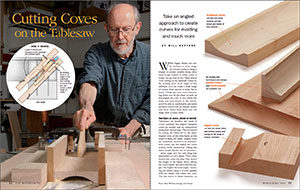
Instead of turning to a router or a shaper, Will Neptune produces various deep, wide coves using the tablesaw.

Synopsis: If your shop is like most and is not equipped with a shaper or molder, you need to get creative when cutting coves. A router will only get you so far. Will Neptune produces deeper, wider, and more varied coves using the tablesaw. Here he takes you through his straightforward process for setup, using two fences and several hold-downs to ensure this sometimes daunting tablesaw cut can be made with the utmost safety.
While bigger shops can easily produce a wide range of concave surfaces using a shaper or molder, smaller shops often need to get creative to make coves. A router can go only so far. That’s where cove cutting on the tablesaw comes in. By feeding stock at an angle on the tablesaw, you can create a wide range of curves, from narrow to wide, flat to steep. Things get even more interesting when you tilt the blade as well, as this angles the cove. If you follow the steps and precautions in this article, you’ll be able to comfortably and safely produce curves that are deeper, wider, and more varied than those you can make with a router table.
Two types of coves, plenty of variety
Tablesaws can produce two kinds of coves: standard and angled. Standard coves are simpler and are symmetrical along their vertical axes. They’re formed by setting the blade 90° to the table. Angled coves, on the other hand, are the result of tilting the blade. Angled coves are sometimes referred to as asymmetrical coves, but this makes the curve sound overly mysterious. Tilting the blade simply tilts the line of symmetry.
Arbor angle isn’t the only thing that determines a cove’s shape. Three other factors also come into play. First, there’s the height of the blade, which affects the cove’s depth. The second is the feed angle. The higher the feed angle—meaning the farther away it is from parallel with the blade—the wider the cove. The last factor is blade diameter, as smaller blades can produce tighter coves. Use a rough rip blade if possible, although a combination blade will do.
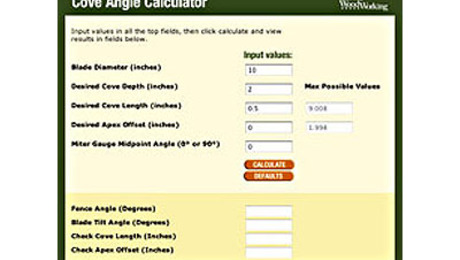
Cove Angle Calculator
A few quick keystrokes yield
tablesaw-blade and fence-angle settings
The straightforward setup ensures safety
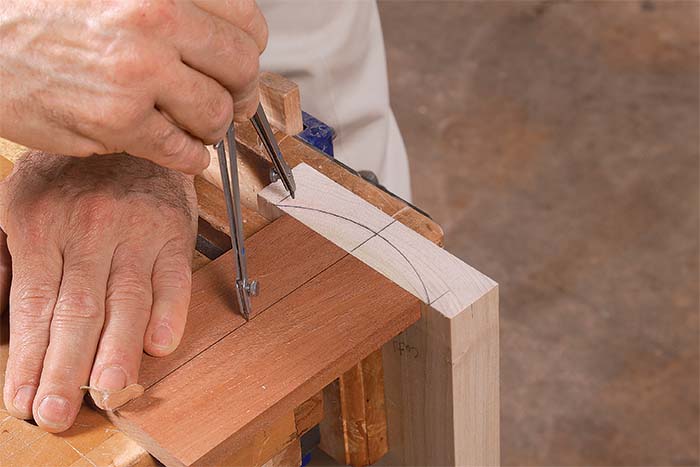
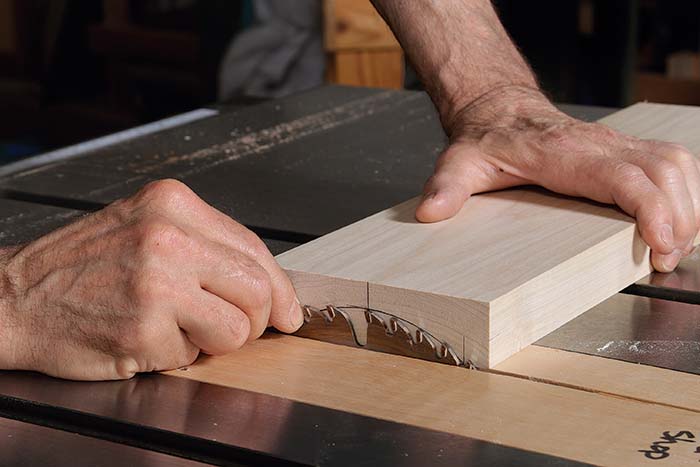
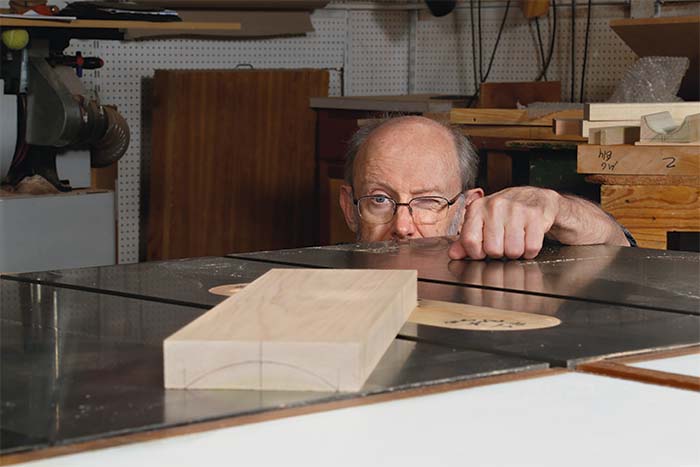
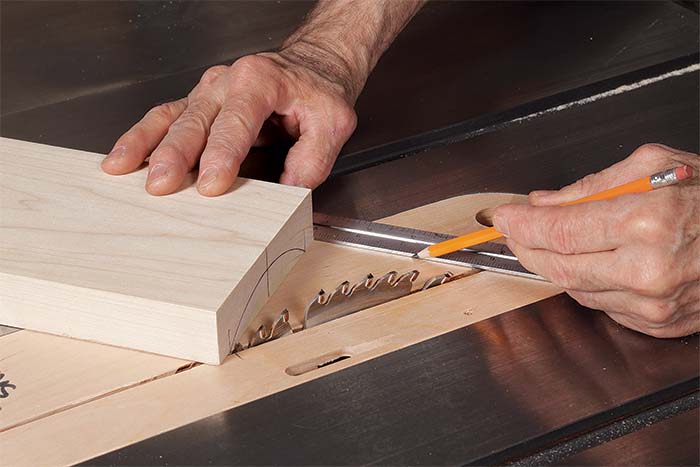
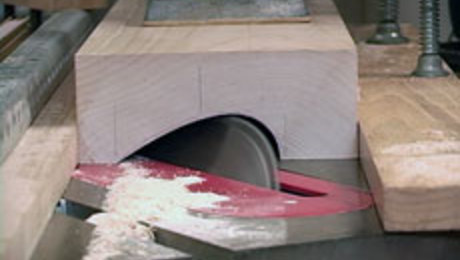
While some people use jigs or even computer programs to help figure out their coving setups, I try to keep things simple. After drawing the cove on the stock, I set the height of the blade to the deepest point of the arc. To figure out my feed angle, I put the workpiece behind the blade and sight the blade’s arc against the drawn cove, angling the board until the width of the cove matches the width of the blade’s silhouette. That’s all you need to do for straight coves. If you’re doing an angled cove, match the width first, then tilt the blade. You will then need to readjust the height of the blade.
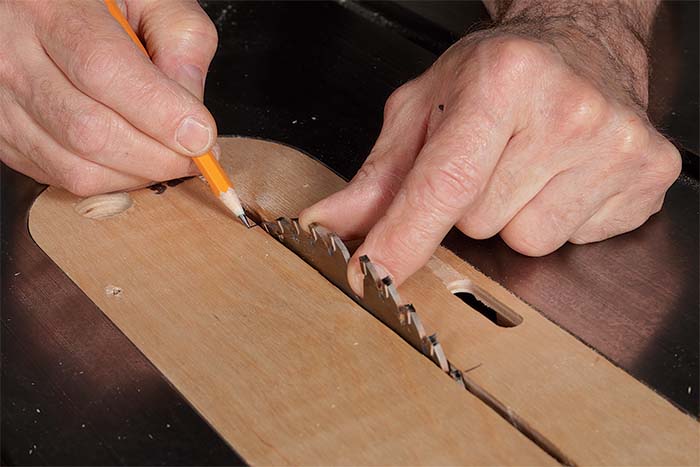
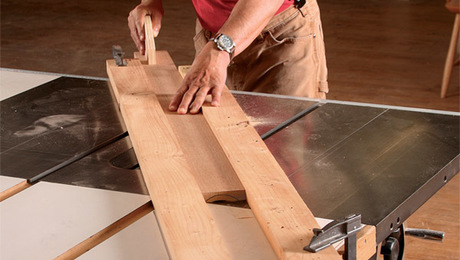
The angle of the board is your feed angle, so transfer the board’s edges onto the throat plate with a pencil and you’ll know where to clamp the fences. Just be aware that no matter how much you fiddle with the setup, though, you’re unlikely to hit your layout lines spot on. The blade gives you what it gives you, so take test cuts and accept when they’re good enough.
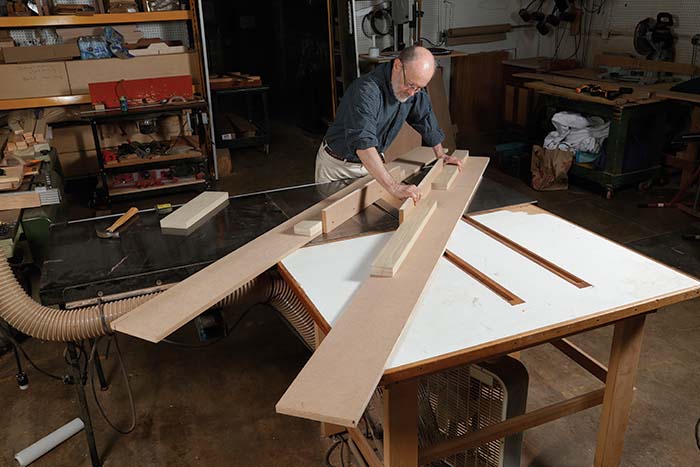
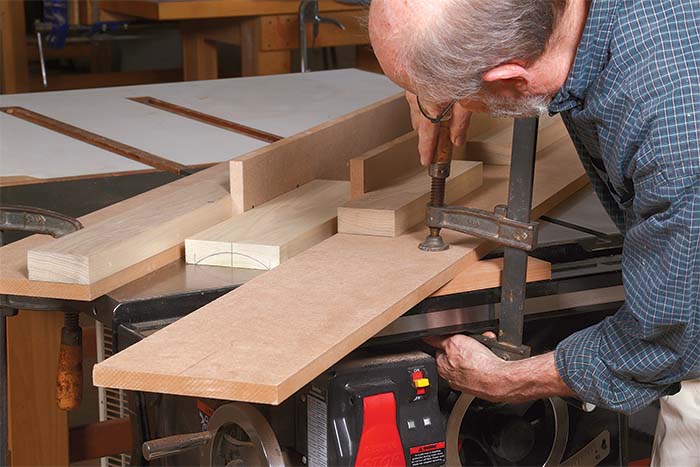
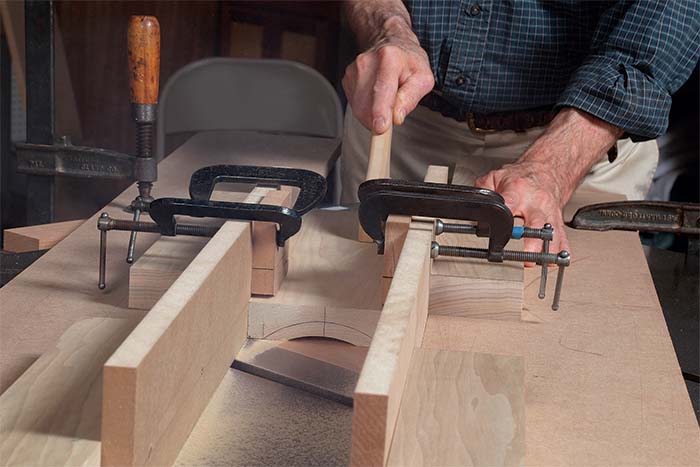
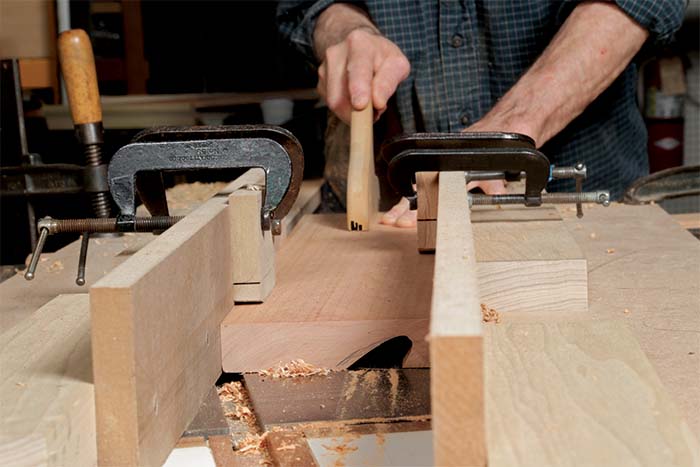
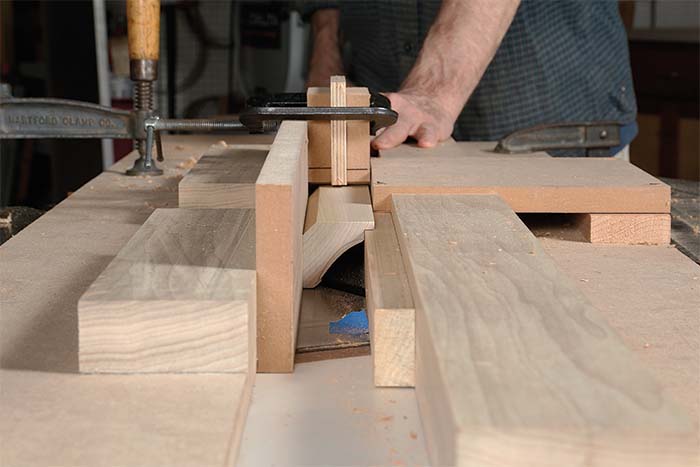
Use two fences and hold-downs—The safety goal here is to control the path of the workpiece. Coving on the tablesaw means cutting with the sides of the teeth, so I take extra precautions to make sure my stock travels straight and tight to the table. Because I am using two fences and hold-downs, the workpiece can only travel straight and stay tight to the table.
The two fences flank the sawblade, one in front and the other behind. The front fence resists the force of the blade pushing the wood toward the front of the saw. The back fence keeps the wood tight against the front fence. During the cut, the wood pushes against the sides of the teeth, which cut slowly. Without this rear fence, the wood could rub against the saw plate and slide away from the operator—possibly leading to kickback.
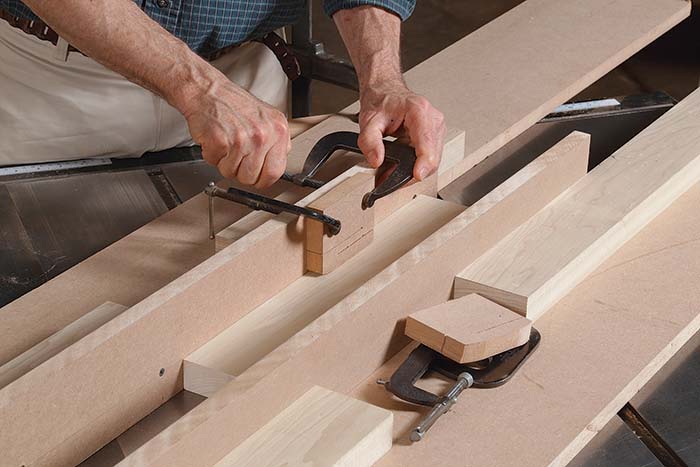
The fences are simple affairs. Each has a long, horizontal base that’s clamped to the saw table. I screw poplar blocking to the base to bolster vertical fences, which press against and direct the workpiece. The vertical fences are also screwed to the poplar.
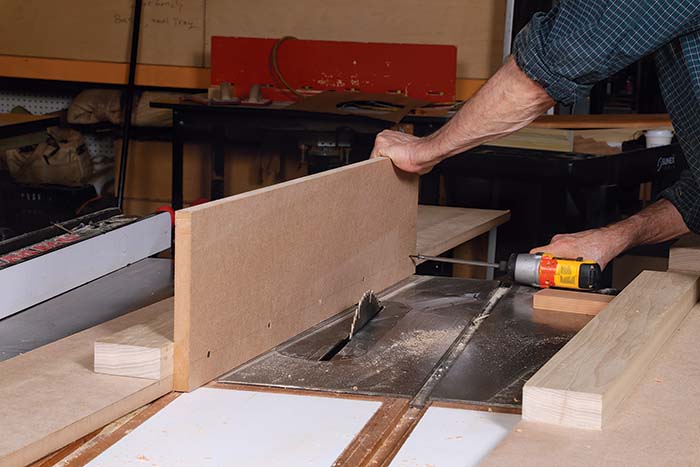
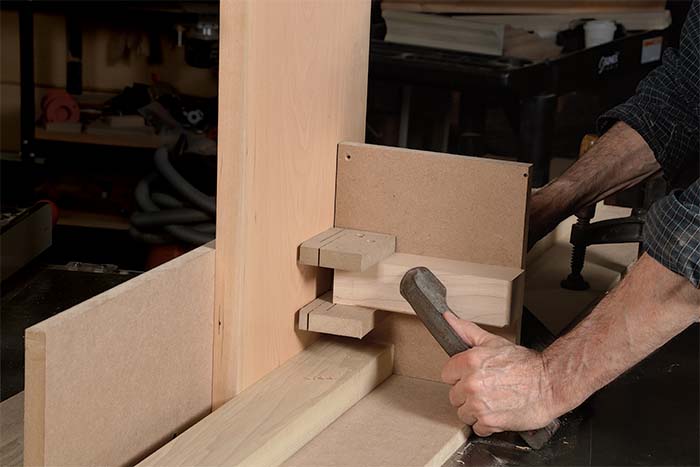
The vertical fences should have room to attach hold-downs, which ensure the workpiece stays solidly against the table. With tall pieces, such as panels, I use taller vertical fences and hold-downs. As an added bonus, these rigid setups also limit vibration, producing a cleaner cut.
Feed direction—Feed direction matters too, although much more so on angled coves than standard ones. For standard coves, you can safely feed from the left or right. But I prefer feeding from the left, which gives me a lot more access around the side of the saw, letting me push the board through the cut much more comfortably.
The feed direction on tipped coves is much more important, and there’s only one option. That’s because a tilted blade is essentially a ramp, so you want to feed into it, not up it. As a result, the feed direction is based on which way your saw’s arbor tilts. For left-tilt blades, you feed left to right; for right-tilt, it’s the opposite. If you push the wood toward a blade that angles away from you—up the ramp—the stock is more likely to ride up off the table.
Cut slowly, steadily, and in stages
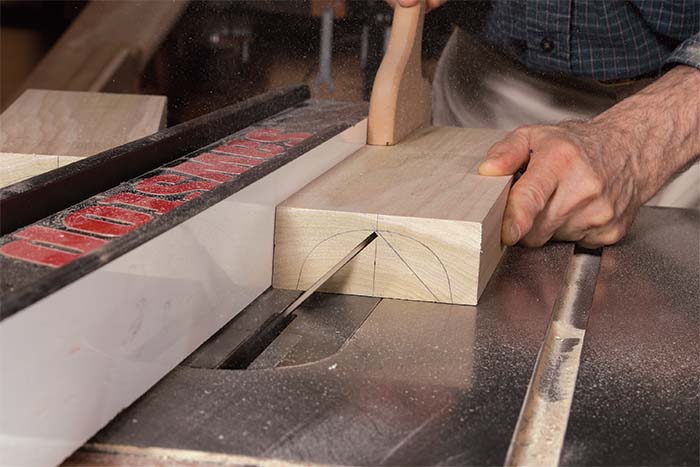
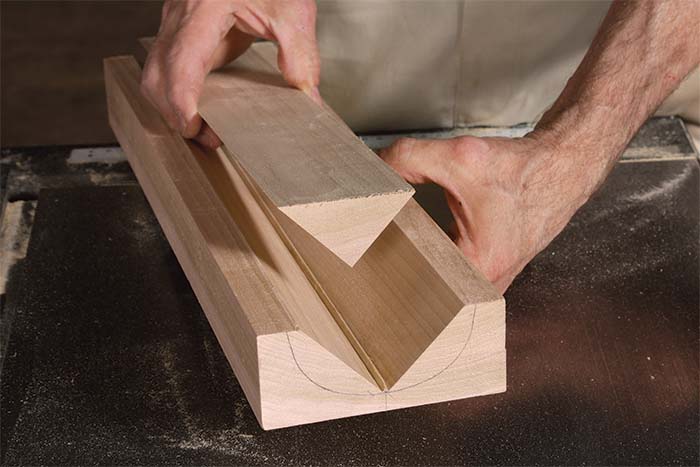
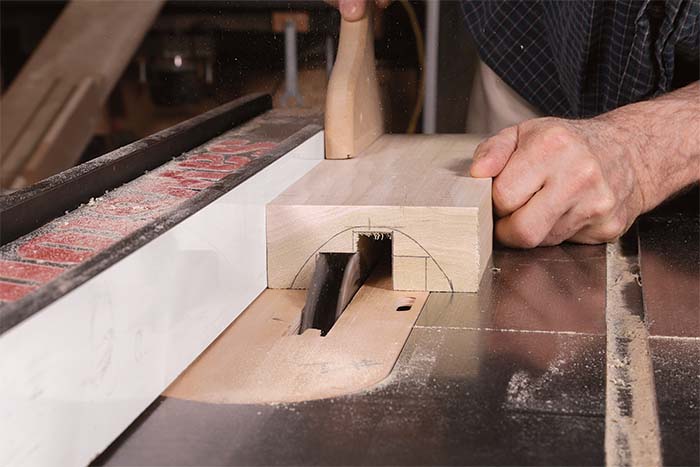
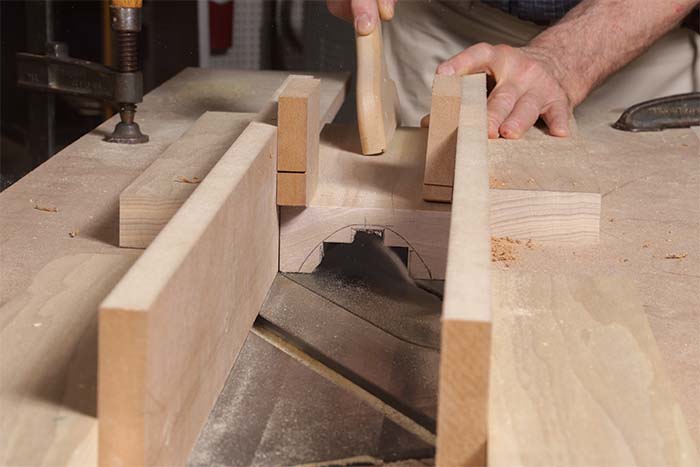
Coving on the tablesaw is inherently inefficient. You’re cutting with the sides of the saw teeth, which can tax the saw and raise safety concerns. To lessen the workload and make the cut safe, you need to slow the feed rate and take multiple passes, removing small amounts of waste and raising the blade a little bit each time. Consider the width of the cove and the stock’s density when choosing your feed rate and depth of cut. If you try to go too fast or take off too much, you risk kickback—another reason I use hold-downs. On deeper coves, you can speed things up by removing the bulk of the waste beforehand with a pair of angled ripcuts or stepped cuts with a dado stack.
Partial coves are possible
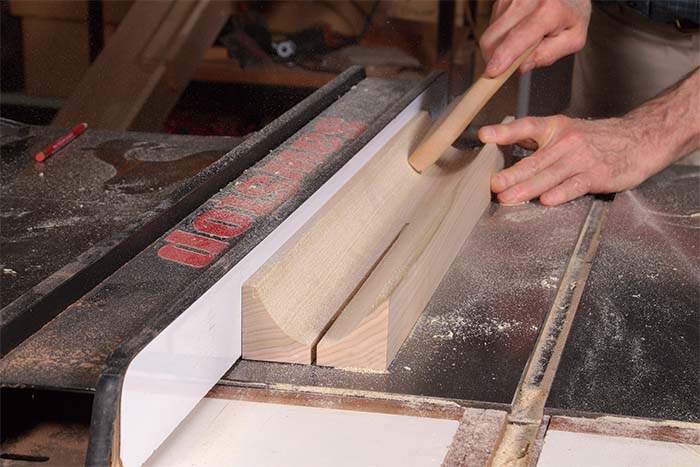
Until now, we’ve just focused on full coves. But if you get a little creative and plan ahead, you can end up with partial coves via one of two methods.
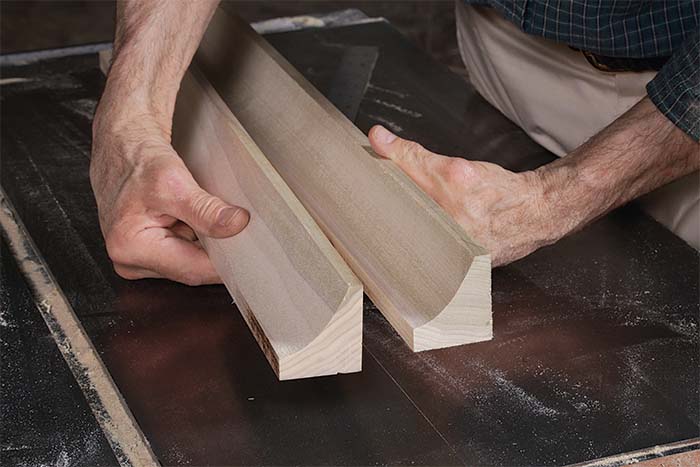
The method I pick often comes down to my stock. With thick pieces, I cove the face of a board as normal before ripping it down the middle, yielding a pair of quarter coves. Just be sure to account for the kerf of the saw when laying out the initial full cove.
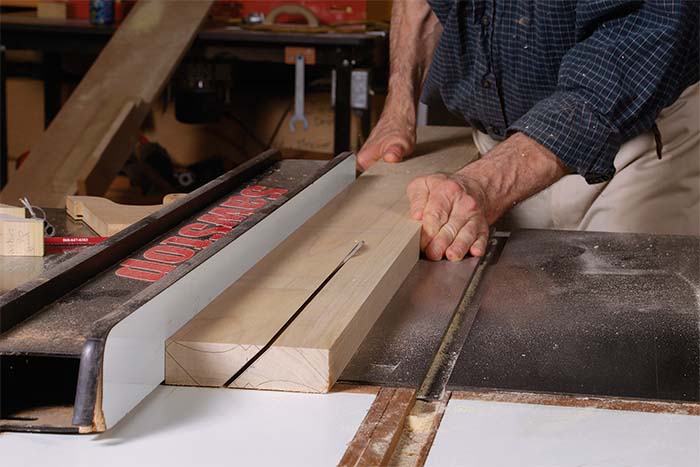
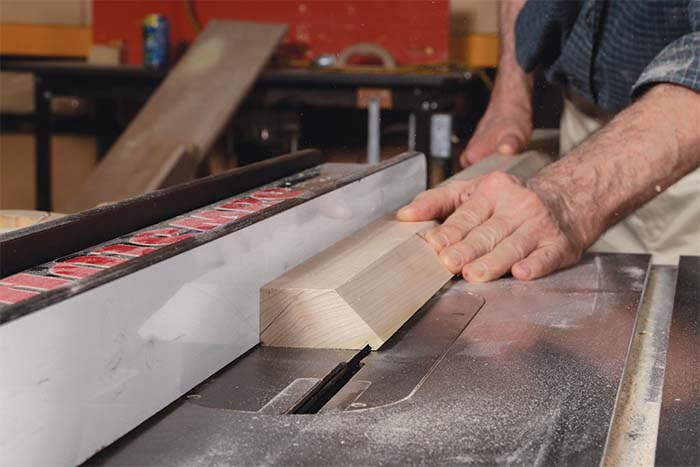
With thinner stock, I use a method that’s a bit more involved, but it’s more versatile too. Prepare the workpiece slightly overwide and cut a temporary rabbet into an edge. This rabbet will ride on the edge of a short vertical fence, letting you cut with only a portion of the blade. I recommend using hold-downs here. Once the cove is cut, you’ll cut off the rabbet.
The rabbet method has a further benefit: It can be used to cut any partial cove, not just quarters of one. Since I’m cutting with part of the blade (the rest is buried in the rear fence), I can, for example, match the shape from ripping a thick, coved workpiece down the middle—meaning I can get the same curve from thick and thin stock. More importantly, I can also angle the arbor to sneak up on desired curves, like when I miss my layout line but really want that shape.
Expect cleanup
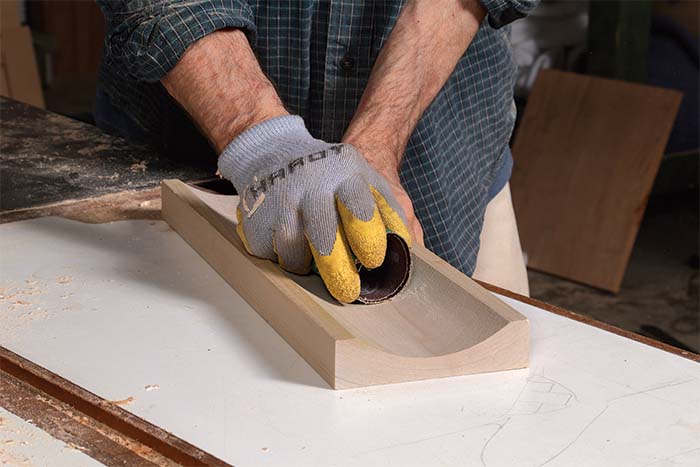
When cutting coves, tablesaws typically leave a fuzzy, scratchy surface that needs to be sanded or scraped. It helps to back off on your feed rate and take lighter cuts on the final passes, since these reduce vibration, thereby yielding a cleaner cut.
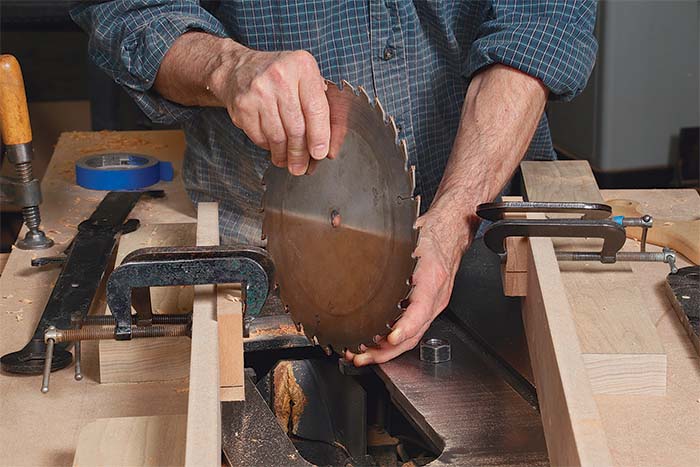
You may have to contend with a little bump in the middle of the cove. This is due to the thickness of the blade, as the left-angled teeth are producing one curve and the right-angled teeth a second, identical curve—but in a different plane. The effect can be especially pronounced on angled coves. While the ridge can be scraped and sanded fair, in extreme cases, I switch to a triple-chip blade for plywood on my final passes because the blade’s grind eliminates the ridge. Changing the blade means temporarily removing the fences, so mark where they go first.
Setting up
 |
 |
 |
 |
Add the fences
 |
 |
Cut a standard cove
 |
 |
Speeding up deep coves
Cove cutting on the tablesaw can be slow and dusty, especially with deeper curves. For these, it pays to remove most of the waste beforehand.
 |
 |
 |
 |
Raised panels
 |
 |

Angled coves
 |
 |
Two methods for partial coves
1. Thick stock
 |
 |
2. Thinner stock
 |
 |
To view the entire article, please click the View PDF button below.
 |
|
 |
How to Cut Coves on the Tablesawwith Tom McKenna |
 |
Asymmetrical Coves on the Tablesawwith Stuart Sabol |
Fine Woodworking Recommended Products

Stanley Powerlock 16-ft. tape measure
Ridgid R4331 Planer
Ridgid EB4424 Oscillating Spindle/Belt Sander




Log in or create an account to post a comment.
Sign up Log in