Build a Saw Bench
Megan Fitzpatrick builds a pair of versatile saw benches to make it easier to crosscut and rip boards, drill, finish, help support workpieces, and more.
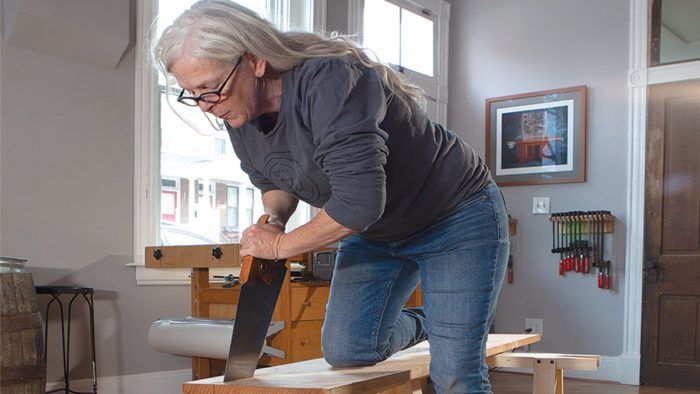
Synopsis: Make a pair of saw benches to make it easier to crosscut and rip boards, drill, finish, help support workpieces, and more. The saw bench is not the same as a simple sawhorses; it’s lower and built to fit the maker. Learn how to make one with hand tools.
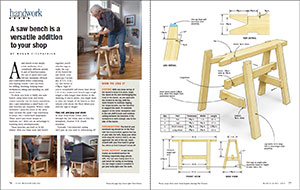
A saw bench is not simply a low sawhorse; it’s a completely different animal. A pair of benches makes the use of panel saws and full-size handsaws efficient and comfortable when crosscutting and ripping boards. I also use them for drilling, finishing, helping brace workpieces, sitting and standing on, and much more.
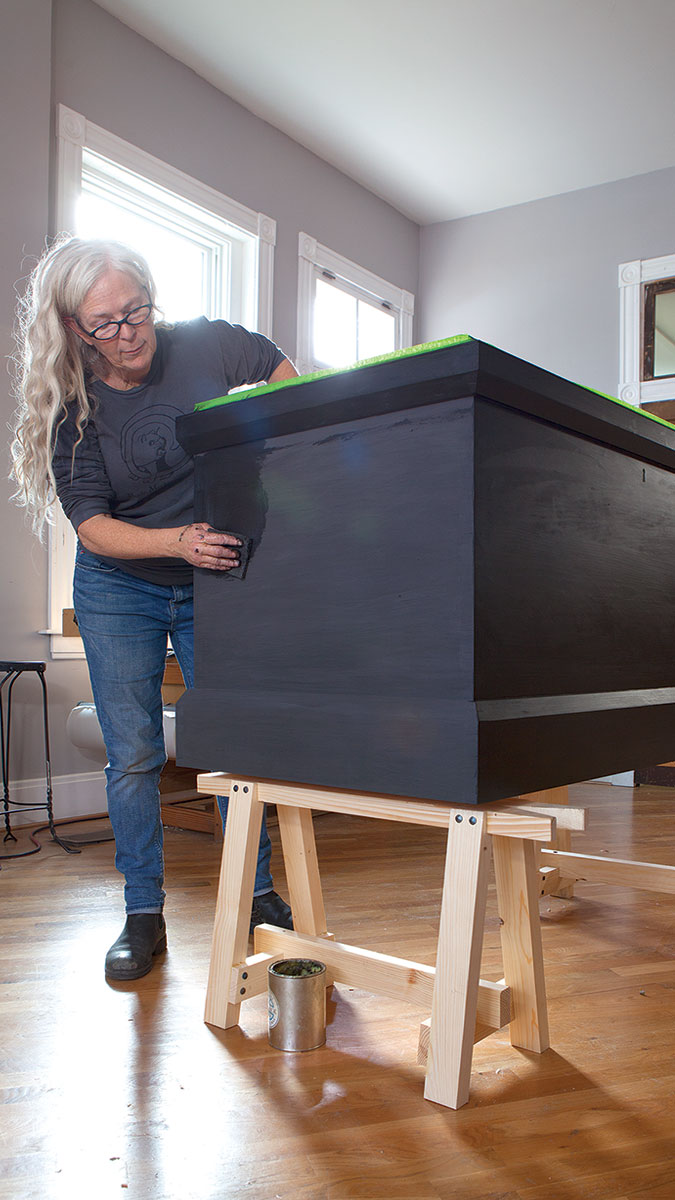 I’ll show you how to build one saw bench using hand tools and home center material, but for many operations, two—and sometimes a small herd—of saw benches are required. When I make multiples I prep the stock at the same time (at least the parts I use machinery to prep), but I build them separately. There aren’t any tricky setups to replicate, so I don’t see an advantage to building them simultaneously.
These benches are built to fit the maker. After you have your saw bench, together, you’ll trim the legs to make the top of the bench hit just below your kneecap. I’m just shy of 5 ft., 6 in.; my saw bench is 171⁄2 in. high. If you’re remarkably tall (more than about 6 ft., 5 in.), make your bench legs’ rough length a little longer than shown in the drawing; if you’re petite, you might want to raise the height of the braces so they remain a bit above the floor when you trim the legs to length.
Find, cut, and prep your stock
At your local home center, pick through the 2×6 white pine to find the straightest, clearest 10-ft. board available.
Typically, I recommend cutting each part as you need it, referencing off your work. However, this project is a rare instance in which you should mark out and cut all the pieces to match the cut list before starting the joinery. That’s because no one part relies on another for its finished size, and because you need the parts cut and ready for direct transfer of measurements for the joints.
To view the entire article, please click the View PDF button below.
 |
|
 |
|
 |
Fine Woodworking Recommended Products

Stanley Powerlock 16-ft. tape measure

Veritas Precision Square
Veritas Wheel Marking Gauge



Comments
So great to see her here! Megan is a hero of mine
Nice article and build instructions. I built a pair of similar sawhorses out of big-box-store lumber, and they are so versatile and a joy to use. I especially like Megan's reliance on handtool work. The one modification I made to mine was to include a compound angle where the legs meet the top, so that the legs splay not only in the lateral direction, but also the longitudinal direction. This adds additional stability against tipping in the longitudinal direction. In keeping with Megan's reliance on handtool methods, I found Paul Seller's approach to the compound angled legs to be very helpful.
See: https://www.youtube.com/watch?v=Ultj5I1d7zw
Log in or create an account to post a comment.
Sign up Log in