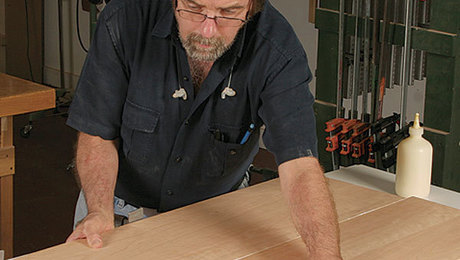
Video: Creating a spring joint with a handplane
Bob Van Dyke demonstrates how he creates a spring joint, making it easier to glue up a flush panel or tabletop that requires only light handplaning or scraping.Woodworkers have been using spring joints in large panel glue-ups for as long as they’ve been using glue. The concept of a spring joint is simple: Create a slight gap in the middle of an edge joint that is then drawn together with clamping during glue-up. The reasoning behind the practice is as varied as the methods used to create it. Many woodworkers sing the praises of the spring joint because, in theory, you only need one clamp to glue up a sizable panel or tabletop. Gary Rogowski uses spring joints in order to guarantee that the ends of his edge joints don’t open up over time. Some woodworkers, like Bob Van Dyke and Matt Wajda, create their spring joints with multiple passes of a smaller handplane (such as a No. 4 smoother). Others prefer to use their jointers to create a spring joint. Gary prefers to make multiple partial passes on the jointer, and in a series on making a tabletop, Bob Van Dyke used added pressure in the middle of the board when jointing his edges to create the concavity.
Bob’s reasoning is simply that a spring joint makes it easier to glue up a flush panel that requires only light handplaning or scraping. Since the edges of the glue-up touch before the middle, it’s easy to keep them aligned as you add clamping pressure and finesse the middle of the board. In fact, as you’ll see in the video, Bob can create a panel that is strong enough to take out of the single clamp after 15 or 20 minutes.
 |
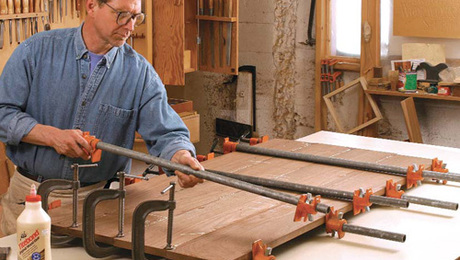
Creating an attractive tabletop, Part 2by Bob Van Dyke |
 |
Ep 1: Panel glue-ups using a spring jointwith Matt Wajda Matt shows you how he utilizes a spring joint to glue up boards and how to place your clamps to ensure a flat panel. |
 |
Spring joints: An edge glue-up’s best friendby Gary Rogwoski |


Comments
Very nice Bob, thanks!
Enjoyed the surprise ending. Very good video!
As a hobbyist without a power jointer, the doubled-up spring joint has been my go-to for ensuring that my panels and table tops have strong glue lines from end to end. They just work, no matter how wonky or off 90 degrees you get.
One step I add: as soon as the panel is glued and clamped, I check again that the panel is actually flat across each section (both ends and in the middle). If single clamp is not putting pressure precisely in the middle of each board edge, I'll adjust the clamp to bring the joint back to straight. And on long boards (like 6ft long), I'll add a few more clamps along the entire panel to ensure it's straight as necessary, alternating sides of the clamps.
Last thing I'll say is that if you're doing multiple boards with spring joints (like a table top), I avoid putting too much "spring" in the middle of the panel. I make sure that I can push the middle panel boards together by light-ish finger pressure only. You can get away with bigger springs with just 2 boards, but once you get into 6 boards with spring joints then I do fear the pulling pressure could build up in wonky ways. The glue lines would remain strong, but other weak points in the boards may eventually give way over time.
Why oh why did I watch this with my wife in the room? Now I can't buy more clamps...
BVD = BA
I was going to chime in, Bob Van Dyke is the most bad-ass FWW'er, but someone beat me to the punch...
Awesome video, also showing wood clamps usage... Thanks Bob!
I was taught this technique in a woodworking class. They said that one benefit of this method is that it helps prevent checking as the boards continue to dry. We all know that moisture escapes from the ends first and the wood shrinks which can cause cracks. Having a spring joint means that the slight shrinking will first reduce the spring and hopefully prevent cracks.
I have to say I thoroughly enjoy every video that Bob makes. Usually I shake my head and say "Why didn't I know that 30 years ago?" Simply outstanding.
Love this 4 shaving lengths method; very deliberate and methodical. But pizza for lunch? Take better care of yourself Bob; u need to be making more of these vids for a long time...
I love Bob's crisp, clear, and info-dense presentations, and this is no exception. Best of many tutorials on this fundamental technique. And gimme a break....pizza for lunch IS taking care of yourself. Add a pint of good ale when you're done in the shop for the day.
Thank you for the demonstration. I have often used a spring joint but never made it as methodically as you do. I like your method better. And it never occurred to me that I could use only one clamp. Duh!
Log in or create an account to post a comment.
Sign up Log in