Inspiration for isolation
Free articles and videos from a recent livestream we did to keep the woodworking community busy during this time of social distancing.One aspect of woodworking that we often find a nuisance is that by its very nature it’s an isolating activity. For once, that isolation is going to work in our favor. The reason for our newfound shop time is a drag, but let’s try and make the most out of it. Yesterday, I hosted a livestream on Facebook and Instagram to reach out to the woodworking community. In the live chat, people let me know what they were hoping to do in their shops during this time of social distancing and the information they needed to help them do it. So I played the role of woodworking-media concierge and directed people to articles and videos to help them out. We also decided to make all of these free for the next week so everyone could benefit.
Here are the links from our chat:
Video workshops
These two video workshops are in front of the pay wall for the week (which means they’re free).
 |
 |
Articles
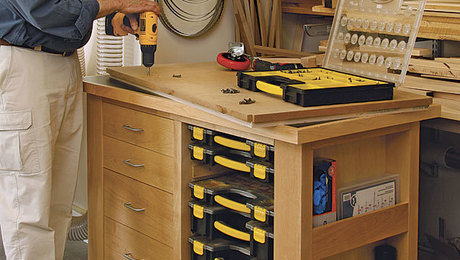
Organize Your Shop with Smart Carts
Robert O’Brien built his shop with dedicated, mobile stations for each machine. These carts not only serve as mobile storage space, holding all the accessories, tools, and hardware for that machine, but they also serve as auxiliary work surfaces and temporary infeed and outfeed tables. The tops of all carts are 3⁄4-in. phenolic plywood, with a nonstick surface that looks and wears like plastic laminate. A layer of 3⁄4-in. MDF below adds mass. In O’Brien’s shop, he has one cart for hand tools and hardware, one for sanding and sharpening, and one each for the tablesaw, dovetail jig, drill press, chopsaw, and router table.
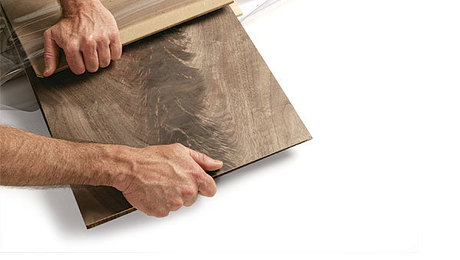
Choosing and Preparing Veneers
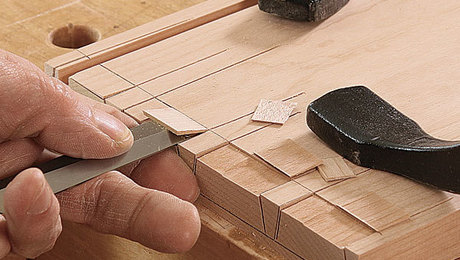
With vacuum bags, it’s easier than ever to incorporate veneer into your doors, panels, cabinet tops, and other furniture components. But before you start working with veneer, you need to learn how to buy it, cut it, join and seam sheets of it to get ready for glue-up. And who better to offer advice on the topic than furniture maker Craig Thibodeau? Here, this veneering expert gives you all the information you need on choosing veneer, marking and mending the pieces, flattening them, and then trimming and taping sheets of veneer to make beautiful book-matches, slip-matches, or other designs.
A Vacuum Press Makes Veneering Easy
Veneering is a great way to work with beautiful woods that are too rare, too highly figured, or too temperamental to be used as solid stock. It also allows much greater control over wood grain and figure as elements of design and decoration. The wide availability of vacuum-bag pressing systems has made veneering accessible to more woodworkers because it eliminates the need for bulky mechanical presses or armies of clamps. In this guide, J. Speetjens demonstrates how to choose a vacuum press and use it to veneer a flat panel.
Epoxy Inlay
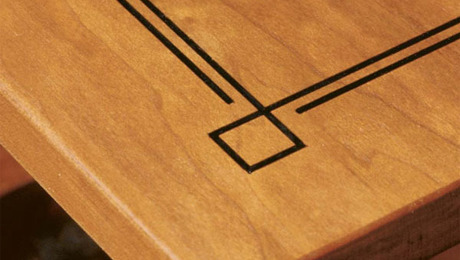
Jeff Miller used wood for inlays for years until he figured out a way to tint epoxy for more intricate jobs. Splicing, cutting to length, and mitering are all eliminated. Epoxy isn’t foolproof, however; there can be bubbles and voids, and the color occasionally bleeds into end grain. Miller explains how to do the job right and avoid problems. He also shares information on which brands and types have worked best for him. You’ll learn how to cut and trim the grooves, mix the epoxy and add color, and apply the epoxy with a stick. Then you watch for bubbles, and after it cures, you clean off the surface.
Don’t Fear the Hand-Cut Dovetail (Part 1)
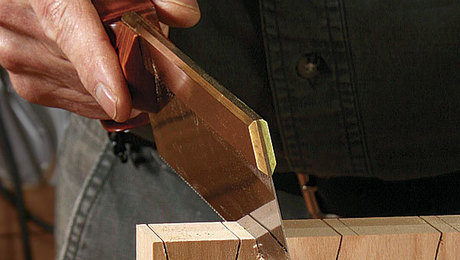
If you’re looking for expert advice on dovetails, you can’t go wrong by turning to Christian Becksvoort. This Shaker furniture master has been cutting dovetails by hand for more than 40 years, and if there is a method out there, he has probably tried it. Here, in the first of two articles, he spills his secrets—starting with the tails. Learn how he lays them out, figures out the best spacing, marks them, saws exactly to the line, and chops them accurately. When you’re done, you’ll have a set of perfect tail boards.
How to Cut and Fit Perfect Dovetail Pins (Part 2)
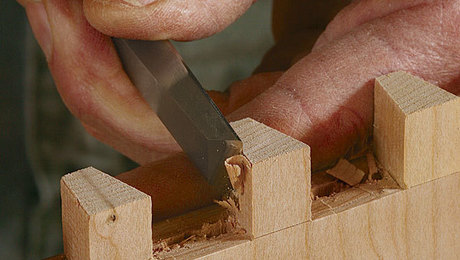
You learned to lay out, saw, and chop the tails in FWW #238. With that half of a through-dovetail joint complete, it’s on to the pins. Here you will learn how to transfer the tail layout to the pins, how to cut the pins, and how to assemble the joint. Widely acknowledged as a dovetail “master,” Christian Becksvoort has a lot of great knowledge to share—from ways to assure accurate scribing to methods for keeping the tail board flat and steady while you work. He also has tips for perfect paring and a stress-free glue-up. And if something goes wrong, he’ll show you how to fix gaps.
Half-Blind Dovetails Cut by Hand
A joint that does its job superbly, delivering beauty and strength without straining for attention—that’s the essence of the half-blind dovetail on a well-made drawer. Christian Becksvoort shares his method for cutting half-blinds, the next step in craftsmanship for the woodworker who has mastered through-dovetails. The tails for both type of dovetail are cut the same way. The pins differ for half-blinds, requiring some careful sawing and extra chisel work. Learn how to lay them out, saw them, and then chop, pare, and clean them up for a perfect fit.
Video: How to Cut a Box Joint
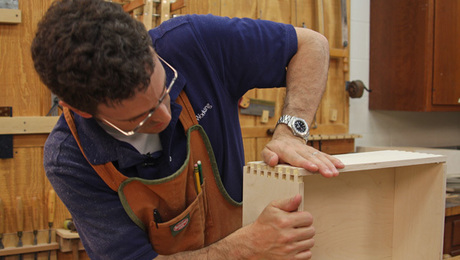 |
How to Cut a Box Jointwith Ed Pirnik |
Flatten Boards without a Jointer
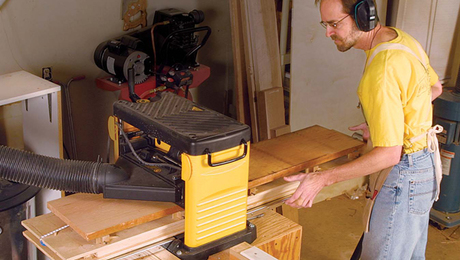
Working with wide lumber would be a joy if not for the dilemma of how to flatten the boards. The obvious method is to rip a wide board into narrower strips, use a 6-in. or 8-in. jointer, and then rejoin the parts. Finding this unsatisfactory, woodworker Keith Rust designed an adjustable sled that lets him mill wide boards with a thickness planer. The body of the sled uses a torsion-box design, which keeps it rigid and flat without adding too much weight. The board to be flattened rests on a series of adjustable supports. Now Rust is flattening 12-in. boards and loving it.
True Greene and Greene
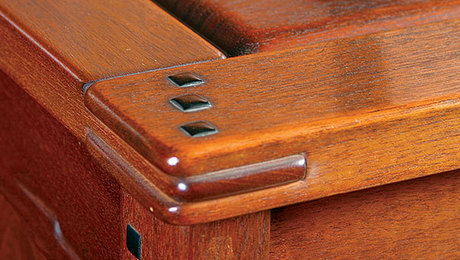
Born out of the Arts and Crafts movement in the early 20th century, the marriage of styles created by California architects Charles and Henry Greene continues to please the eye and spark the imagination 100 years later. Their designs, which have been revered, copied, and rediscovered countless times over the past century, mix the subtlety of Chinese furniture with the boldness of Japanese temple design and the sinuous lines of Art Nouveau. Furniture maker Gary Rogowski has been a student of Greene and Greene style for most of his career. The way he approaches this style could serve as a blueprint for others who’d like to incorporate the Greenes’ design philosophy into their own work.
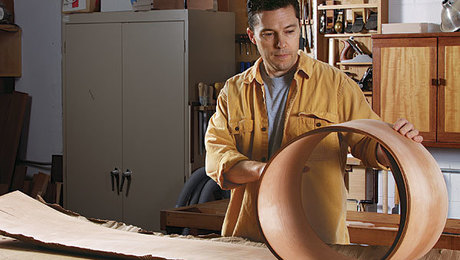
Dry Your Own Lumber
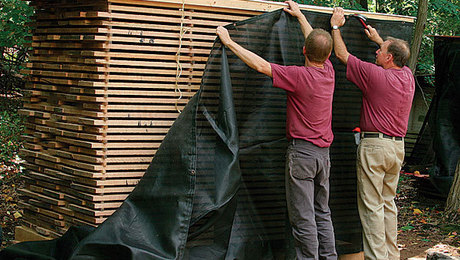
You can save money and enjoy the convenience of having a stockpile of great wood at hand if you learn to air-dry your own lumber. Dave Spacht, who has run a small sawmill for more than 25 years, demonstrates how to transform green wood into stable, seasoned boards. First, he’ll show you how to properly stack lumber outside. Then, after you wait for about a year while it dries naturally, you’ll take it indoors to complete the drying process. Use a little patience, follow Spacht’s recipe, and you’ll have dried boards with a minimum of warping, splitting, and end checking.



Comments
Hello, Ben!
I’m finding it nigh impossible to figure out how to communicate with the FineWoodworking editors!
I watched the Andrew Hunter shop tour video and would like to get the specs on his workbench and foot bench. Does he have a plan he is willing to share? Dimensions? Rough sketch? Type of wood?
I think it would be a great addition to the other workbench design articles.
Also finding it hard to figure out how to contact Andrew directly. The website I’ve seen listed for him Andrew Hunter arts.com is not functioning.
Thanks, Lander
We don't give out author contact information, but your best place to try him is on Instagram. Unfortunately, if we haven't done a build article on something, we don't have plans. His whole bench system is very simple. I do believe the top is pine. Then just some trestles at the height and width you need for your bench. Good luck.
Thanks, Ben. Kind regards, Lander
Log in or create an account to post a comment.
Sign up Log in