Woodworking with kids: Scrapwood sculptures
Two bandsaw cuts, some hot-melt glue, and some spray paint make for a fun time in the shop for both kids and their adults!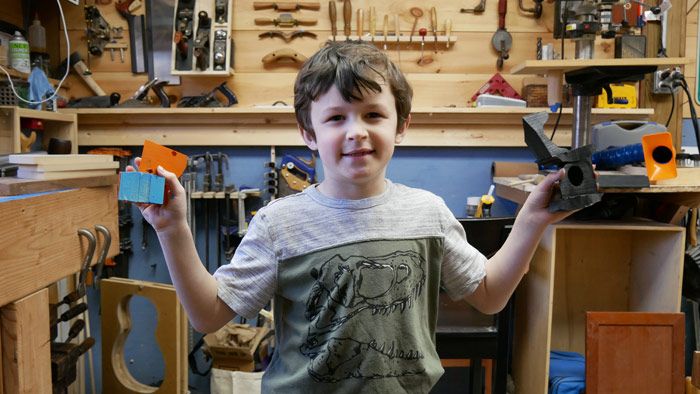
One thing that is nice about social isolation is that at no point have I felt like my family and I are the only ones going through this difficult time. We all are–or I sure hope we all are. My family is very lucky, with plenty of room at home for the three of us; but even so, we have found it difficult to keep everyone engaged. This weekend I wanted to get my son, Orazio, out in the shop to give my wife a little breather in the house. For a 6-year-old, Orazio knows his way around a woodshop. We’re often in the shop building “race cars” out of scrapwood or Popsicle sticks. With a dozen or so home-built race cars strewn about our house, I wanted to find a different shop project we could do together.
Years ago, Todd Clippinger posted a really fun video about scrapwood projects he does with his grandchildren. Orazio knows that my scrapwood pile is always up for grabs, but he never seemed to “see” much in there. Knowing he has a penchant for modern-abstract sculptures (really … the kid digs modern art), I thought maybe the straight lines of my cutoffs left him uninspired. I was right!
Two cuts on the bandsaw
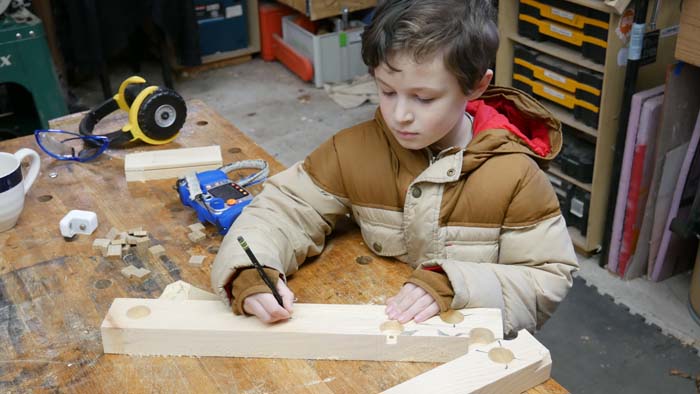
This project started with Orazio drawing a line on a piece of scrapwood. Knowing I was going to cut this board on two axes, I wanted to make sure that I had a thick piece to start with. A leftover piece of 2×4 would have been fine, but I chose some 8/4 pine I had used for … something.
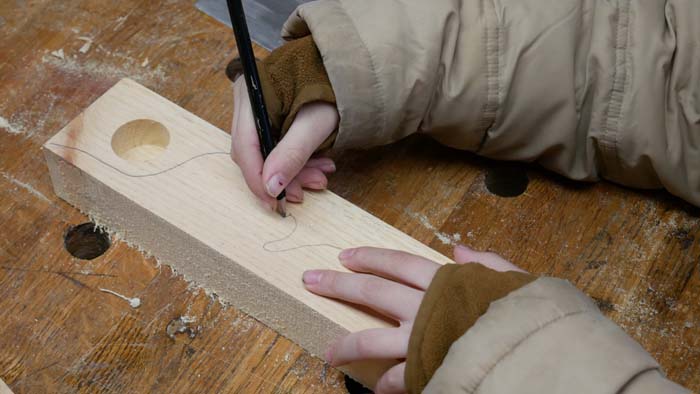
I had a hard time communicating that a simple line is best for this project. The mind of a 6-year old wants to wander and make detailed, looping lines. For this first line, try to have your shop buddy keep it simple.
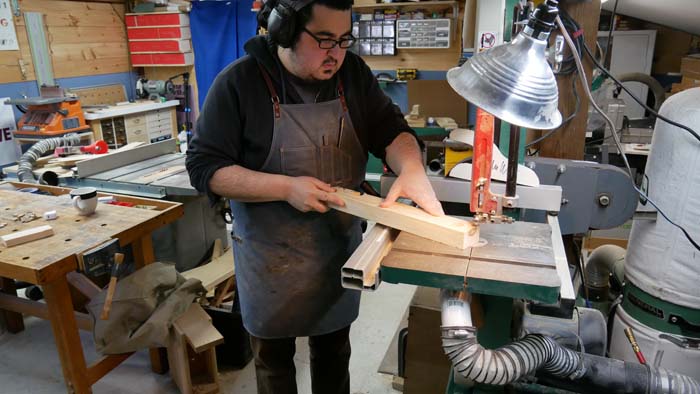
Once Orazio drew a continuous line I cut it out on the bandsaw. Honestly, I used the line as a fairly loose guide. What he drew was a little complicated and difficult to follow with a 1/4-in. blade. If I had a smaller blade I might have tried to take his line a little more literally, but I used it as a guide and he didn’t mind one bit.
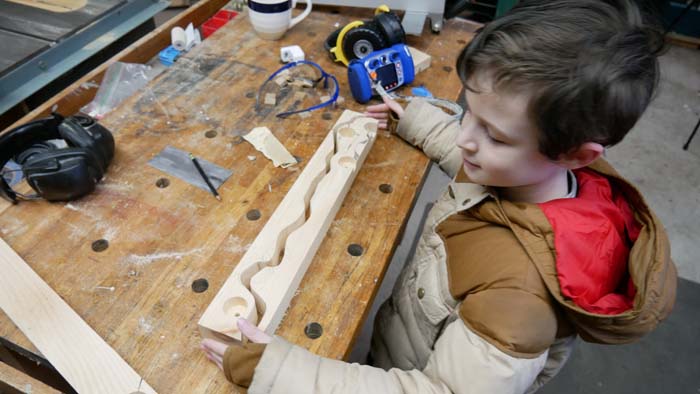
Flip and repeat
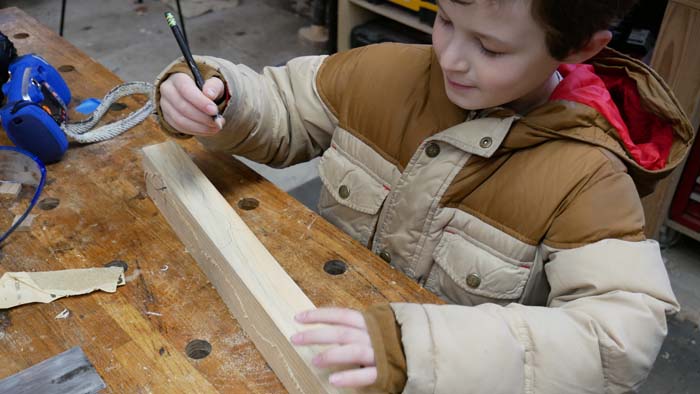
Now we flipped the workpiece and Orazio started drawing again. This time I told him he could get wilder. The goal for this second line isn’t to be one continuous line (well, it can be whatever you want).
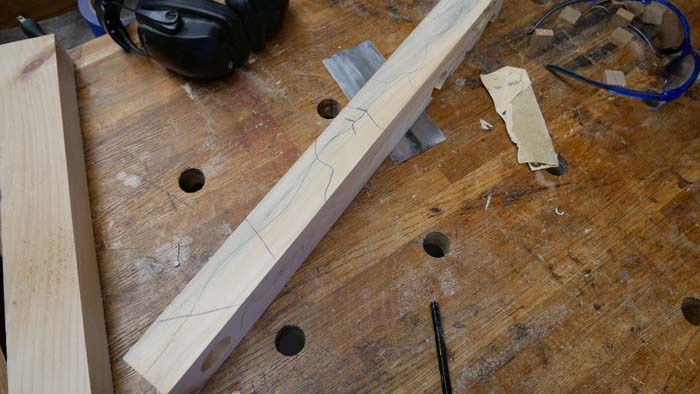
We drew lines crosscutting the piece so that we would wind up with more pieces in the end.
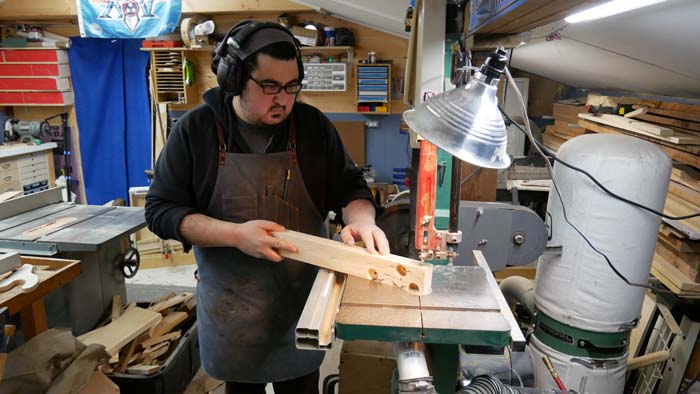
This cut at the bandsaw is a little more difficult since you’re trying to hold the layers together while cutting. Some blue tape would have remedied this, but I took my time and four minutes later the machine work was done. I knew it was four minutes because Orazio was filming me with his toy camera. Some apples fall where apples tend to fall.
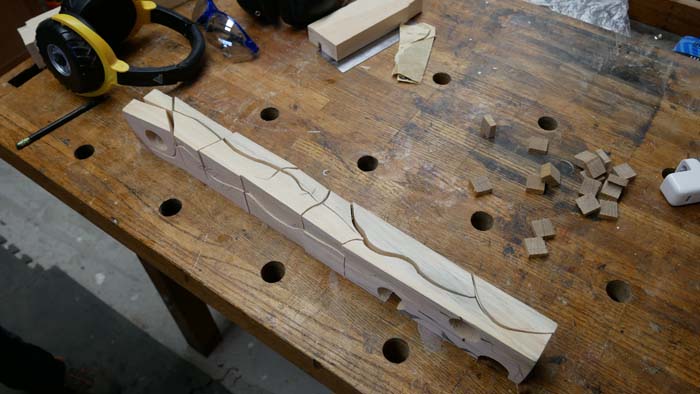
I tried to leave all of the pieces as intact as possible and reassemble them on the workbench, knowing it would make for a dramatic reveal.
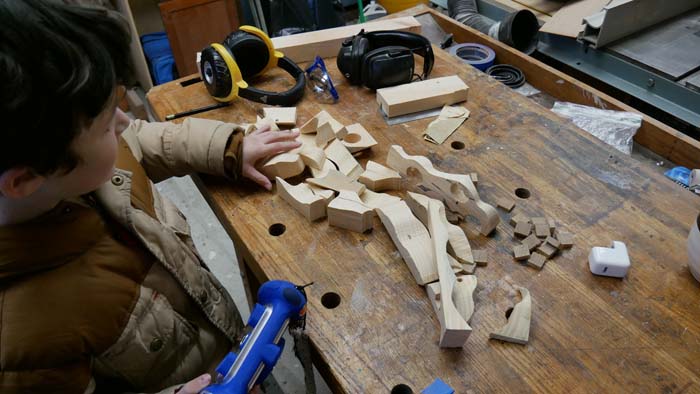
The pieces appear as Orazio pushes them over, revealing the palette to the artist.
Get the hot-melt glue gun out!
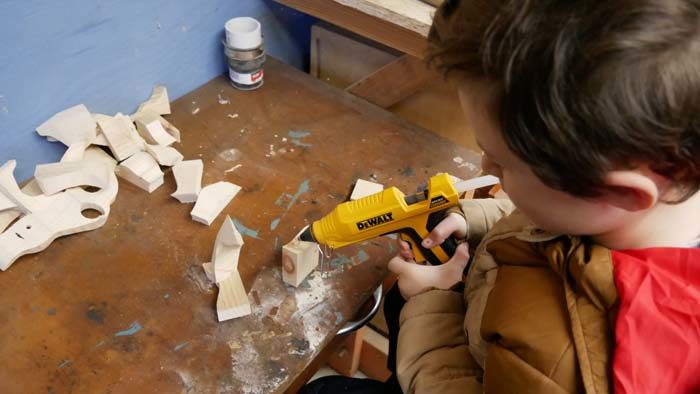
If you already have one, you know how useful they are in the shop and in the house. I’m amazed how often I use it. If you don’t have a hot-melt glue gun, I highly recommend this little DeWalt, it heats up quickly, and Orazio is able to squeeze the trigger without a problem.
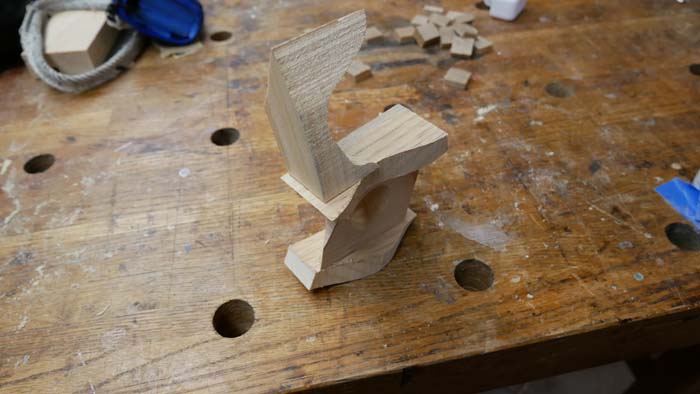
Now, there is a learning curve for little ones. It’s difficult for them to accept just how hot the glue is coming out. You could do this with regular glue, or screws maybe, but once your shop buddy learns the intricacies of a hot-melt glue gun, you’ll never go back. The creative ideas flow out of them since they can secure pieces together solidly as fast as they can come up with the ideas.
Add some color
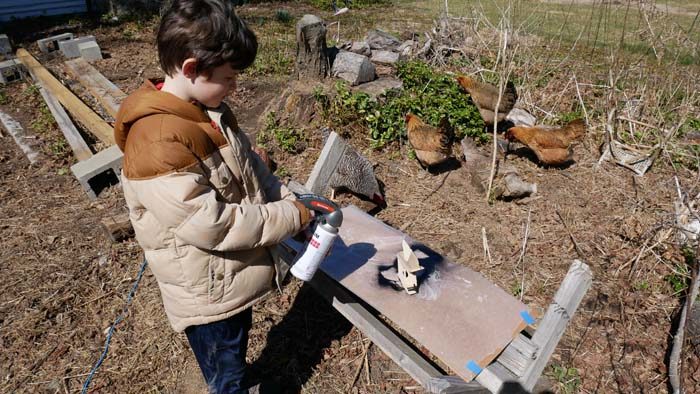
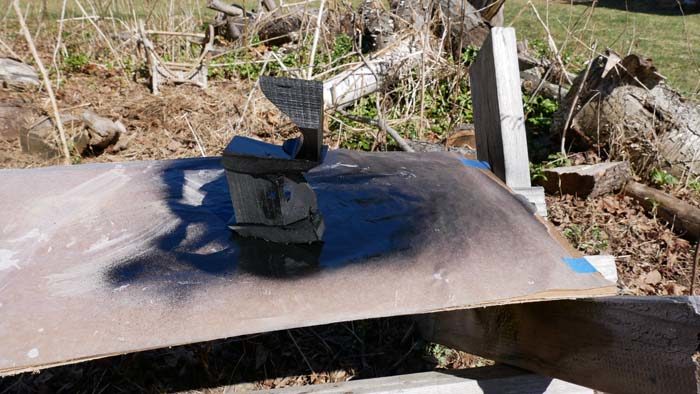
You can use whatever you have for this. Raz wanted to use spray paint because he is 6 and there are few things cooler than spray paint when you’re 6. I highly recommend one of those clip-on triggers for kids. It makes it easier for them to spray the paint with their little kid fingers, but perhaps more importantly, it makes it next to impossible for them to unknowingly spray the paint in the wrong direction.
 |
 |
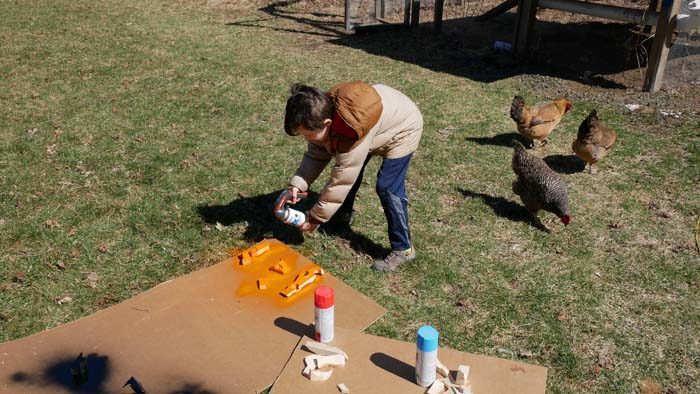
After the first sculpture, Orazio took over. He declared he wanted to paint the pieces before assembly. I’ve gotta say, the kid was onto something here. So he grabbed more spray paint, laid out the rest of the shapes, and went to town.
 |
 |
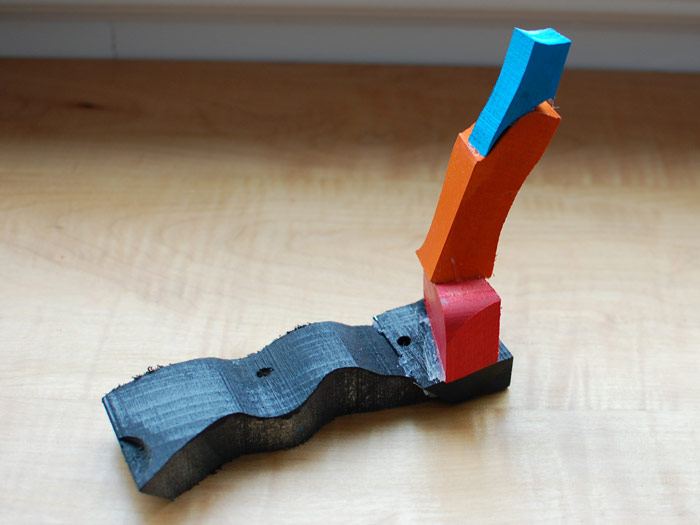
Painting them prior to gluing definitely created more drama in his sculptures.

We really had a lot of fun with these. Aside from waiting for paint to dry, this was a quick-moving project that keeps a young one’s interest. There are a million different variations you can do on this, and honestly, your shop buddy is likely to come up with more ideas than you can imagine. Have fun with it, be patient, and try and stay out of the way!
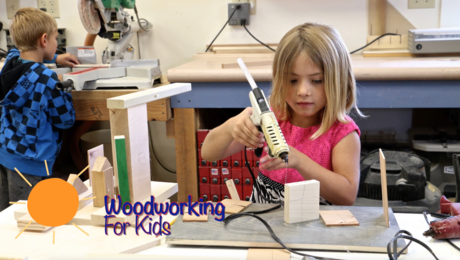 |
Woodworking For Kidsby Todd A. Clippinger |
 |
|
 |
Kid’s Woodworking Projectsby Doug Stowe |
Fine Woodworking Recommended Products

Suizan Japanese Pull Saw







Comments
Nice!!
I'm 70, my father passed a long time ago and some of my best memories are my father and I doing woodworking projects together. Good job dad.
Great ideas. Precious memories can be made with this type of project. Thank you for sharing!!!
Great idea Ben. And an excuse to get a glue gun. Hours of fun.
Hey Ben, good content, especially given the circumstances. Not your typical FWW fare, but appreciated nonetheless! You're 100% spot-on re: 6 year olds and spray paint.
Thanks so much Ben. My 4 year old daughter loves to work with me in the shop but I've struggled with projects where she feels really engaged and in control. This was a great project, and in the end turned out to be fun for the whole family as she produced sculptures and we all decorated them.
That's great to hear!
Log in or create an account to post a comment.
Sign up Log in