How to build hanging shelves with integrated lighting-part 1
Working on a project that involves opening up the wall between the kitchen and living room while keeping each one a distinct space, Nancy Hiller creates suspended shelves which act as a subtle divider.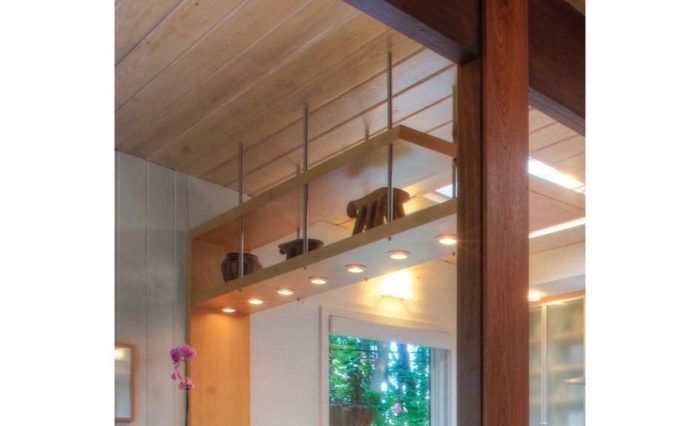
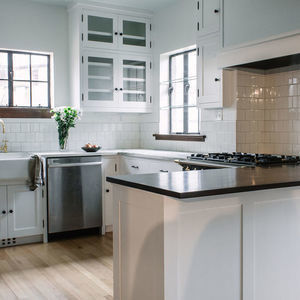
I’m working on a kitchen for a 1959 ranch. The project involves opening up the wall between the kitchen and living room while keeping each one a distinct space — a great opportunity to incorporate suspended shelves as a subtle divider. The plans also call for adding lights over the sink area, where these shelves will go. Instead of building can fixtures into the ceiling, I suggested that we incorporate them into the lower shelf, a clever trick I learned from architect Christine Matheu while working on her kitchen (above) in 2006.
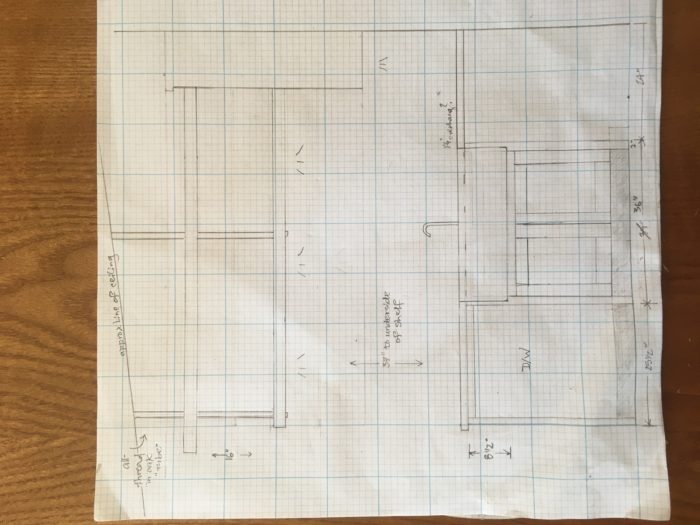
The clients decided to use a cast iron-enamel apron-front sink in view of the relative softness of the soapstone they chose for their counters. Although the sink has no historical relationship to the architectural style of the house, its front edge will stand up far better to the wear and tear from a family of five who really use their kitchen than the narrow expanse of stone counter that would otherwise have been subjected to daily wear and tear.
Part 1: Make The shelves
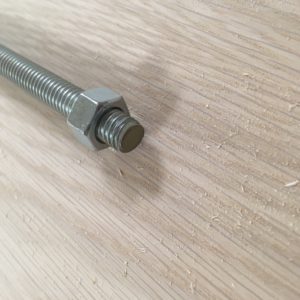
The shelves are made of 3/4-in.-thick veneer-core plywood with white oak faces, with 1-5/16-in.-thick solid white oak edging. Although they will be supported by cleats at one end, they’ll hang over the sink peninsula, suspended by 3/8-in.-dia. all-thread rod concealed by oak “tubing” made to match the shelves.
 |
 |
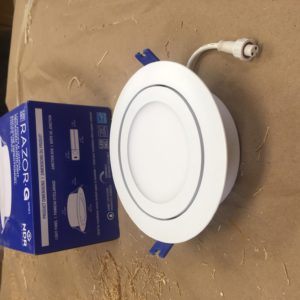
At this point, the lighting shelf is simply a box with a lid that will sit on fillets and remain removable for future maintenance. When it’s time for installation, we’ll cut the openings for the lights with a hole saw. The electrician is roughing in the wires at the wall; they’ll be long enough to run into the hollow box from the open end (see the following image). After the finish wiring work is complete, we’ll pop the lid back on to form the shelf.
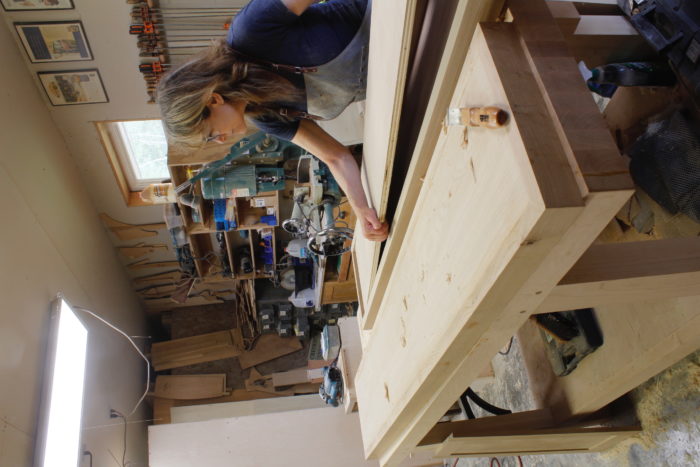
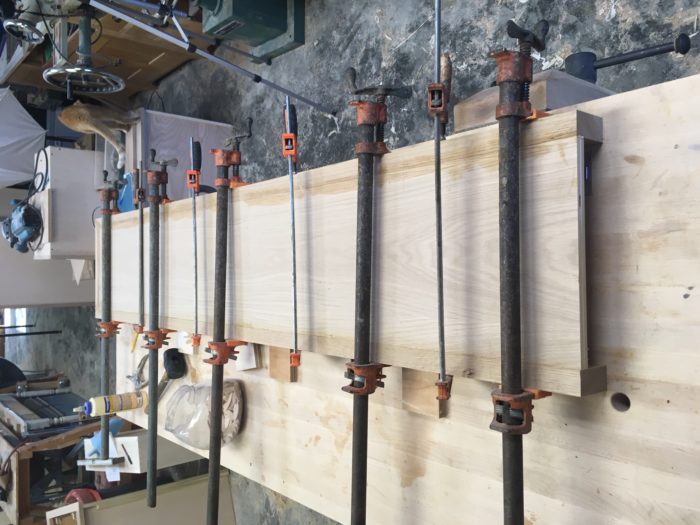
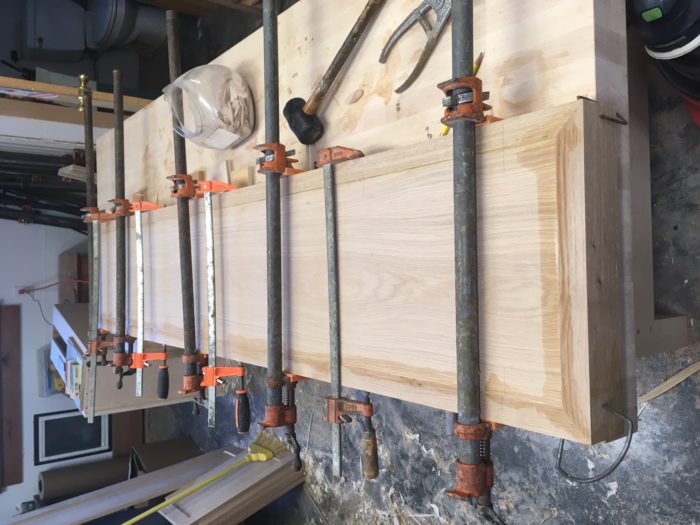
I attached the beefy solid-oak edging to the shelves with biscuits and glue. You could certainly use Domino tenons or other joinery; what’s important is to have a solid joint, because the rods that will suspend the shelves will go through the solid oak outer frame, making it not just decorative, but structural.
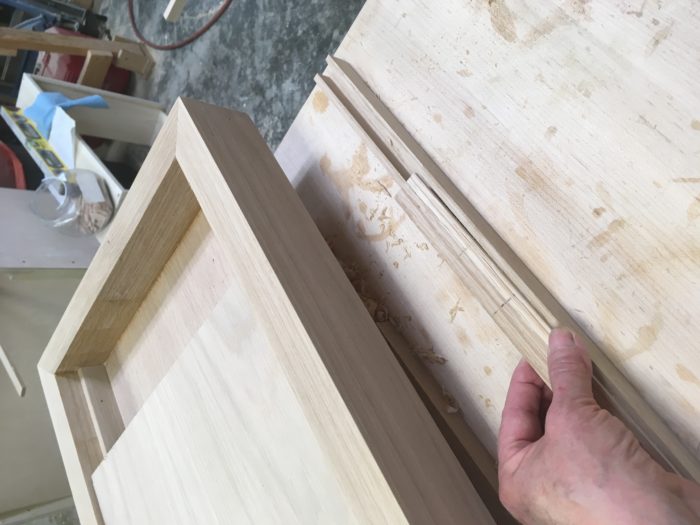
After you’ve determined the clearance needed by the lights inside the box, make fillets (like the one visible here) to support the shelf. The shelf can be flush with the top edge of the solid-wood edging or slightly lower, as in this case, where the lip will keep objects from falling off the shelf. Fit the shelf but don’t attach it; you will need access to the inside of the box during installation.
Part 2: Creating the oak tubing
There are various ways to conceal the threaded rod. Hardware stores sell metal tubing in a variety of finishes; you can cut it to length and slide it over the rod before you fasten the nuts for each shelf. In this case, I thought oak sleeves would fit better with the aesthetic. They’re simple to make.
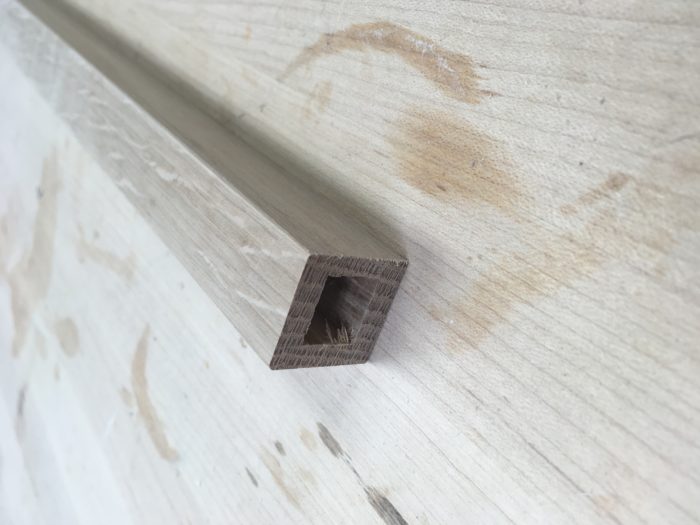
Cut your parts roughly to size. It’s a good idea to make the channel larger than the diameter of the threaded rod, to give you a little leeway at installation time. Depending on your preferred proportions, you may make the channel large enough to accommodate the nut. Ours is slightly undersized for the nut, because I wanted to keep the outside dimensions of the tubing as slight as possible. At installation time I’ll simply chisel out a little material to fit over the nuts.
Rip the lid
Rip a section off the main piece of stock to use as a “lid.” The thickness of the lid should be sufficient to keep from flexing under finger pressure so as to keep it from breaking in use.
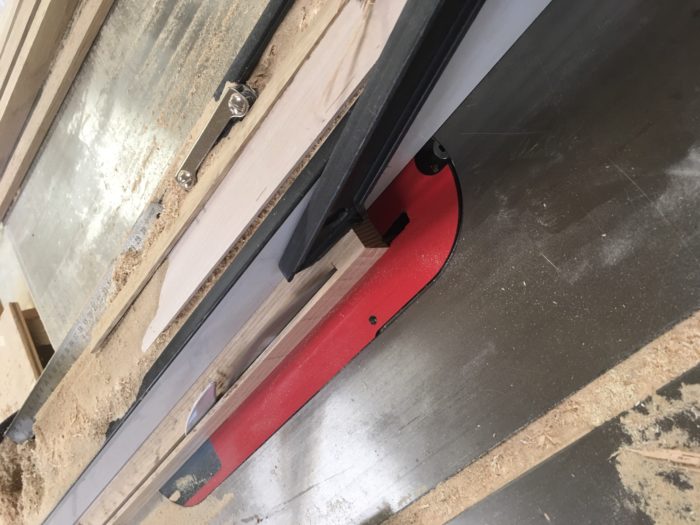
As soon as you’ve ripped each lid from its piece of tubing, mark both parts so you can keep the grain matched when you glue them back together.
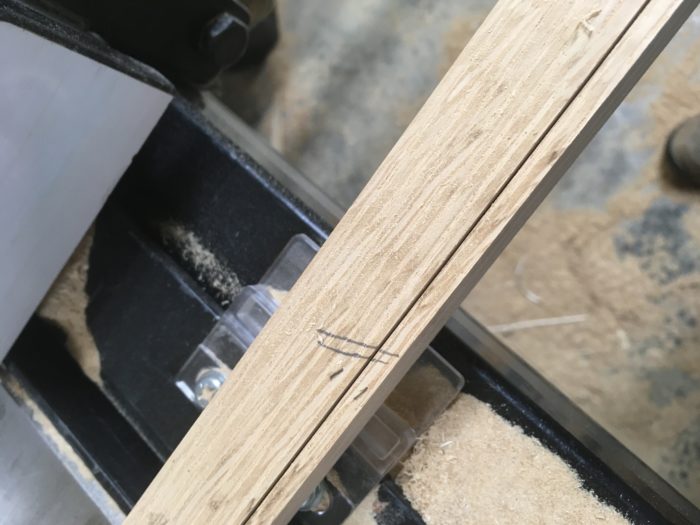
Cut the channel

I used a dado set to cut the channel in the main part of the tubing. It doesn’t matter if the “bottom” of the groove is slightly ridged from the dado blades. You’re just creating a channel through which to run the rod.
Glue the lid back on
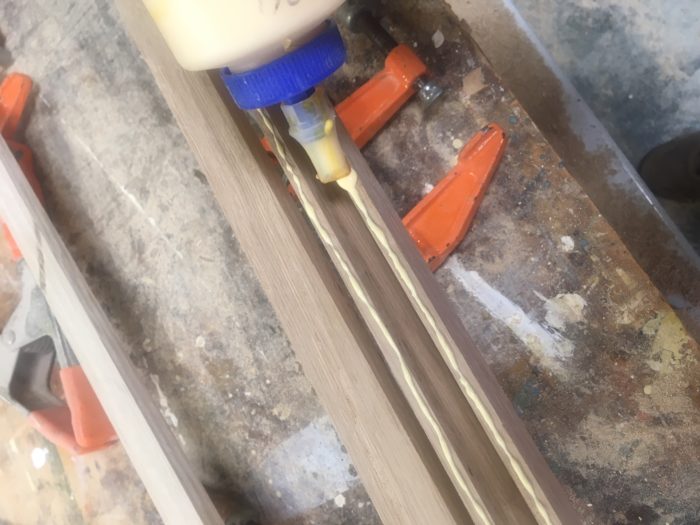
Run a thin bead of glue along the edges of the tubing and top with the lid. I used blue tape to keep the parts in alignment while adding clamps.
Trim to size and clean up
You can use a handplane or run the tubes through a drum or wide-belt sander. Make sure you don’t remove too much material. Leave the tubing full-length for now and apply your chosen finish. You’ll cut it to length during the installation at the job site.
Next time: Installation
If you’re even thinking about remodeling a kitchen, you need to pick up a copy of Nancy’s new book Kitchen Think. It’s filled with the clever builds you’d expect from someone who has been creating beautiful, high-end kitchens for decades.






Log in or create an account to post a comment.
Sign up Log in