Block Plane Dials in the Details
Mike Pekovich demonstrates how he uses his block plane to create roundovers and bullnose profiles, to make parts appear thinner or thicker, to exaggerate a curve, or even to make a straight edge appear curved.
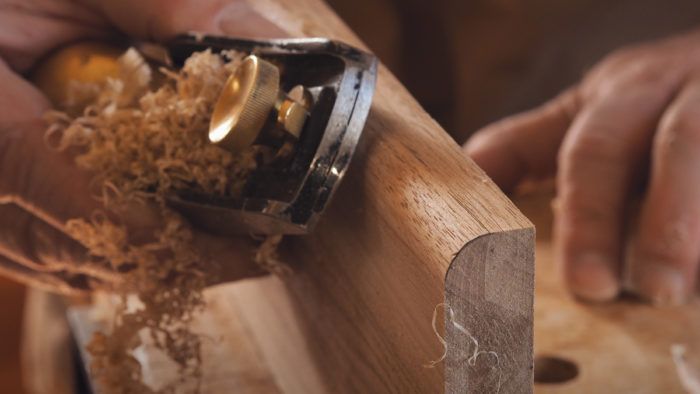
Synopsis: If all you’re using your block plane for is to knock the corners off the edges of a board, you’re missing out. This little handplane is one of the most important design tools in your kit. You can use it to create roundovers and bullnose profiles, to make parts appear thinner or thicker, to exaggerate a curve, or even to make a straight edge appear curved. You can fix shadowlines and reveals with it, and design a number of creative edge treatments.
The block plane is probably the one hand tool that inspires the least amount of fear, but maybe the least amount of excitement as well. Even if we’re not at the level of taking gossamer-thin shavings with a smoothing plane, there’s a good chance we’re knocking the corners off the edges of a board with a block plane without a second thought. However, if that’s all the consideration you give to your block plane, you’re probably missing out on the capabilities that make it one of the most important design tools in your kit.
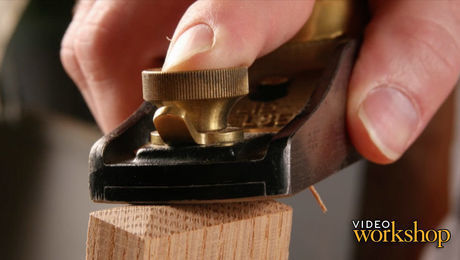 |
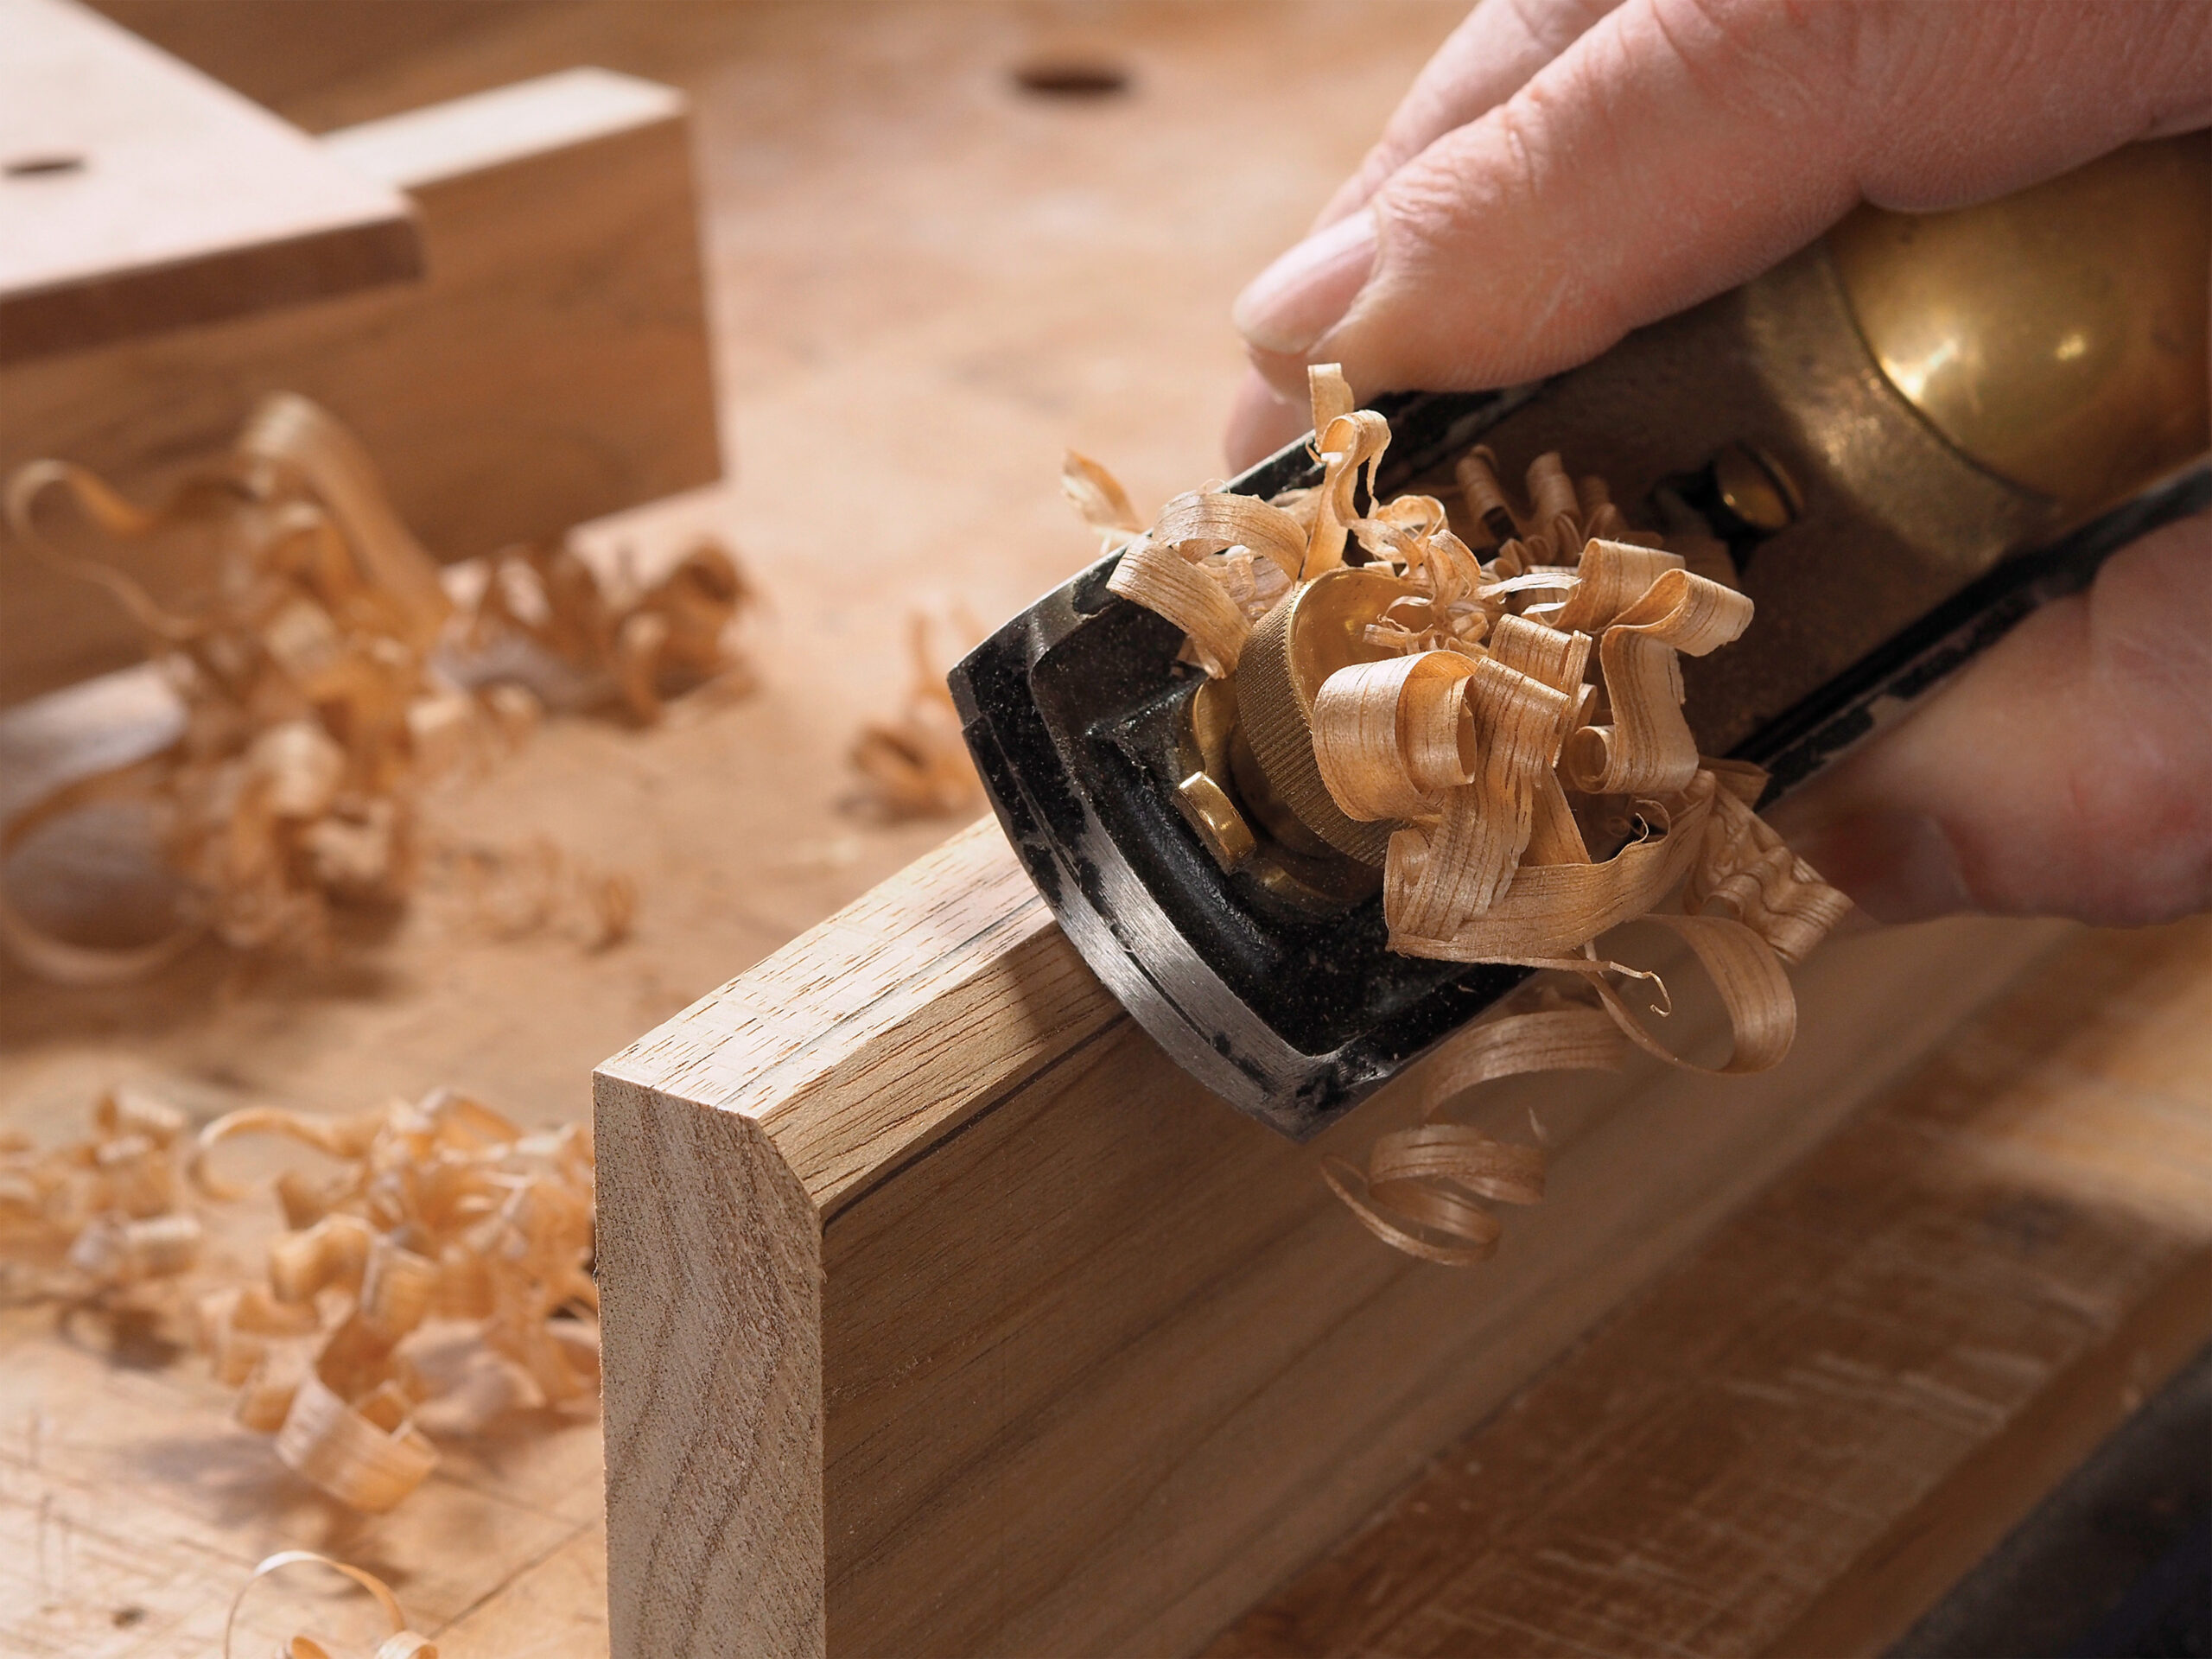
While larger, longer planes excel at flattening and smoothing, the block plane excels at shaping. That chamfer we cut on the edge or end of a board changes the geometry of the board. And therein lies this little plane’s power as a design tool. It’s the details of a design that bring a piece to life, and those details are often best handled with the block plane. While it’s great for a simple task like breaking an edge, it can also create roundovers and bullnose profiles. It can refine the appearance of parts by making them look thicker or thinner. It can exaggerate a curved arch, or even give a straight edge the appearance of a curve. You can straighten up shadow lines light is dispersed as it reflects off the rounded surface. On the other hand, the light will reflect evenly off the flat surface of a planed chamfer, creating a crisp highlight or shadow line. While the difference may be subtle, when you multiply the effect by every edge of a project, clean chamfers will add a crisper look overall.
There is nothing wrong with a rounded corner if that is the effect you are after, but having the ability to create a crisp corner offers you a second choice, and therefore more control over your design.
The wider you make a chamfer, the greater the impact it will have on the look of a piece. And the location of the chamfer will determine the effect you create. A tabletop is a good example. Adding a chamfer to the edge can make the top appear thinner or thicker. Since you view a tabletop from above, adding a heavy chamfer to the bottom corner of the edge will make the top look thinner. But a heavy chamfer along the top increases the visual width of the edge and makes it appear thicker. This is because the eye takes into account the width of the chamfer as well as the thickness of the edge, and the total is greater than the width of a square edge with no chamfer.
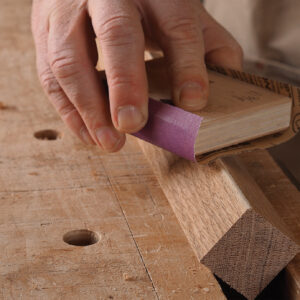
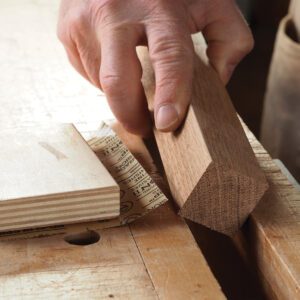
Sanding versus planing
Tapered chamfers offer even more design opportunities
While I mostly use chamfers that are even in width along their length, sometimes an intentionally uneven chamfer is a good thing. It can be used to make pieces appear more angled, or make angled pieces appear straight. In both cases, the aim is to adjust or fine-tune a design during construction.
If a tapered leg that narrows toward the bottom looks a little heavy, a chamfer on the inside corner that widens at the bot-tom can lighten the look. Alternately, on a straight leg, cutting a tapered chamfer that is wider at the top can lighten the leg’s top while maintaining the visual mass at the bottom for a more grounded effect. Another instance where a tapered chamfer is useful is when the side of a drawer front isn’t parallel to its opening. If planing the entire drawer side square to the opening would make the fit too loose, you can plane a tapered chamfer along the front corner to give the appearance of parallel sides while keeping the fit snug.
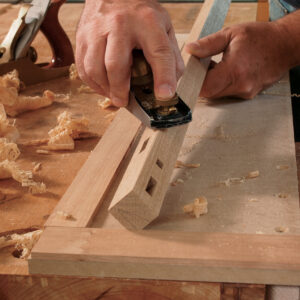
The key to creating a tapered chamfer is in controlling the length of the passes with the block plane. The aim is to start with a short stroke at the wider end of the chamfer and make progressively longer strokes until you are making a full-length pass. This will create a straight taper along the length of the workpiece. If the chamfer isn’t wide enough, just repeat the steps.
Change the look with a chamfer
A wide chamfer can have a big effect on the appearance of a part. Adding a chamfer to the bottom corner of a tabletop can make it look thinner, while the same chamfer on the top corner can actually make the tabletop look thicker, because the combination of the chamfer and edge is greater than the unchamfered edge alone.
Refine parts with double tapers
Creating a double-tapered chamfer is just as easy as a straight taper. This is a really useful technique for fine-tuning curves in a design. If the curve of an arched apron is too shallow, for example, adding a chamfer that is wider in the middle than on the ends will exaggerate the appearance of the curve.
To create a double taper, start with a short stroke in the center of the arch. Then follow with progressively longer passes that are also centered on the arch. By skewing the block plane, you can plane to the inside edge of most shallow curves. For tighter curves, you can use a spoke-shave in the same manner.
There are times when an asymmetric double taper is useful as well. When making a cabinet-on-stand with legs that flared toward the bottom, I wanted to create the look of a narrower waist toward the top of the legs. To achieve the look, I created a double tapered chamfer with its center near the top of the leg. In that case, rather than taking even-length passes on each side of the center point, I divided the length above the center point in four sections, and then divided the length below the center into four equal sections as well. The sections above the center were much shorter than those below, and created the appearance of a tighter curve at the top of the leg and a longer, shallower curve below.
Double tapers
Rounded edge profiles
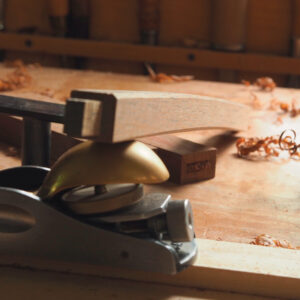
While a router bit may be the first thing that comes to mind for rounded profiles, I find that a block plane is usually a faster and always a more versatile option. It can easily handle any shape from a quarter-round to a bullnose, or something in between.
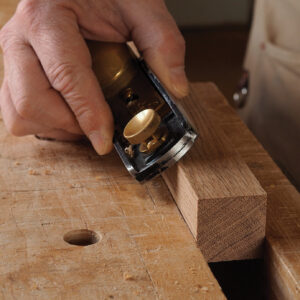
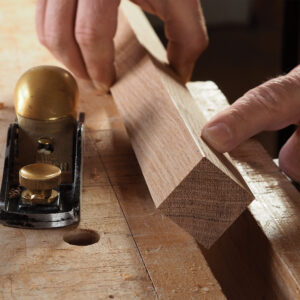
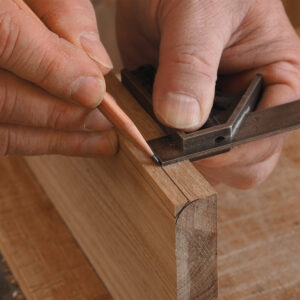
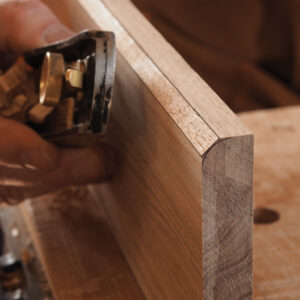
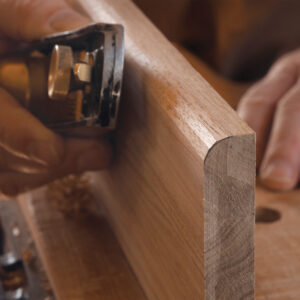
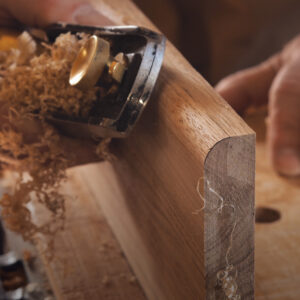
With the block plane, every curved profile begins with a primary chamfer. The width and angle of this chamfer will determine the shape and size of the curve. For a simple roundover, it’s easiest to draw the curve onto the end of the stock, then draw a 45° line tangent to the curve. This will be the primary chamfer. Draw lines down the face and edge of the board where the diagonal line intersects them. Plane to the lines to create the chamfer. The next step is to plane away the points of the primary chamfer, cre-ating secondary chamfers. Technically these are 22.5° chamfers, but I just tilt the plane until it’s angled halfway between the pri-mary chamfer and the edge or face of the board and call it close enough. Next, lighten up the depth of cut and continue to plane off the points of the facets until you’re left with a rounded edge. On long-grain edges of a board I usually leave the last tiny facets; the corner appears round, but you can feel the facets as you run your fingers down the edge. On end grain, I’ll often need to follow with fine sandpaper to get rid of the fuzzy texture. To create a bullnose profile, repeat the quarter round on the adjacent edge.
On both the quarter-round and bullnose profiles, there’s a smooth transition between the edge and face of the board which can look soft or mushy. For a crisper look, I use an arris curve, leaving a sharp edge, or arris, where the curved edge and flat face intersect. This creates a distinct shadow line where the surfaces meet that adds more visual interest than a regular bullnose profile.
To cut an arris curve, draw the profile on the end of the board. Then lay out the primary chamfers. In this case, they will be shallower than 45°, because we are creating a curve with a diameter larger than the thickness of the stock. Create secondary facets, and then smooth the profile with lighter cuts, making sure to leave a hard transition between the edge and the face.
One of my favorite edge treatments for tabletops is an asymmetric arris curve—like an under bevel, but with a curve that brings it to life. Again, start by drawing the curve and then the tangent diagonal to establish the primary bevel. When shaping this profile, it’s important to plane the entire edge to avoid leaving a flat above the curve. You can make this profile fairly blunt for a heavier look, or more undercut to create a thinner edge.
A simple roundover
From Fine Woodworking #284
Photos: Rachel Barclay
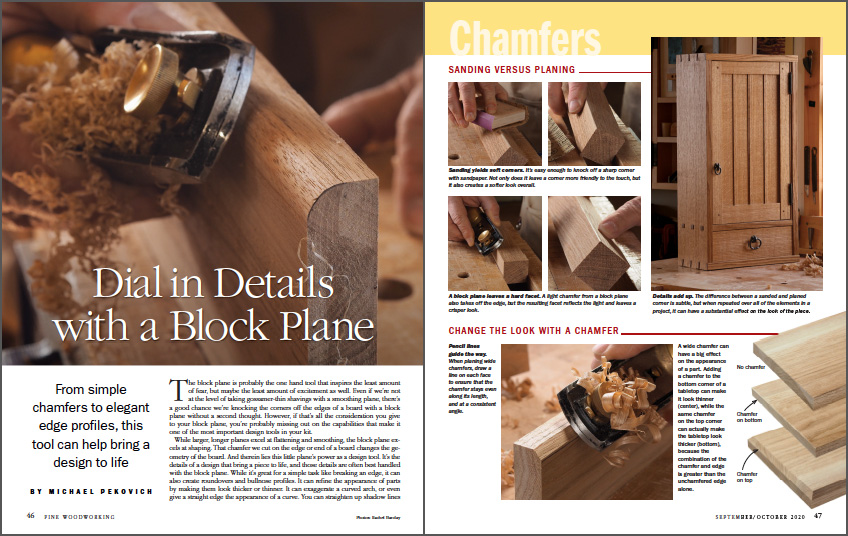 To view the entire article, please click the View PDF button below.
 |
|
 |
How to Tune Up a Block PlaneLearn how to restore a block plane to peak performance |
 |
Two block planes are better than one |
Fine Woodworking Recommended Products
Veritas Wheel Marking Gauge
Tite-Mark Marking Gauge

Stanley Powerlock 16-ft. tape measure



Log in or create an account to post a comment.
Sign up Log in