How to power carve a bowl
Using grinders, drill bits, power carvers, and various types of smoothing tools, Danny Kamerath turns chunks of wood into vessels that are works of art.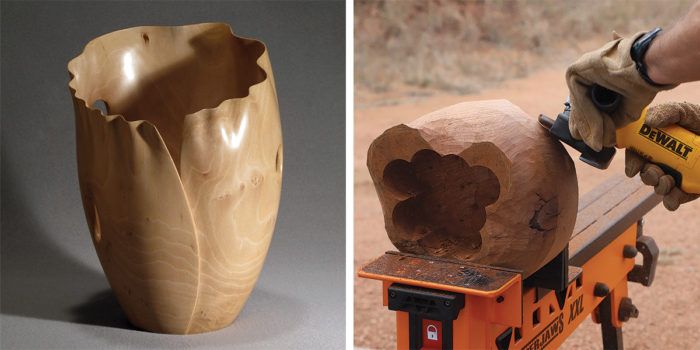
Synopsis: Using grinders, drill bits, power carvers, and various types of smoothing tools, Danny Kamerath turns chunks of wood into vessels that are works of art. He’s been carving bowls this way for 15 years, and has refined his technique as well as his forms.
I carved my first bowl 15 years ago. I had cutoffs from making furniture that were too small for furniture yet too big to throw away. I decided to make them into something useful and perhaps learn a new skill. The tools at hand were a drill press, a bandsaw, a 4-in. grinder with a sanding disk, a 12-in. disk sander, a random-orbit sander, and a few files and rasps. The process was long and tedious but I was pleased with the result, and I started looking for better tools to make the carving go faster. Over time, I have tried many tools and brands, settling on a kit of tools and streamlined techniques that make power carving efficient and fun.
When I pull out a chunk of wood to carve, I have an idea in mind about how I want the bowl to look. If I make a sketch, it’s just a suggestion; I let the wood’s grain and any defects play a role in the final form. Except at the initial sawing stage, I don’t often draw on the blank itself. I prefer to freehand the shape as I’m carving. But I’ll stop from time to time and look at the shape as it is emerging, and if I see something I want to change I’ll sometimes draw the new shape on the bowl with a pencil or piece of chalk and carve to it.
Rough shape the bowl blank
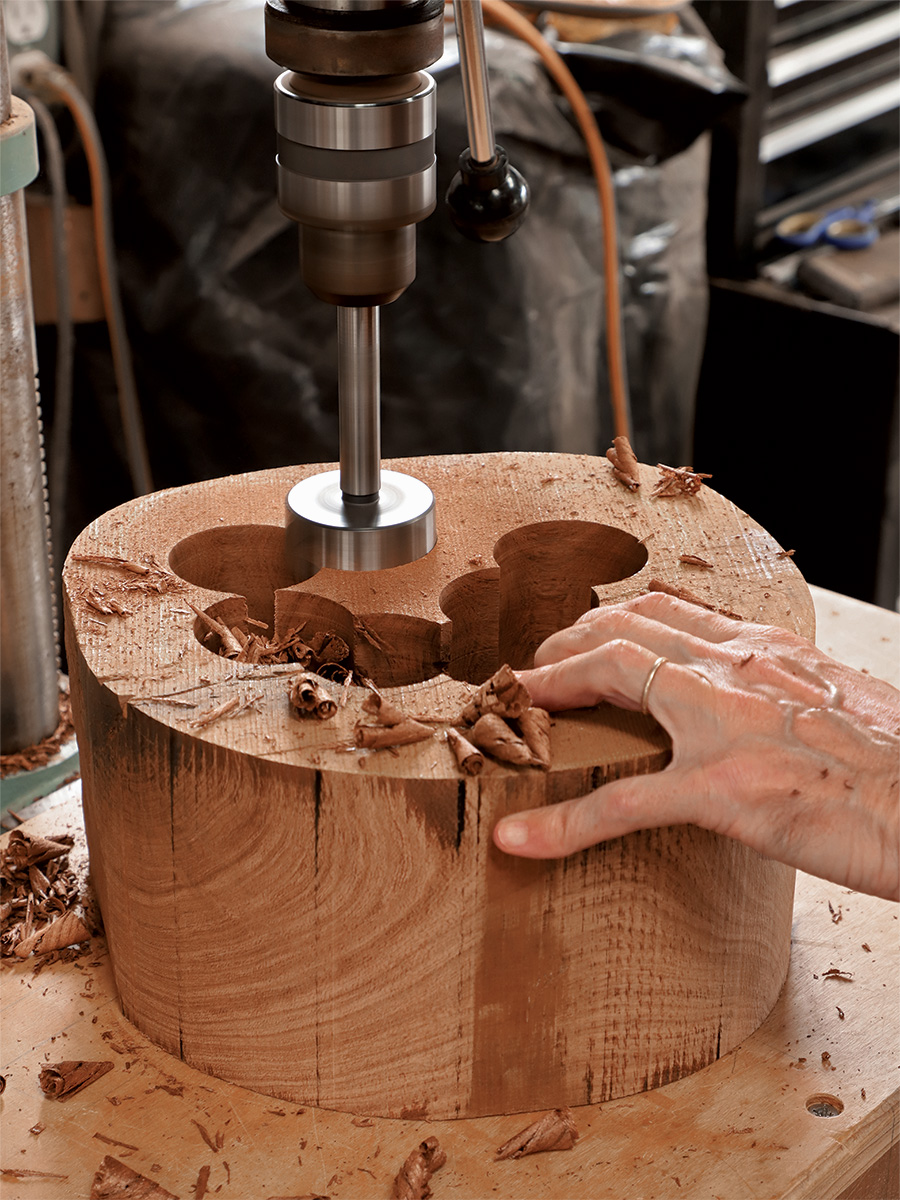
On the top of the blank (in this case a piece of kiln-dried mesquite) I draw freehand lines showing the outside shape of the bowl and the inside lip of the hollow. I cut the outside shape at the bandsaw and then use a drill press to remove waste from the inside. I use any drill bit that will efficiently remove wood. In this case, because mesquite drills easily, I used a large Forstner bit and the hollowing went very quickly. On harder, denser woods or when drilling into end grain, I’ll use smaller brad-point bits. I overlap the drill holes but sometimes there is a pinnacle left which is too small to drill. In that case I either grind it away or just break it off. I’m not concerned with making a smooth, flat bottom, since it will be carved and rounded later. Don’t get too close to the inside lip or drill too deep into the blank; leave plenty of wood to carve.
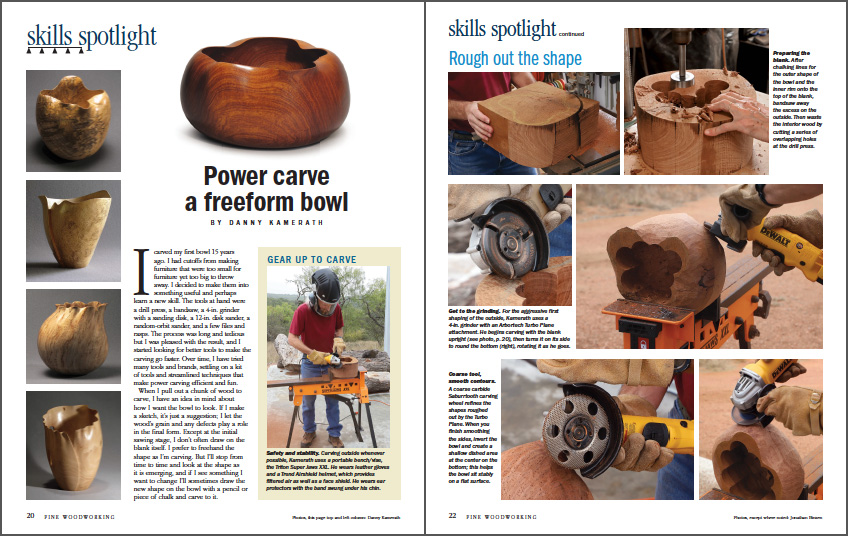
From Fine Woodworking #284
To view the entire article, please click the View PDF button below.
 |
|
 |
|
 |






Log in or create an account to post a comment.
Sign up Log in