Time-Tested Finishes that Just Work
Megan Fitzpatrick prefers finishes that are easy, fast, and foolproof. In her experience, these six check all three boxes.
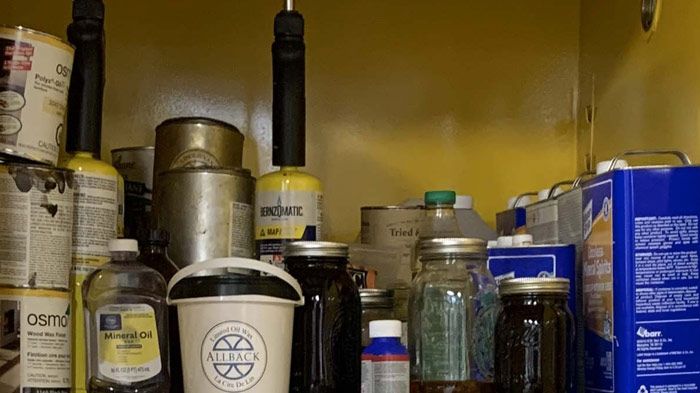
As I suspect is the case for many woodworkers, finishing is not my favorite thing to do (the only thing I like less is sanding). And I know, from the many questions I’ve received over my years in woodworking, that it is by far the most terrifying part of the craft. I get that – choose the wrong finish for a project, and you can undermine all your hard work on building the thing.
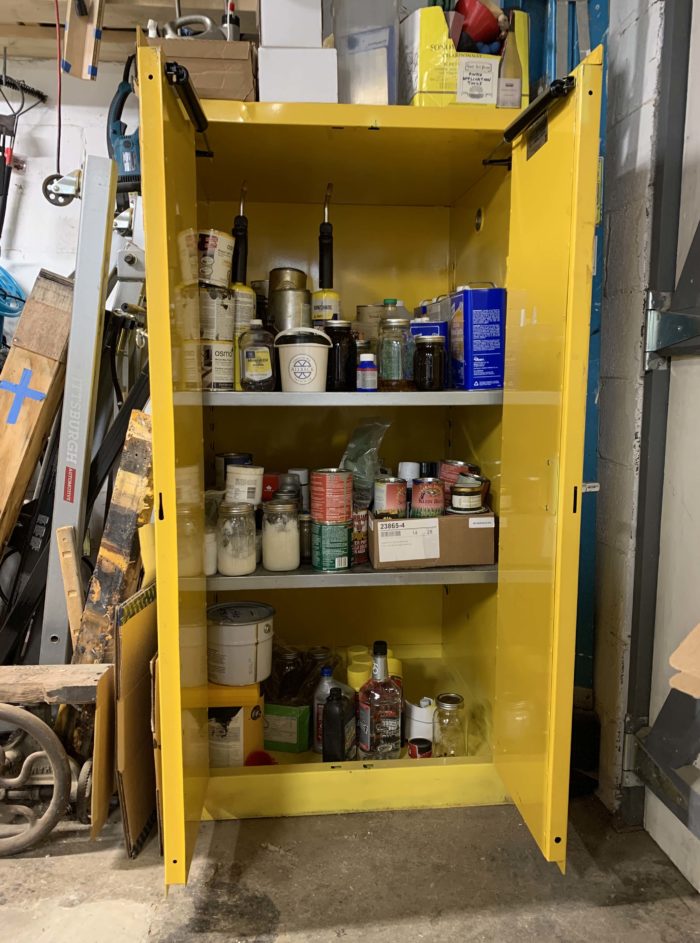
I’ll never forget the day early in my stint at another woodworking magazine when we were planning a “beauty shot” for the next day. The project’s maker – a longtime professional woodworker – chose a “hot” finish of the time, pickling, and applied it with just enough time to allow it to dry overnight for the photo shoot. To not put too fine a point on it, it looked like absolute crap. So, he had to strip the finish, sand to bare wood, and start over with a different finish. That photo shoot got pushed a few days.
Experience helped to cement my finishing preferences: easy, fast, and foolproof (with the caveat that there’s always a bigger fool … and it’s once been me – always test unfamiliar finishes on a practice board). And I also prefer finishes that are relatively safe.
Below are the finishes that get the most use at our shop, and a bit about each.
Shop Finish (aka Oil/Varnish Blend)
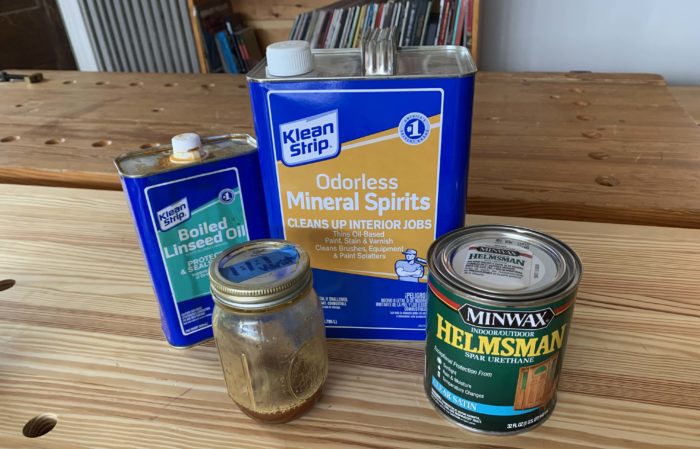
A shopmade oil/varnish blend is the workhorse finish here. It goes on most shop projects (including benchtops when we bother to finish them). Two coats offers enough protection against spills. The formula is simple: 1 part varnish (we prefer Helmsman spar varnish), 1 part boiled linseed oil and 1 part thinner (either turpentine or mineral spirits – and for either, we like the less smelly stuff, though it costs more). Just mix them up in a Mason jar, and done. Don gloves, then apply it in a thin coat with a lint-free cotton rag, drawing it out until there are no puddles – in effect, wiping it dry. Let it sit for a few hours, then knock down nibs with an extrafine sanding sponge or fine-grit sandpaper. Repeat as many times as you like to achieve a look you find pleasing. Two is the minimum for protection. I wouldn’t apply more than about four coats though; if you do, it will start to look plasticky (but be better protected … so maybe for a tabletop).
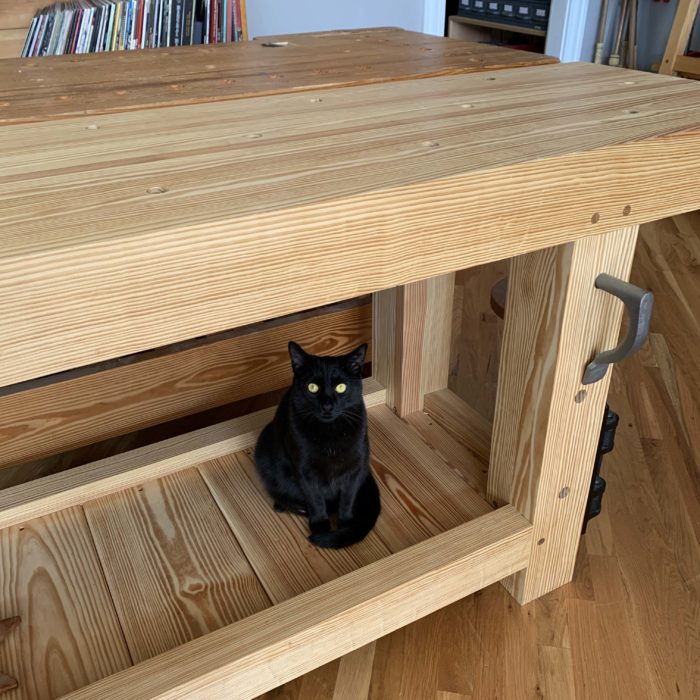
The BLO adds a little yellow, making the piece look older (to my eye, anyway).
This is basically a foolproof finish…with the caveat about fools.
Allback Linseed Oil Wax
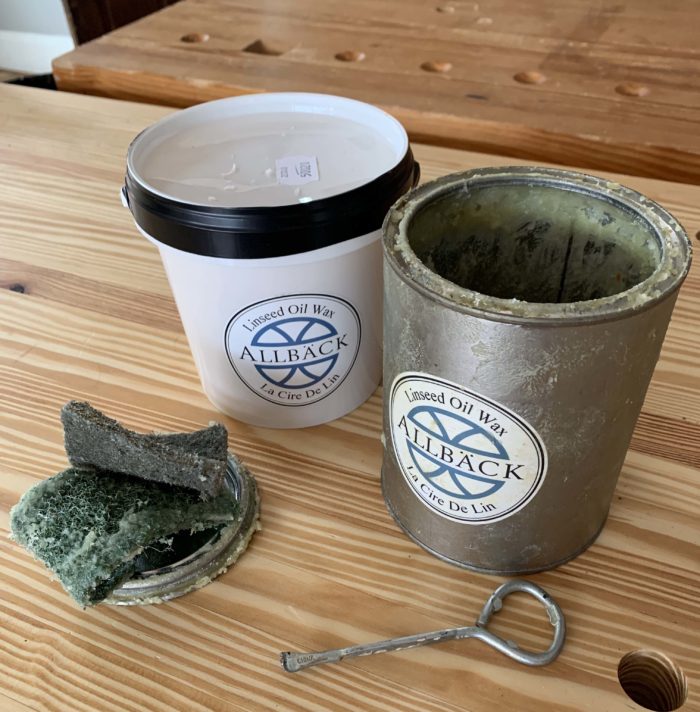
Allback Linseed Oil Wax is made from organic linseed oil (no driers) and beeswax, and it is non-toxic. I like it for small projects that don’t get much abuse, such as the Shaker trays and candleboxes I make a lot. It imparts a low sheen – more of a glow, really – and the oil darkens the wood and adds just a hint of yellowing, which looks great on any wood. I particularly like it on cherry and walnut, and to bring out the chatoyance of figured maple.
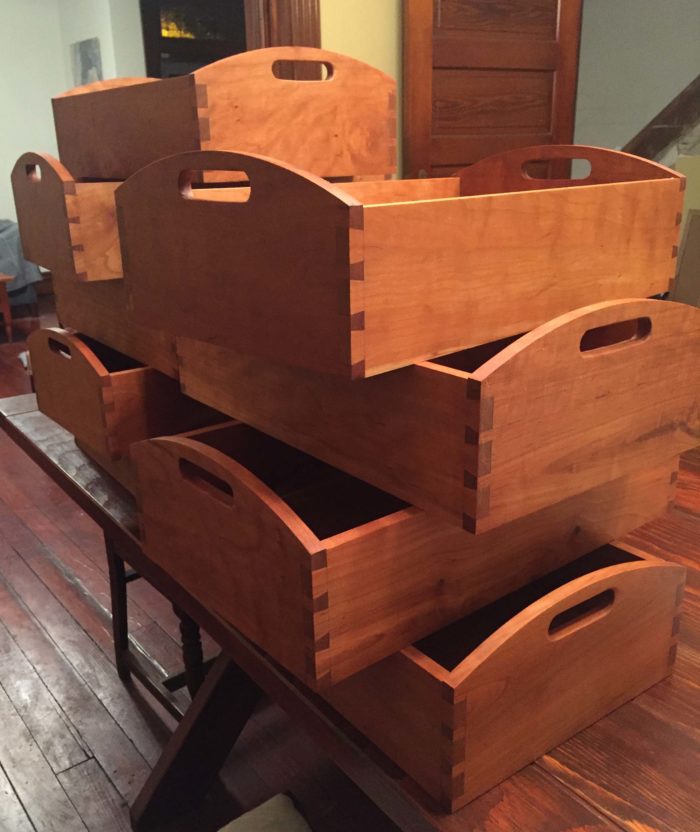
Just wipe it on raw wood with a cotton rag or gray 3M pad, running it in and around until only a thin film remains. After it flashes (about 30 minutes), buff off the excess with a clean cotton rag (and do rub hard – if you leave too much on the surface, it will be sticky, and the longer it sits the harder it is to buff). Wait a day or two, then apply another coat. The second coat takes longer to fully dry (a couple of days), but it adds a bit more glow and protection. Bonus: You needn’t wear gloves while applying Allback, and it will soften your skin.
Shellac
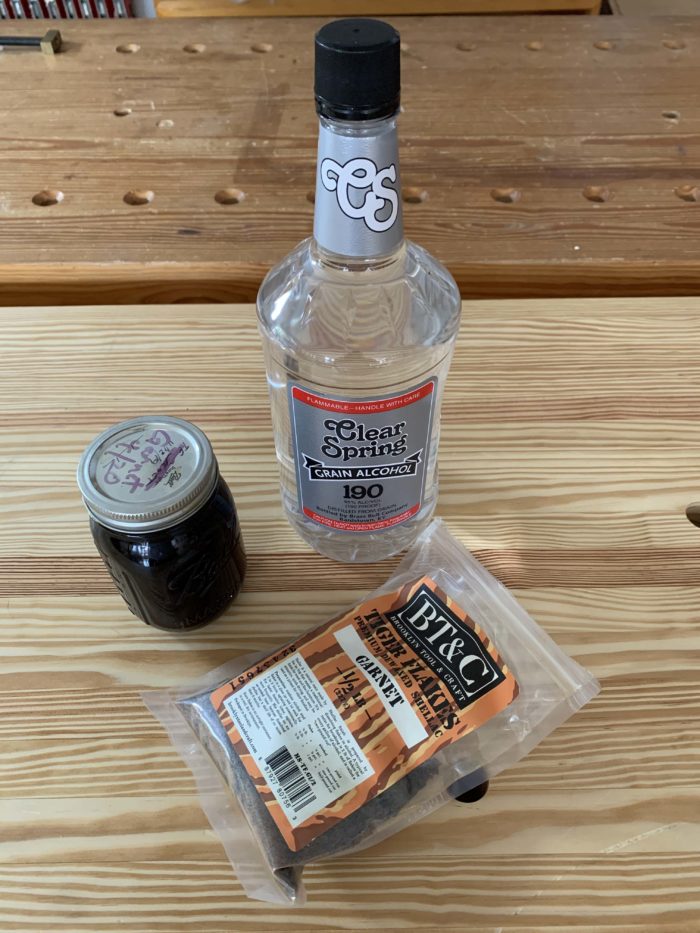
Shellac is an exudation of the female lac bug and is scraped from trees, then refined to remove bark and other contaminants. It is available as both waxed and dewaxed, with the dewaxed being more expensive due to additional refinement processes. It has been used as a furniture finish since at least the 16th century.
While you can buy it premixed and ready to use, I prefer to buy it in flake form and mix my own – in large part because I can easily control the cut (the thickness), and I have a lot more choice when it comes to colors; premixed is widely available only in orange and clear. I use a lot of the garnet; it does a nice job of warming up the purple cast of steamed walnut, and adding a little red to freshly planed cherry (pink is not my color). I also sprayed two coats of garnet on my pine floors in my guest bathroom – instant “pumpkin pine” – then topcoated with water-based poly (yes, you can put water-based poly over shellac, as long as the shellac is dewaxed).
The brand we prefer at Lost Art Press is “Tiger Flakes,” from Tools for Working Wood. The flakes are highly purified and dewaxed – and while I always strain shellac after mixing, I have yet to find a bug part in this stuff. (But I don’t want the first time to be in the top of the spray gun.) It gets mixes with 190-proof Everclear or another 100-percent pure grain alcohol/ethanol (gotta love Kentucky!). If you can’t get ethanol, stock up on your next drive through a state where it’s legal. The stuff you buy at the hardware store has additives that make it poisonous – but worse, it doesn’t dissolve the flakes as well.
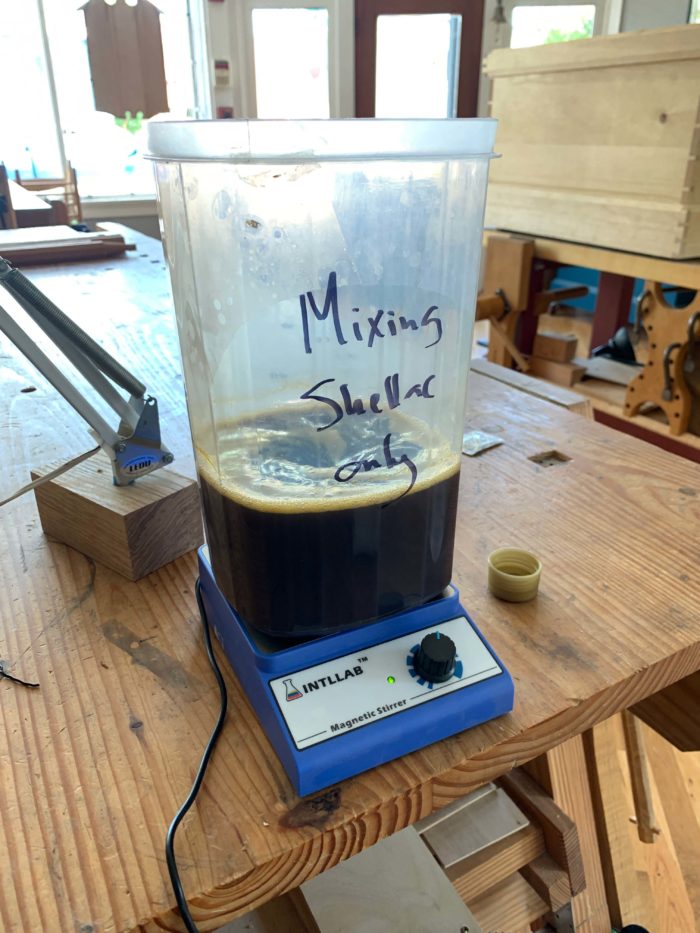
Just mix the two together in a Mason jar and agitate the jar every 20 minutes or so for a few hours until the flakes are fully dissolved…or buy a magnetic mixer for about $30 and it will be dissolved in about an hour. (I burned more calories before Christopher Schwarz acquired the new toy.)
We most often do a 1-lb. cut (or a little thinner) – 1 lb. of shellac per 1 gallon of alcohol. We almost always spray shellac with an HVLP gun, so thinner coats go on more reliably and smoothly. And because it dries so fast, we can usually get two coats on in less than a half-hour. Caveat: We spray shellac (and other finishes) in the courtyard behind the shop, and usually in the morning (because there’s no sun shining directly on the courtyard before about noon. But we immediately bring the sprayed pieces inside to the climate-controlled shop. There’s better control over drying that way (no blushing).
I typically spray one coat, then lightly sand with an extrafine sanding sponge before spraying a second coat. Unless I’m trying to build color, I generally stop after two coats, then apply a topcoat of soft wax (which contains no oil) to knock down the high shine of shellac (I don’t like shiny wood). Once in a while, I’ll spray a topcoat of low-sheen pre-catalyzed lacquer, if a project needs more protection. But then I have a headache for the next two days.
Milk Paint and “Milk Paint”
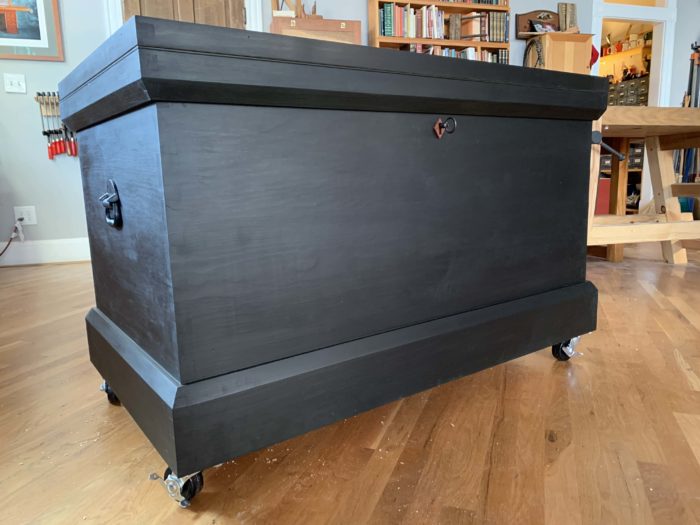
Painted furniture sometimes gets a bad rap. It shouldn’t. No, I (probably) wouldn’t paint over cherry or walnut, but pine is a perfectly fine wood for furniture, and it looks great under a crisp coat of paint (ditto poplar). And for chairs, which are often made from an assortment of species, a good paint job marries the parts of the project into a harmonious whole.
But what paint? You can use latex, but it looks a little plastic to my eye. I prefer casein-based paint (milk paint).
I like real milk paint because it imparts a dead-flat finish, which is a look I love. Plus, as long as you don’t do many coats, it’s transparent enough to allow wood grain to show through. The catch is, you have to prepare yourself for the horror that is the first coat, and commit to multiple coats (and perhaps prep first with a coat of shellac). It behaves differently than the wall paint you’re likely used to. It goes on (or should go on) almost water thin, and gets drawn out with a brush. It’s not difficult, but a little practice helps. The nice thing is that it dries quickly (the first coat in particular), so you can apply more than one coat in a day.
The last time I used real milk paint, however, I did a stupid thing: I spent four days building multiple coats of a color that I loved…then neglected to test my chosen topcoat before applying it. It was a product about which I’d read good things, but I’d never tried it myself. And I suspect I didn’t let the paint set up long enough. The short version is that the oil in the product lifted the pigment and made it look heinous. Luckily, it was for a personal project, but because I was in a hurry to get it done, I gave up on the milk paint at that point. After wiping down the entire surface with mineral spirits, I slapped on a coat of latex. That project is my tool chest in the Lost Art Press shop…so it mocks me daily for my stupidity. But it’s a constant reminder to not be a fool. And to use Allback oil/wax as the topcoat…if I use a topcoat at all (it’s not really needed – milk paint dries to a hard finish).
Elia Bizzarri wrote a great article on a two-color milk paint finish for the March/April 2020 issue, and I heartily recommend Modern Master of Milk Paint Peter Galbert’s video series on the subject; Pete will teach you everything you always wanted to know about milk paint (and more) https://www.petergalbert.com/blog/2020/4/9/new-milk-paint-video
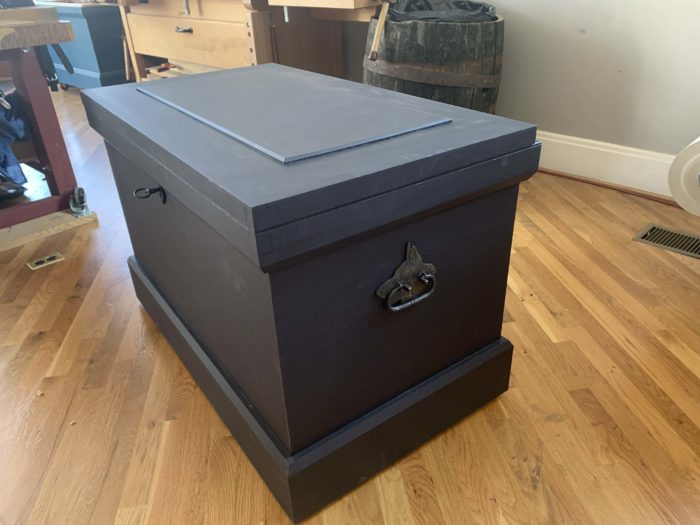
For an almost-as-good painted look that’s less trouble to achieve, General Finishes’ “Milk Paint” (which is actually an acrylic) does a good job – and if you’re going for more solid coverage in fewer coats, it’s actually the better choice. This paint behaves more like wall paint, and it’s a lot thicker than casein-based paint, so it imparts more color in fewer coats. I can sometimes get away with two coats…but I usually apply three. I like painting.
Fire
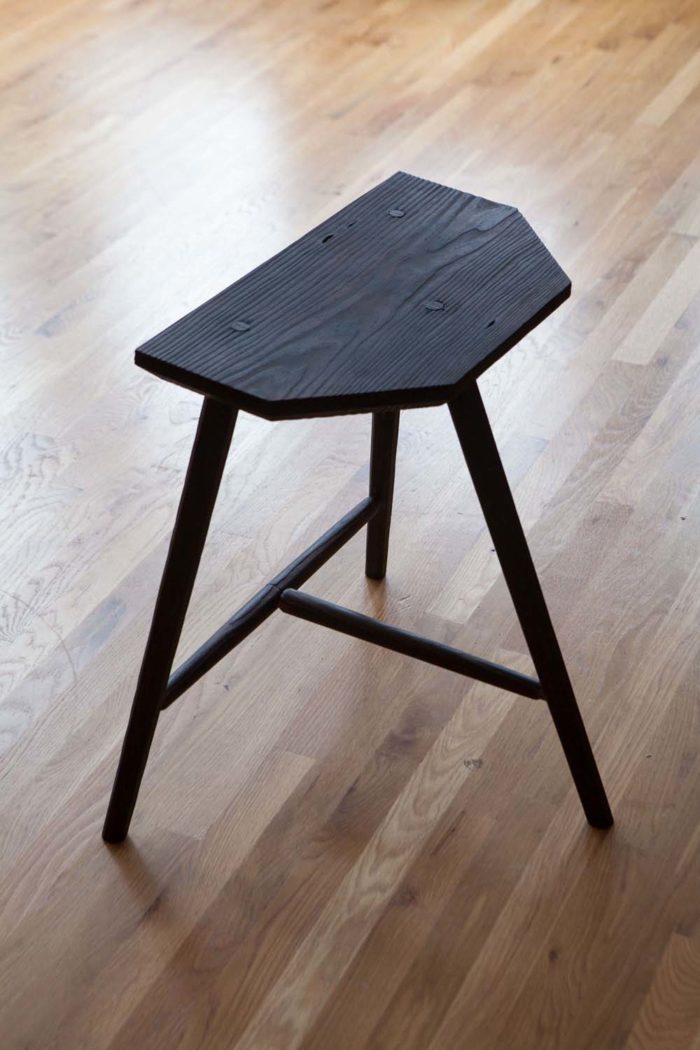
Shou sugi ban is a traditional Japanese process of charring cedar on the outside to protect the wood beneath, rendering it fireproof (or at least fire-resistant), and the charcoal surface makes it less tasty to pests. But I think it’s catching on in the U.S. simply because it looks cool, and it’s fun to play with fire. Also, it allows you to be lazy. If you’re burning off the exterior of the wood, there’s no need to clean up planing tracks (unless they’re quite deep) or sand; the fire will take care of that for you.
While the process works on all woods, I think it looks best on softwoods that have a clear difference between earlywood and latewood (yellow pine and fir, for example), because you end up with interesting variation in the depth of black.
In most cases, it’s best to char your work before assembly (typical shop glues will not withstand this process). Tape off any tenons and stuff a wet rag into any mortises. In other words, don’t burn any of your carefully fitted joints because they will no longer be tightly fitted after burning.
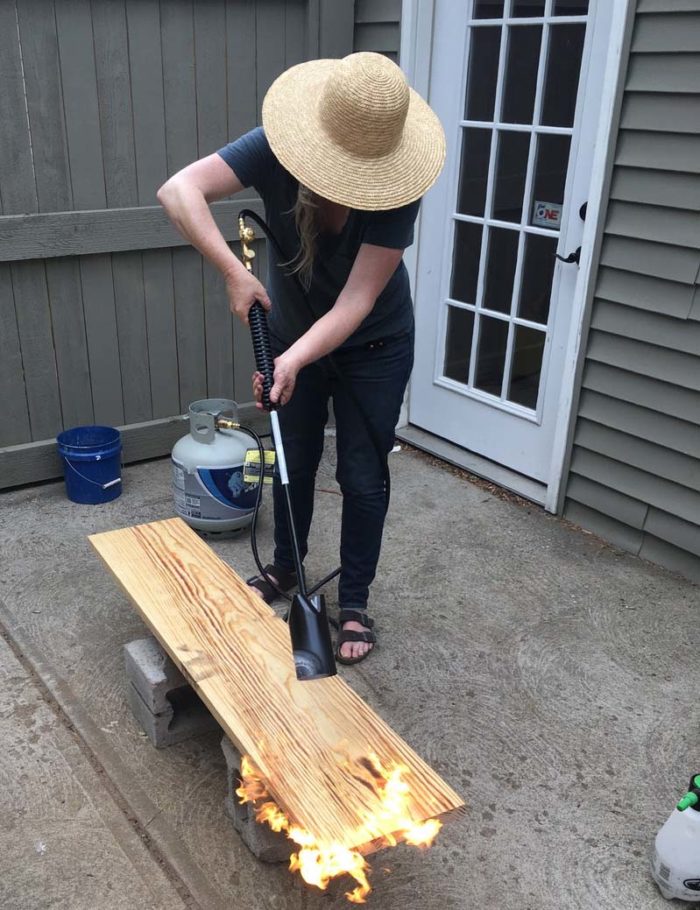
A propane weed burner is the way to go for large projects such as fences or dining tables, but a small handheld propane torch is great for smaller projects. Just hold the flame to the piece until it is charred (and keep a spray bottle of water on hand just in case things go too far). Then brush off the soot with a stiff brush. While the wood is still warm, apply a coat of wax or oil and wax (such as Allback), then wipe off the excess with a clean rag. The rag will end up covered in soot and wax (or oil and wax) – but once the topcoat dries, that transfer will stop.
Soap
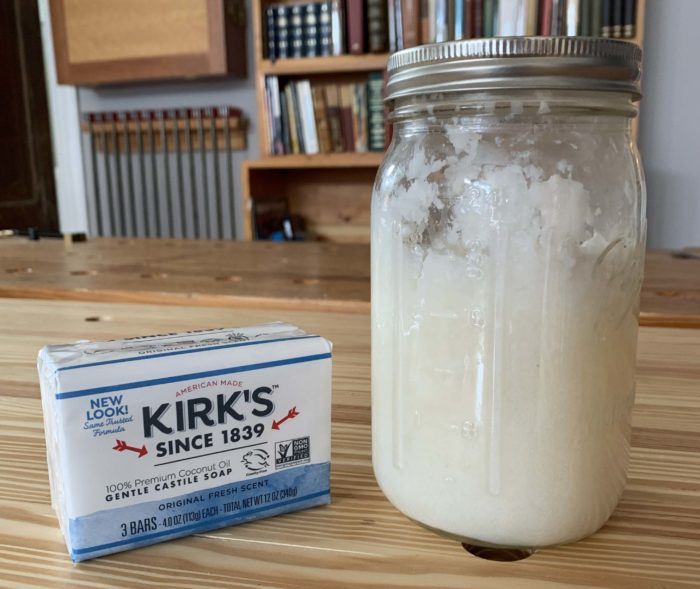
Soap finish is traditional in Scandinavia, particularly on floors. And Hans Wegner used it in his work. It looks great on light-colored wood, and is particularly nice on chairs, due to its soft feel. I could write more about it – but better yet, watch David Johnson’s new video.
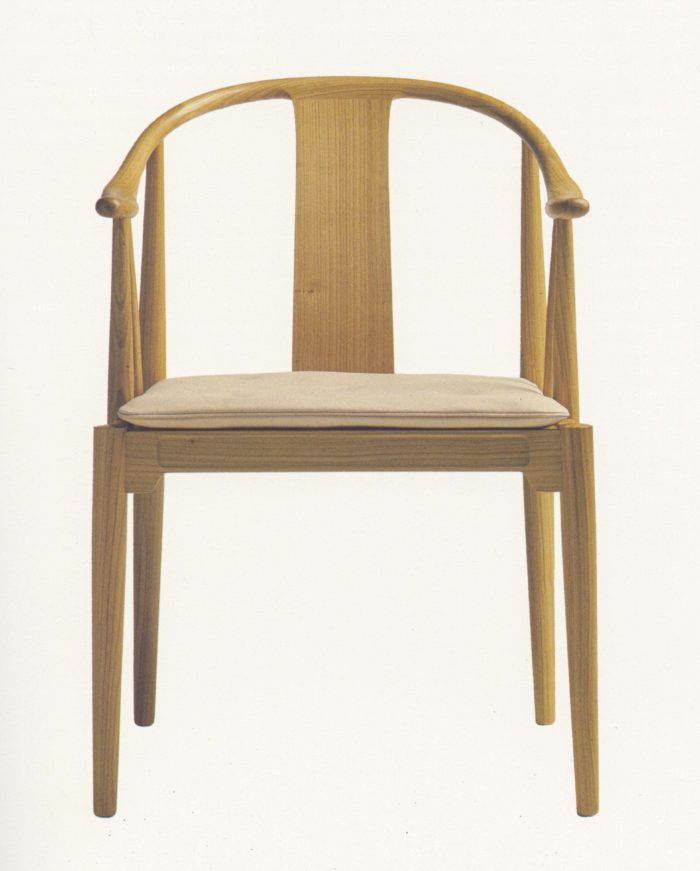
Fine Woodworking Recommended Products
Bumblechutes Bee’Nooba Wax
Foam Brushes


Comments
Garnet shellac is my go to default. It makes cherry and pine look great. What I especially like is that it is easy to fix if you screw up. I had a screw up early on where I used a wider new brush on a project with too thick of a cut of shellac. It looked like crap after the first coat. I just placed a rag soaked in ethanol on it, let it sit for no more than 5 min and wiped off the shellac and started over with the narrower brush I normally used and thinned the cut. Was an easy fix.
I've used some of the others here as well. They are good choices for sure. For all of the scare my dad put into me about finishes, I was nervous at first but not any more. In fact, when we now talk about finishes. I mention several of the above to him as being "foolproof" I don't think he believes me.
“[Deleted]”
Is "soft wax" a commercial product? Googling I find either personal care products or a beeswax, mineral spirits, turpentine shop-made mixture.
"Take 7 ounces of shredded beeswax and melt it in a double boiler (a glue pot will work fine). When the wax has melted, take it off heat. Stir in 3.5 ounces of mineral spirits and add 10.5 ounces of turpentine (the real stuff, not the fake)." (quotation from https://blog.lostartpress.com/2015/12/10/a-recipe-you-should-try-soft-wax/)
Shou sugi ban may be respectable in Japan or Kentucky. But here in Northern California, I suspect this technique would not be viewed favorably by any sane woodworker or their family. We've seen far too much fire, smoke and charred wood already.
Megan - Very nice article. Thx. What about multiple coats of wipe-on polyurethane? Be interested in your opinion on this. Thx again.
Log in or create an account to post a comment.
Sign up Log in