How I bid a small job
Just because a job is small and affordable, that doesn't mean it can't be beautiful and last a lifetime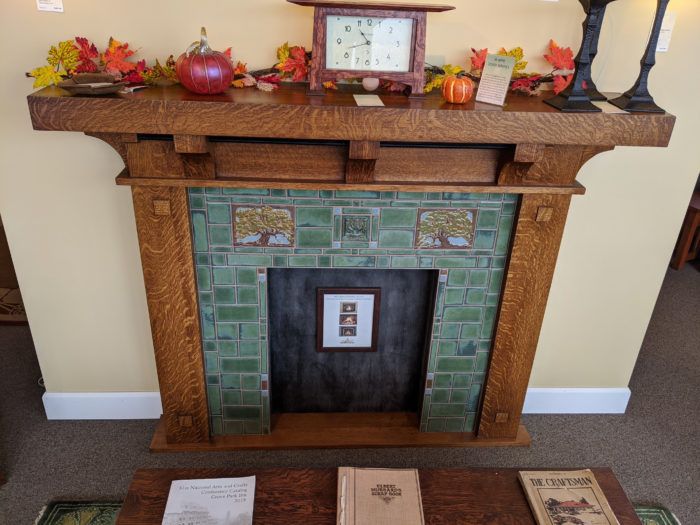
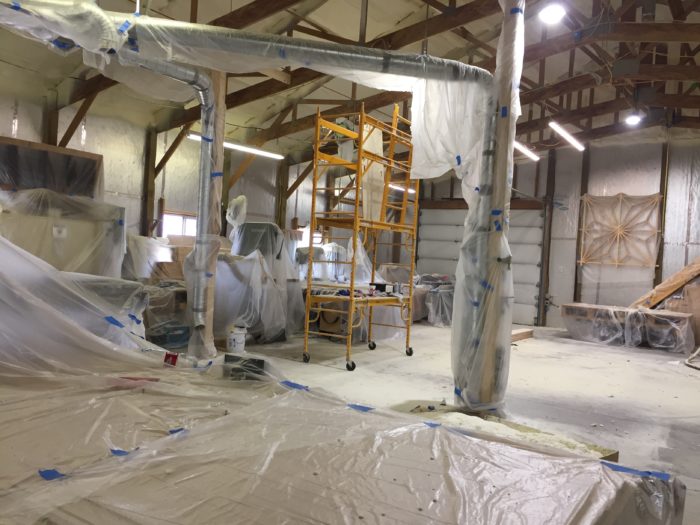
For the first time in a long time my wood shop, cleverly called The Boardroom, is non operational. Every tool has been disconnected and covered in plastic. The reason for this madness is that I am having my shop insulated with closed-cell polyurethane spray foam. I am excited and anxious to get this done. From now on, both winter and summer should be much more comfortable in my shop.
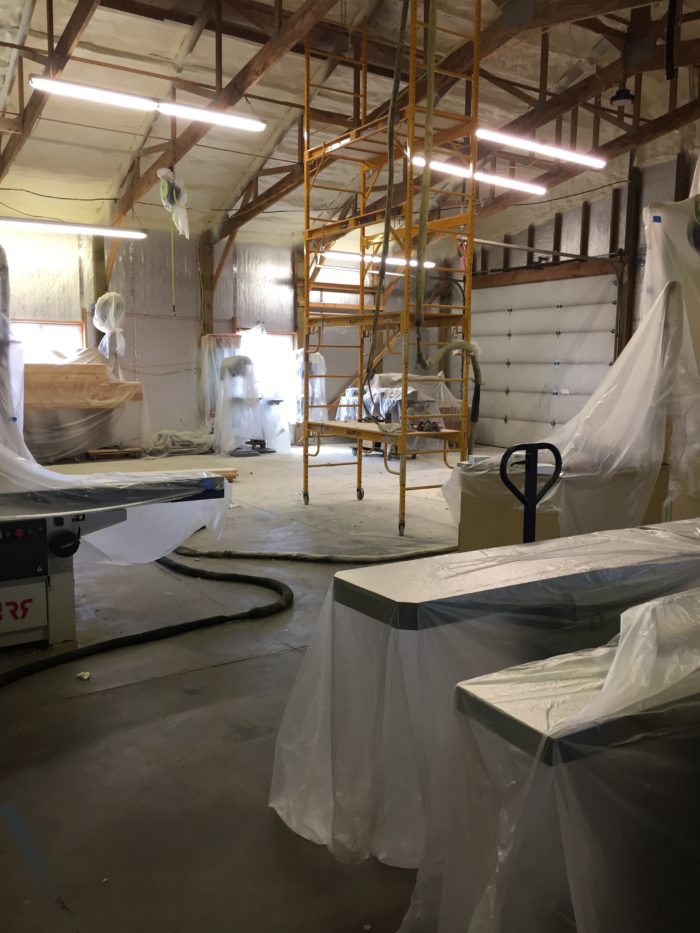
Of course there have been setbacks and delays with this process. I got strep throat, lost a few days, and couldn’t prep the shop. The insulation contractor had to move on to another job when I wasn’t ready, then come back to my project. All this means that I really haven’t been doing a lot of woodworking in the last few weeks.
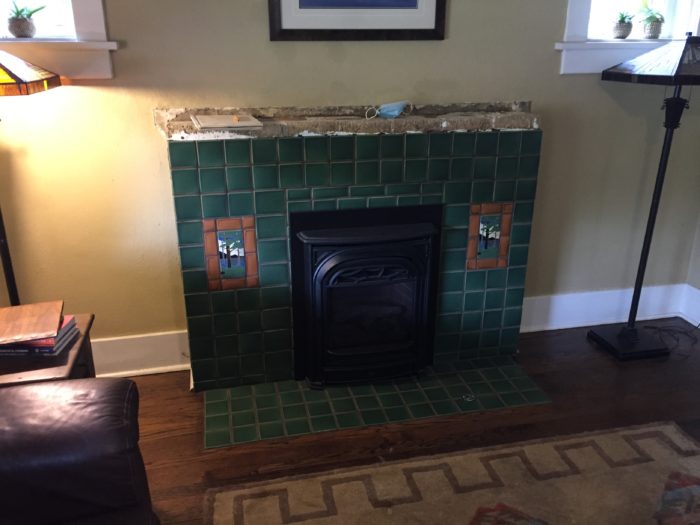
I have, however, gone out on a few bids for various projects, one of which is a really nice little fireplace mantel for an Arts and Crafts bungalow near downtown Denver. It’s one of my favorite small projects. I thought it would be interesting to share how I approach a project like this.
I was referred to this client by a local design store that does this kind of work frequently. It all starts with a meeting. I head over to the job site and have a chat with the client. I have a few specific questions I ask to help guide the process along. I ask about color, white painted, natural or stained wood. In this case, we have a stain picked out and it’s going to be applied to quartersawn white oak. I also ask about styling. In this case the customer provided a picture, which really helps me to home in on what we are going to build. Equally as important as the picture, I have a look around the room. What does the house look like? What do they have on the shelves? In this case, the style of the house was obviously Arts and Crafts.
The job break down
OK, with the styling and design out of the way, it’s time to break down the project into steps and come up with how many hours it’s going to take. Here is a list of how I would break this job down.
Shop time:
- Purchase materials, 2 hours
- Rough cut and mill, 2 hours
- Build left and right legs, 1 hour
- Build center section, 0.5 hours
- Build top, 2 hours
- Corbels, 2 hours
- Detail work, 1 hour
- Sanding, 1.5 hours
- Assembly and final adjustments, 2 hours
- Disassembly, 0.5 hours
- Finishing, 3 hours
- 1 hour staining, 30 minutes each coat (3 coats) and 30 minutes cleanup.
- Delivery installation, 4 hours
- 1 hour loading, 30 minutes drive each way, 2 hours to mount
Total 21.5 hours
Materials:
- 40 feet of quartered white oak
- Finishing materials, stain to be provided by customer
- I also have a small charge per job for consumables, glue, biscuits, nails, etc.
Add this all up and send it over to the customer for approval. I collect 50% to get started and 50% when the customer is happy with the finished project. I won’t mention what my shop rate is because rates vary greatly by location. In a small town 35 is possible, in a very expensive area 100 or more in possible. My shop rate lies between those two numbers and is consistent with the cost of living in Denver where most of my work takes place.
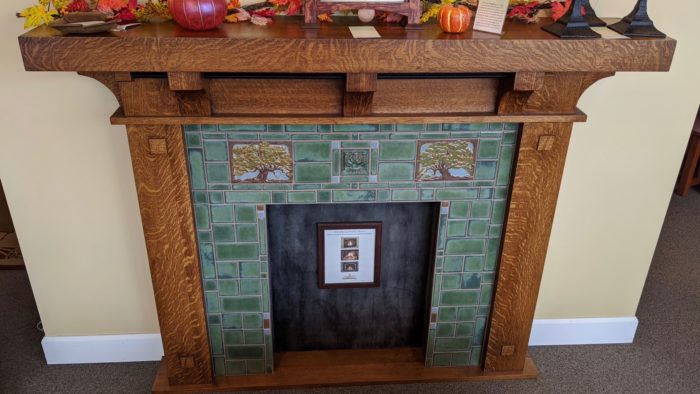
A few more thoughts on this particular project. This is about as small a project as I like to tackle; the dollar total is just enough that after working for a few days I have enough left in my pocket to buy some food and diapers for my two little ones. I also like these smaller jobs because I can stuff them in between larger jobs. This really helps with shop efficiency. Normally, it takes several days to get going on a larger project. Often, I’m waiting for materials, a final approval on design, or for other contractors to complete their work. A small job like this allows me to keep working during those down times.
Also, I think it’s really important to note that this project could be built employing a ton of different techniques. For example, butt joints at the corners of the legs or bevel joints. I would add one extra hour per bevel joint, as these take much longer to set up, and more time to glue together. I feel they provide a much cleaner appearance, but in this case it was not worth the extra expense. For this particular job, I am going with the fastest methods for each and every task. This in no way means this is a cheap or low-quality project. It comes with my lifetime guarantee like all my projects. What it means is that we wanted to keep the budget in check and deliver something that matches the rest of the house. The customer is having other work done at the same time and doesn’t have an unlimited budget. This was, of course, presented to the client and the decisions were left to them. I feel really good about offering a wide range of methods and therefore prices to my customers. If there is a little more in the budget, hey let’s go to town; if not, let’s squeeze out everything but what’s needed. I have a not-so-funny joke that I tell to other carpenter / furniture maker types: I can very easily build a beautiful project that no one can afford; it’s much harder to build a project that is both beautiful and affordable.
So that’s it, a simple project broken down into even simpler steps. Isn’t that the essence of woodworking? A bunch of simple tasks done in the right order to create the desired project.
 |
|
 |
|
 |








Comments
Thanks for the article.
Will there be an eventual YouTube video of this build on Mike's YouTube channel?
Do you ever add an additional amount to the shop time for "surprises"? How about for consult and design work?
Before you spent the 2 hours buying materials, how much time did you you spend designing the look of the project, estimating the material, and making a cut list? I have observed that I spend way too much time in that activity, because there are just so many ways in which you can do things. It would be great to know your metric for that activity.
Thanks for a very educative post. I was in the middle of a similar exercise right now, and it really helps to read your thought process.
Log in or create an account to post a comment.
Sign up Log in