Make a dovetailed desktop organizer
Mike Pekovich's efficient organizer not only has room for bills, receipts, stamps, and pens, but also holds a lesson in working thin.
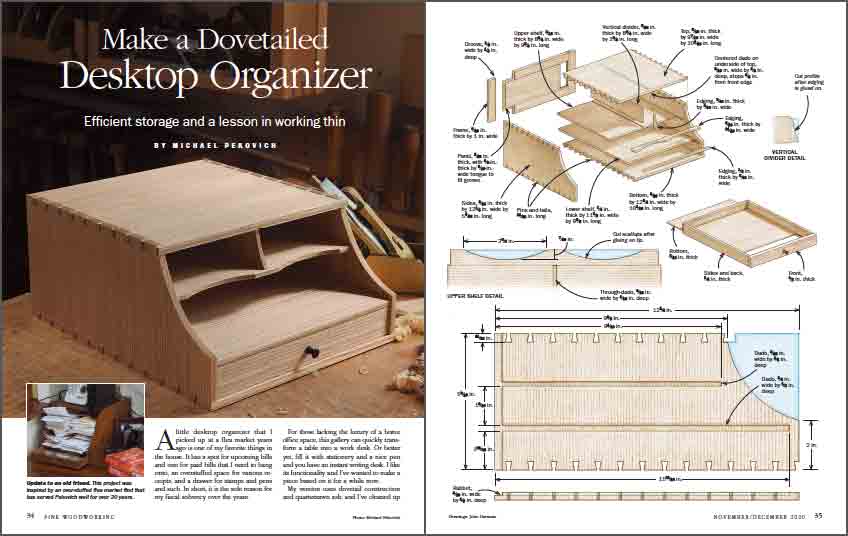
Synopsis: This little organizer is the perfect place for bills, receipts, stamps, pens, and the like. This version uses dovetailed construction and parts that are kept thin for a delicate, not clunky, look. Mike Pekovich creates his own quartersawn ash boards by edge-jointing strips from a plainsawn board. There are plenty of tips for dovetailing thin stock, as well as cutting the stopped dado joints that house the dividers. A scalloped front edge on the horizontal divider adds a nice detail.
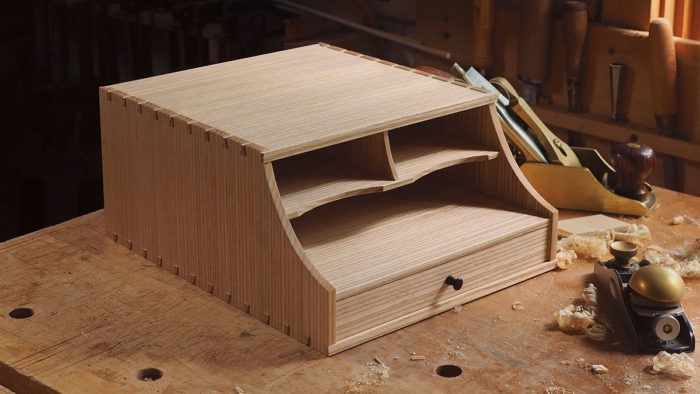
A little desktop organizer that I picked up at a flea market years ago is one of my favorite things in the house. It has a spot for upcoming bills and one for paid bills that I need to hang onto, an overstuffed space for various receipts, and a drawer for stamps and pens and such. In short, it is the sole reason for my fiscal solvency over the years.
For those lacking the luxury of a home office space, this gallery can quickly transform a table into a work desk. Or better yet, fill it with stationery and a nice pen and you have an instant writing desk. I like its functionality and I’ve wanted to make a piece based on it for a while now.
My version uses dovetail construction and quartersawn ash, and I’ve cleaned up the lines a bit, but at its heart, it’s the same piece. Taking a cue from the original, I kept the elements really thin to avoid a clunky look. To make assembly easier, I glued up the case first and then slid the shelves and divider into their grooves from the back. A frame-and-panel back glued into a rabbet hides the grooves.

Milling the case parts
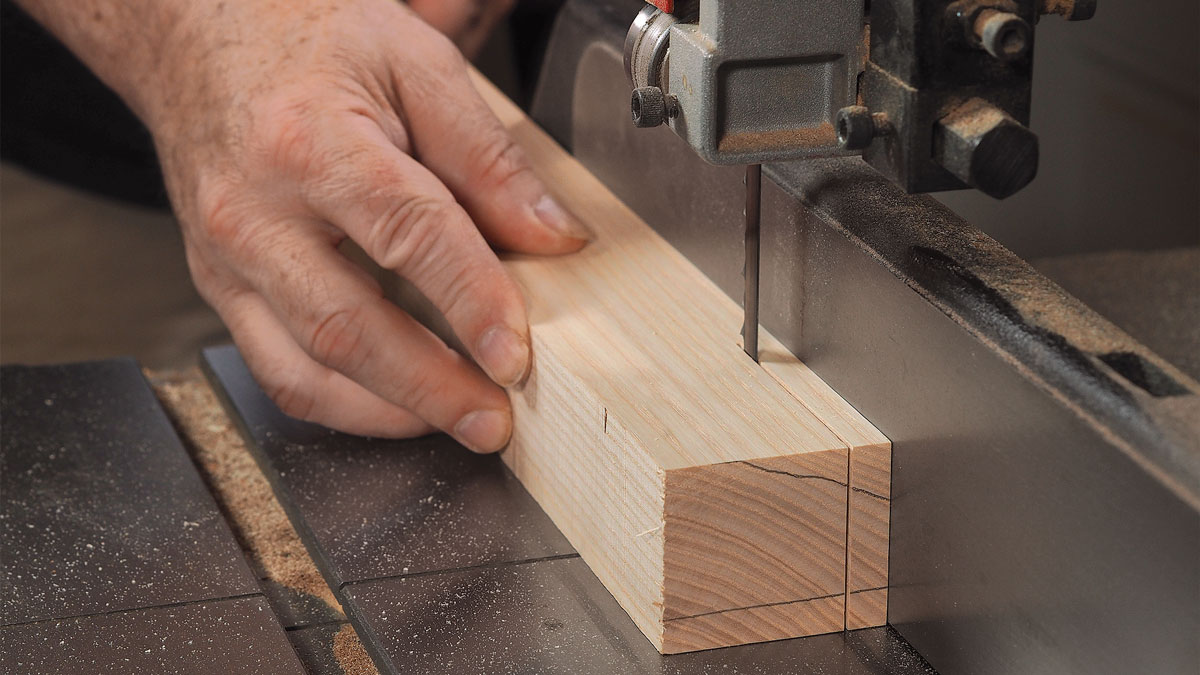
Wild figure can be overpowering on a small piece like this, and I find that quiet, straight grain complements the design better. I like the light color and tight, straight grain of quartersawn ash, but ash is usually sold plainsawn. A way around that is to make your own quartersawn stock. Start with an 8/4 plainsawn board and rip it into thin vertical strips that will yield the tight, straight grain you’re after. This results in more gluelines, but if all of the strips come from the same board, they shouldn’t be noticeable.
To cut the strips, first joint and plane the 8/4 board flat, and then joint each edge square. Head to the bandsaw and rip 7⁄16-in. strips off each edge. This is enough thickness to flatten the strips before and after glue-up. After each pair of rips, re-joint the edges of the board; each strip will have one smooth face and one bandsawn face. Finally, run them all through the planer to dress the bandsawn face.
 From Fine Woodworking #285
To view the entire article, please click the View PDF button below.
 |
|
 |
|
 |
Fine Woodworking Recommended Products

Suizan Japanese Pull Saw


Comments
Quite a bit more complex than I thought at first glance but all the details really make it special. Definitely bookmarking this project.
Log in or create an account to post a comment.
Sign up Log in