Why I Love the Miter Trimmer
Although it’s probably not the first tool on most lists of must-haves, Clark Kellog finds his miter trimmer to be indispensable.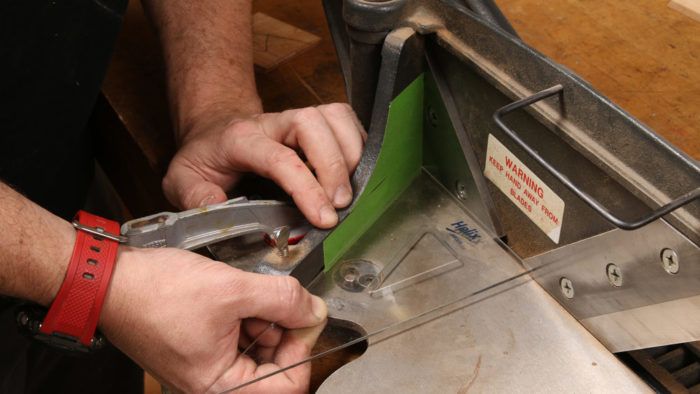
The miter trimmer is a classic hand-powered tool for picture framers and trim carpenters that has remained relatively unchanged for decades. Although it’s probably not the first tool on most lists of must-haves, I find mine to be indispensable. It is heavy, simple, and sturdily built—a prime example of a tool that does one thing very, very well: taking super-accurate, paper-thin slices off the ends of miters and butt joints, and leaving behind a glassy-smooth surface.
You can find vintage “Lion Miter Trimmers,” made by the Pootatuck Corporation of Shelton, Conn., on eBay and through antique tool dealers. However, most of the ones you see have had a long and eventful life, so unless you have the wherewithal to regrind enormous steel blades, you are better off buying new. You’ll find good import versions from most major woodworking suppliers, and as far as I can tell, they are all the same machine, all priced around $200. Mine is one of these.
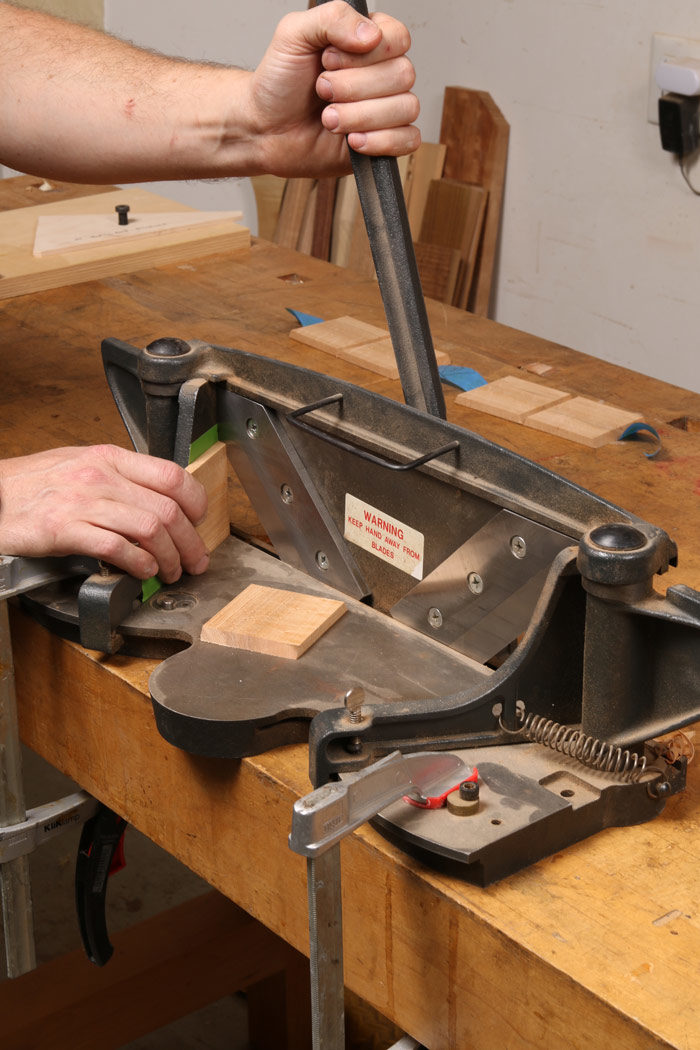
A miter trimmer has two independently adjustable fences, meaning that you can quickly set up to cut miters of any conceivable angle. And because of the enormous mass of the blade, it requires relatively little force to make a cut, even on awkward pieces or super-dense woods. That means that you can focus on controlling the workpiece rather than the tool. Finally, because of the way the workpiece is held between the fence, the base, and the blade, I can make very deliberate, incremental, paper-thin cuts, allowing me to just barely sneak up on whatever it is I am fitting, so I very rarely blow past my fit and have to start over with a new piece. The miter trimmer does all this in a fraction of the time it would take to build or set up a dedicated jig.
Beyond that, there is just something cozy about having a little workstation on my bench strictly dedicated to miters.
My miter trimmer has been in near-constant service for 10 years, and I have had to re-hone the blades maybe twice in that time. To do that, I simply worked the beveled side of the blade on a progression of waterstones, just as you would with a plane blade or bench chisel, finishing with a 10,000-grit stone. Don’t worry about creating a honing jig of some kind; the bevel is large enough that it essentially sets itself in place, and the action is closer to flattening the back of a bench chisel than trying to establish a micro-bevel on a plane iron. And of course, don’t forget to hone the burr off the back of the blade, keeping it flat on the stone as you do.
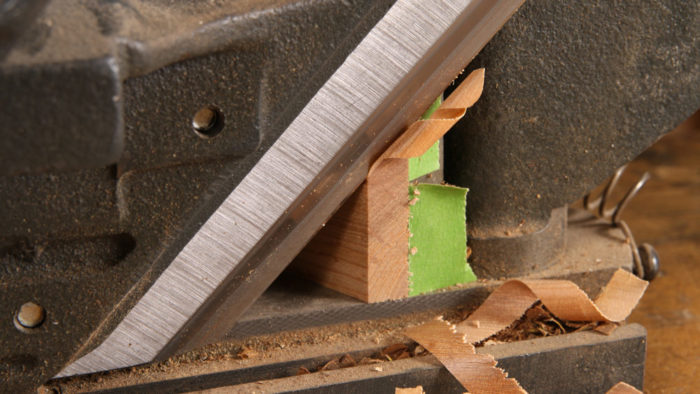
I use a 30‑60‑90 drafting triangle to set up for 60º cuts. The trimmer is a surprisingly sensitive tool; with practice you can routinely make cuts that are less than 0.005 in. thick. Set one of your pieces against the fence, with the mitered end pressed up against the back of the blade. Roll the blade back, scooch the piece forward a hair, and trim the miter with a slow, deliberate stroke.
You can trim the opposing end by simply flipping the workpiece over and cutting against the same fence. However, I always try to keep pieces oriented in the same direction (top edges always facing up, outside faces always facing out, which means that you will need to set up both fences to accurately cut miters.
 |
|
 |
|
 |


Log in or create an account to post a comment.
Sign up Log in