Add color and texture to a turned bowl
Mark Gardner demonstrates the steps involved in making one of his colorful bowls, from cutting a log to the initial rough turning and drying, to the final finishing touches with milk paint and gouge work for the texturing.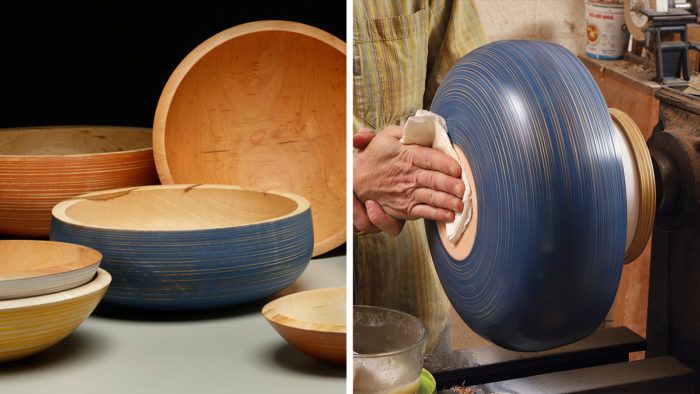
Synopsis: The grounded bottom-heavy shape of Mark Gardner’s bowls makes them great for serving food and also a prime canvas for surface embellishment—texture, color, and contrast. Gardner demonstrates the steps involved in making one of his colorful bowls, from cutting a log to the initial rough turning and drying, to the final finishing touches with milk paint and gouge work for the texturing.
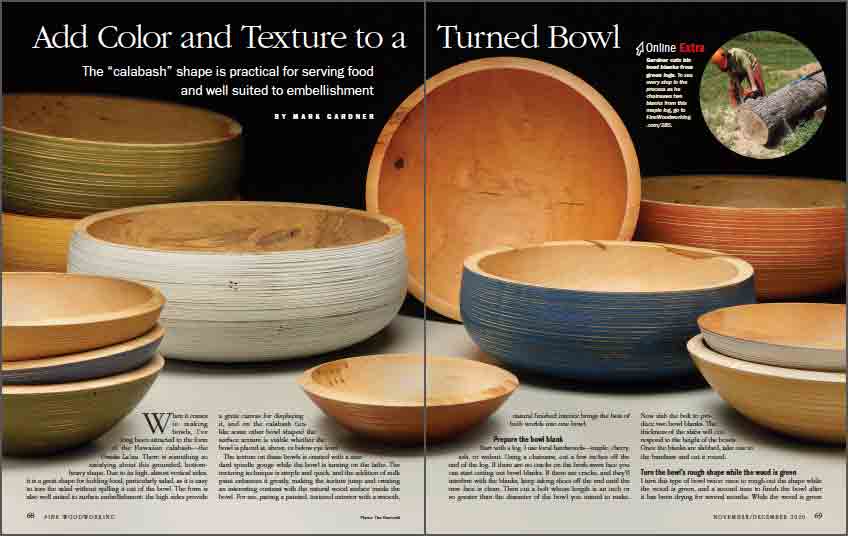
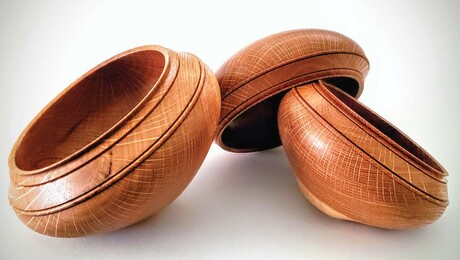
When it comes to making bowls, I’ve long been attracted to the form of the Hawaiian calabash—the Umeke La’au. There is something so satisfying about this grounded, bottom-heavy shape. Due to its high, almost vertical sides, it is a great shape for holding food, particularly salad, as it is easy to toss the salad without spilling it out of the bowl. The form is also well suited to surface embellishment: the high sides provide a great canvas for displaying it, and on the calabash (unlike some other bowl shapes) the surface texture is visible whether the bowl is placed at, above, or below eye level.
The texture on these bowls is created with a standard spindle gouge while the bowl is turning on the lathe. The texturing technique is simple and quick, and the addition of milk paint enhances it greatly, making the texture jump and creating an interesting contrast with the natural wood surface inside the bowl. For me, pairing a painted, textured exterior with a smooth, natural finished interior brings the best of both worlds into one bowl.
Prepare the bowl blank
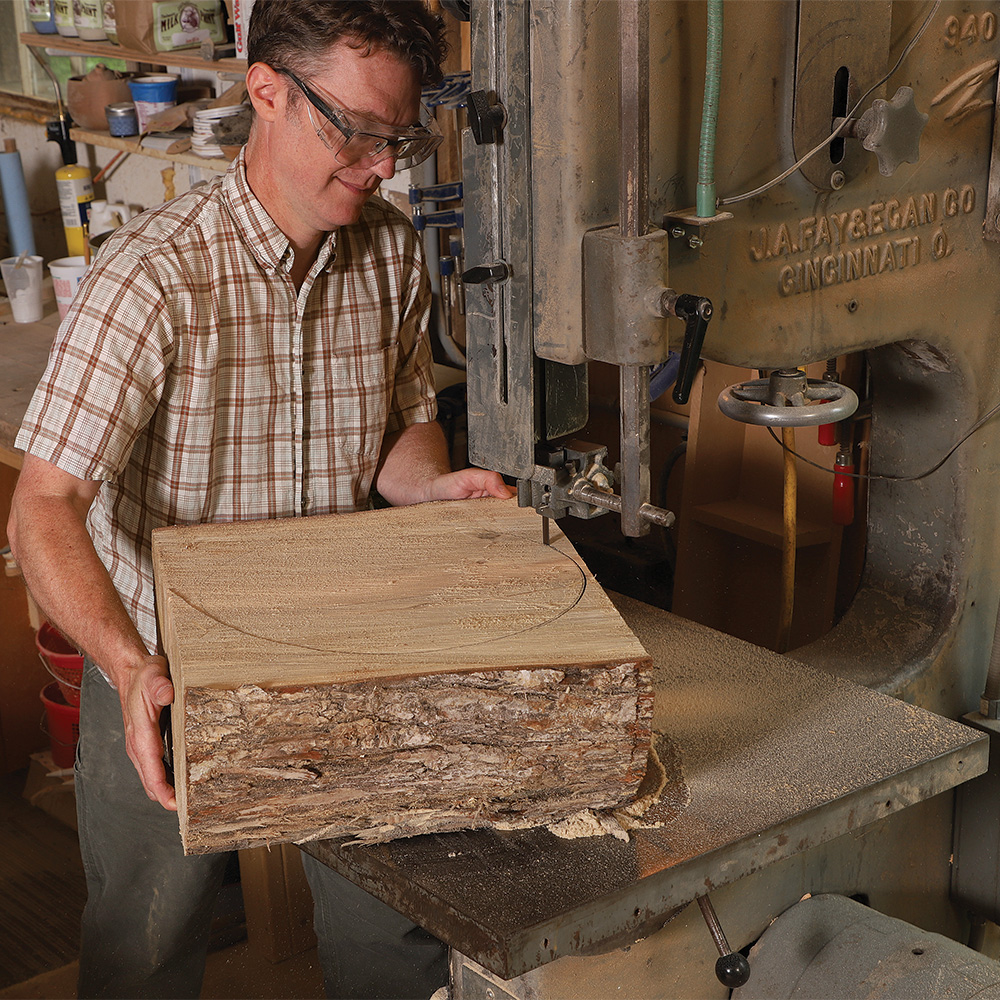
Start with a log. I use local hardwoods—maple, cherry, ash, or walnut. Using a chainsaw, cut a few inches off the end of the log. If there are no cracks on the fresh-sawn face you can start cutting out bowl blanks. If there are cracks, and they’ll interfere with the blanks, keep taking slices off the end until the new face is clean. Then cut a bolt whose length is an inch or so greater than the diameter of the bowl you intend to make. Now slab the bolt to produce two bowl blanks. The thickness of the slabs will correspond to the height of the bowls. Once the blanks are slabbed, take one to the bandsaw and cut it round.
Turn the bowl’s rough shape while the wood is green
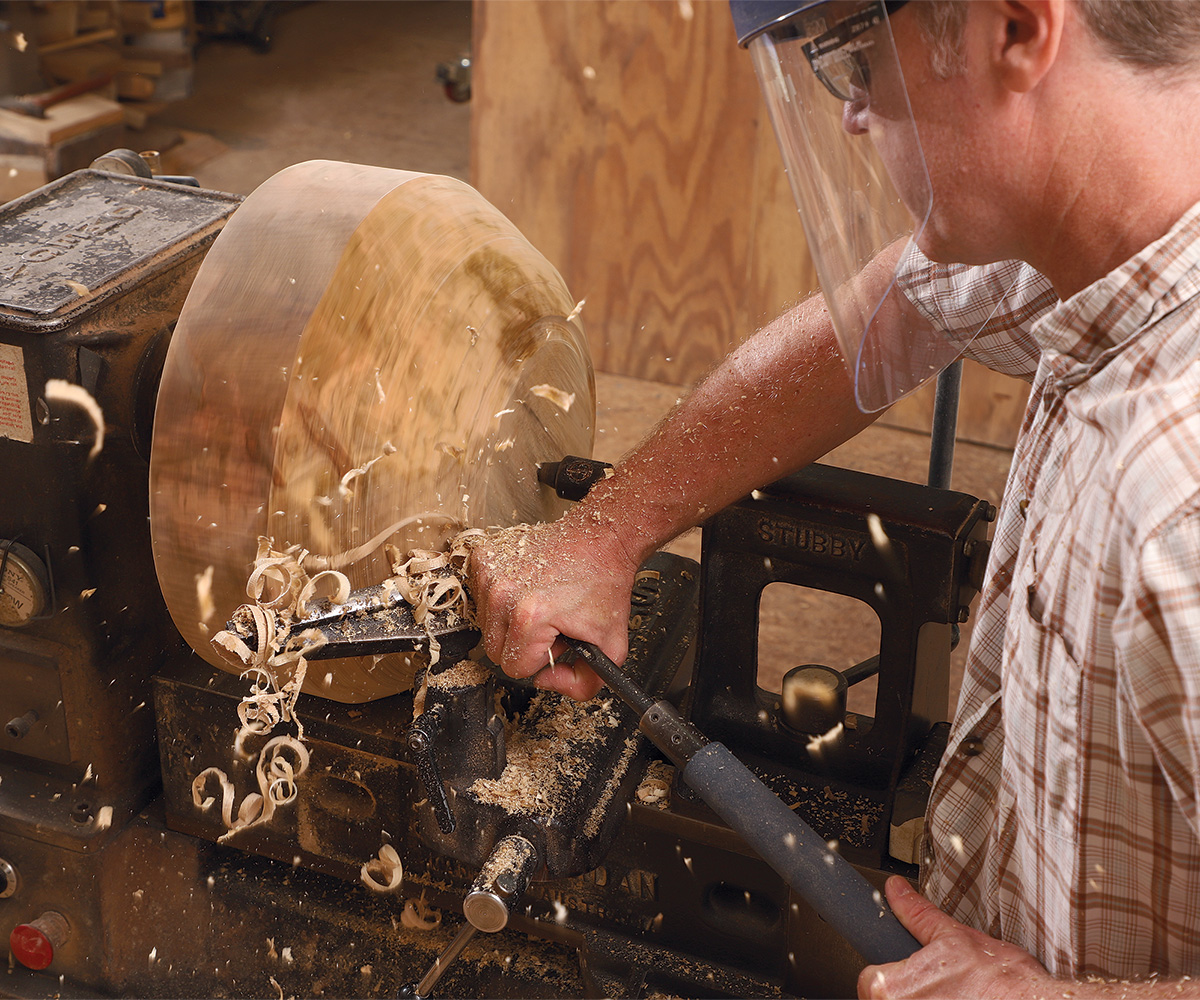
I turn this type of bowl twice: once to rough out the shape while the wood is green, and a second time to finish the bowl after it has been drying for several months. While the wood is green and easy to work, I get the bowl about 90% of the way to its final shape. After the bowl has dried (and inevitably distorted a little), I true up the shape and make finishing cuts. I don’t want to have to remove much wood when the bowl is dry and more difficult to turn. But when I finish the gouge work and move on to sanding, it’s actually a boon that the bowl is dry, since dry wood is easier to sand.
From Fine Woodworking #285
To view the entire article click here.
 |
|
 |
|
 |
Fine Woodworking Recommended Products
CrushGrind Pepper Mill Mechanism









Log in or create an account to post a comment.
Sign up Log in