A bench hook in SketchUp
Tim Killen demonstrates basic SketchUp techniques while modeling one of his favorite tools, the mighty bench hook.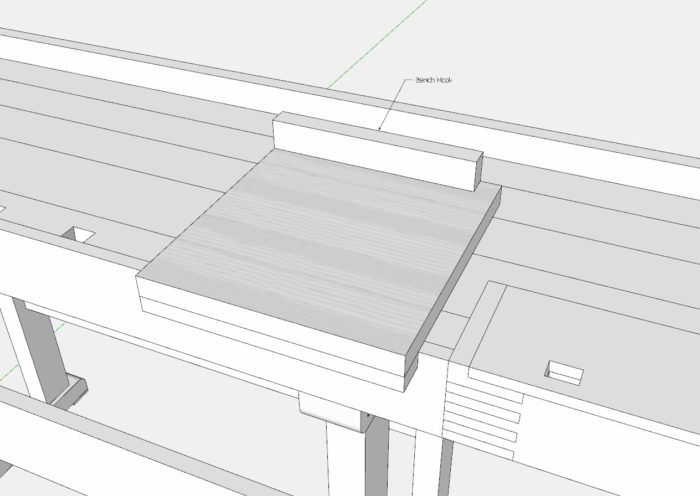
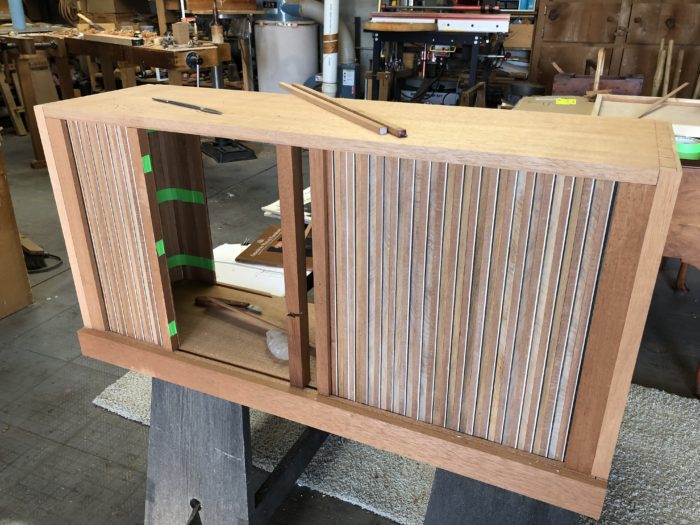
I’m currently praising a handy workbench tool – the Bench Hook. This is a portable, flexible, effective addition to any workshop. It enables quick accurate crosscuts without noisy and dusty power tools. I’m experiencing this helpful and productive fixture while making tambour doors for a Seymour Secretary Bookcase. Each of these tambour doors is made-up of about 50 thin slats that slide in grooves while opening and closing.
Here a photo of the Outer Tambour Box under construction with two sliding doors.
And below is the Bench Hook being used to size the length of the individual slats. You can see the short cut-offs while making each slat a precise length to fit within the grooves in the cabinet. The Bench Hook requires no clamping – it is portable to any location on the bench. I’m using a Japanese saw, but any type of saw will work. You simply hold the piece against the fence and cut to the pencil line against the right vertical edge of the fence.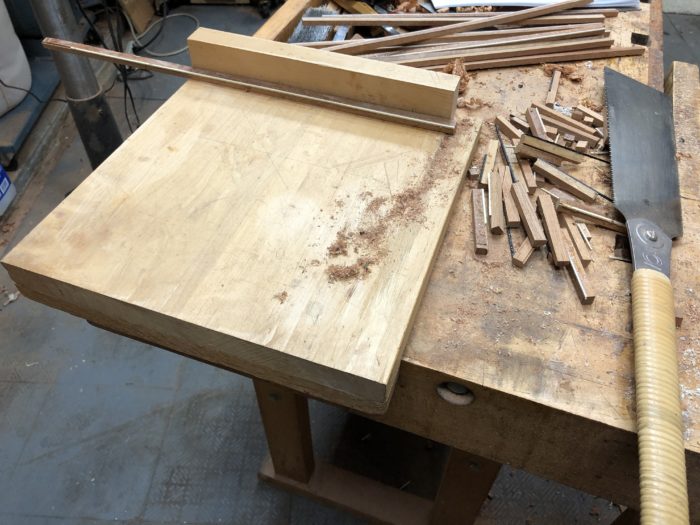
Here is the SketchUp model of the Bench Hook on the Workbench.

And here is my design in SketchUp – an orthographic dimensioned view. Note the grain direction of the Base. This aligns with the grain direction of the Fence and Hook, therefore avoiding any cross-grain expansion/contraction issues. I used hard rock maple, but any hardwood would be appropriate.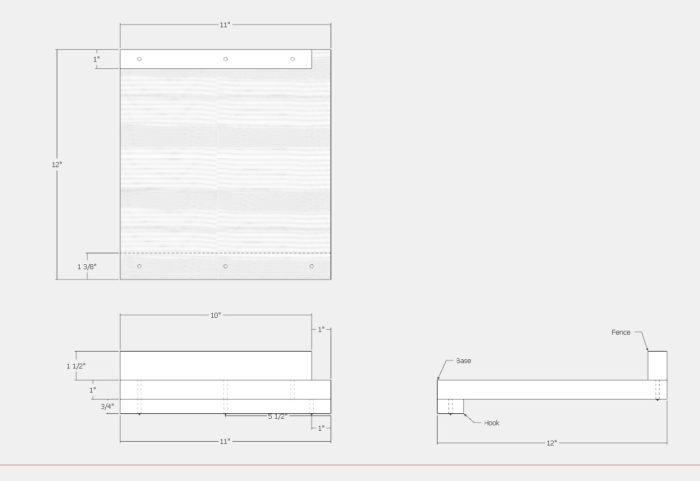
In the following video I go through the detailed SketchUp steps in making this Bench Hook assembly. There are only three components, the Base, Fence, and Hook. The sizing is not critical – it could be made smaller or larger. This size works effectively for me.
Tim
KillenWOOD.com




Log in or create an account to post a comment.
Sign up Log in