Designing built-ins for installation during a pandemic
You can have thoughtful details and an elegant fit, and STILL keep everyone safe.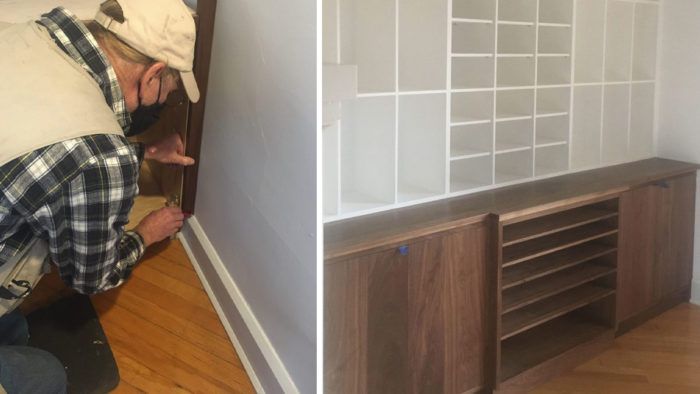
In case you just returned from a yearlong monastic retreat, we’re in the midst of a pandemic that has killed almost 290,000 people in America alone over the past 10 months. (That’s nearly ten 9/11s per month.) In response to advice from epidemiologists and public health professionals, some woodworkers have made significant changes to how we do things, while others have made none. I fall into the former group. Even with a vaccine for Covid-19 newly available, we’re going to be living with this pandemic for many months to come. If your shop schedule includes anything built into a customer’s house, the following account of how I designed my most recent built-in may offer some helpful ideas.

The brief
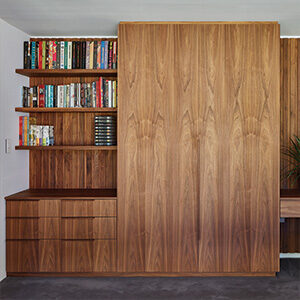
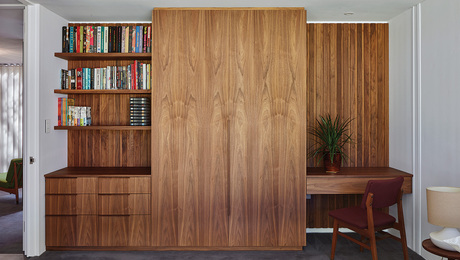
My commission was to design, build, and install cabinetry topped with open shelves to fit a three-sided living room alcove in a 1920s house with uneven plaster walls and a floor that’s 1/2-in. lower across its 8-ft. length than at the ends. That’s a mouthful, and a challenge; anyone who scribes built-ins to fit instead of covering up the space around them with trim will appreciate that this scenario always makes for a high-stakes installation: You have three fixed “edges” and no wiggle room. It’s tougher than when you’re scribing to the floor and just one wall; in such cases you can usually shift the cabinet 1/16 in. or so closer to the wall after you’ve scribed that side to fit without affecting the other end. When you’re scribing both ends you have to do a lot more careful planning in advance. A further constraint: budget mattered.
I’ve been building freestanding pieces all year; I have also installed a number of built-ins. At this point the pandemic is raging across the United States like an out-of-control wildfire; if there has ever been a time to be careful, it’s now. Wear a mask (and clean or replace it, often.) Avoid people outside of your household as much as you can; when you do come into contact with others, do so outdoors, if possible. Indoors, keep your distance and maximize ventilation.
To minimize my time in my clients’ home, I designed the job with the following features
1. Simplify scribing. To facilitate the scribing, I left the outside scribe stiles off the upper and lower sections. This allowed me to scribe each one individually to fit AFTER the cabinets were in place, instead of having to lift the cases up and down. Much faster (and easier on the back.)
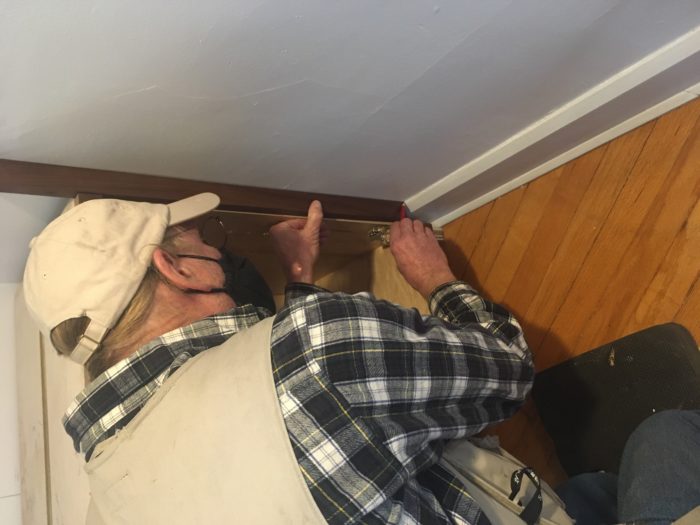
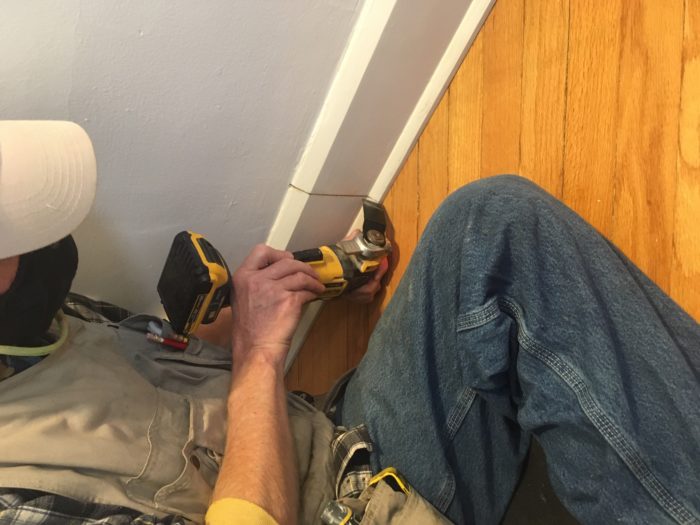
2. Recessed kick. If (and only if) it’s appropriate to the style in which you’re working, consider a recessed kick instead of legs or a flush kick. Even if you have to scribe a recessed kick to fit an uneven floor, as we did, having it recessed will give you some leeway at the upper edge, where any gap will be invisible to anyone but your cat.
3. Important caveat to any built-in design with a recessed kick: If, as in this case, you’re building a piece that will run wall-to-wall in a room with a tall baseboard, it’s crucial that you think about how these parts will intersect. This is why I made the scribe stiles for the lower sections go to the floor; note that they are also wider than the thickness of any adjacent baseboard and shoe molding, so that those can end cleanly at the face of the built-in.
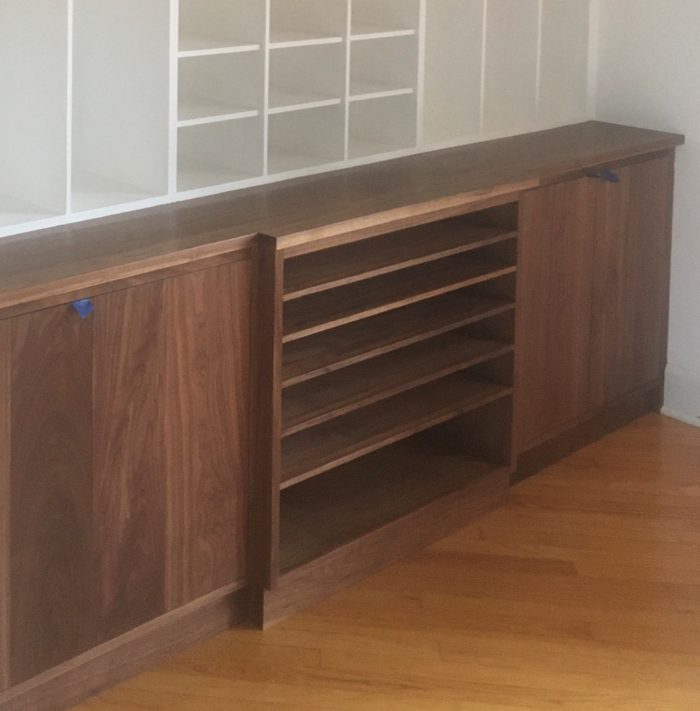
4. Consider modules. This ensemble consists of six — three uppers and three lowers. I clamped them together in the shop and planed the faces flush, to minimize the time that would be required inside the house.
Other changes at the job site
In addition to these tweaks to the design, we also made the following changes to our non-pandemic-time m.o.:
1. The clients turned down the thermostat and opened several windows on the floor where we were working.
2. The clients kept the HVAC fan on to circulate air.
3. After letting us in, the clients left the house until we were done for the day.
4. We wore masks while indoors. We went out to the front porch for lunch.
A note about the painting
Our original plan was for the clients to have the upper cabinets painted by a painter I recommended, but shortly before the installation, they asked if I would be willing to paint the upper sections in order to keep them from having another person come to work in the house. (To clarify, the painter to whom I referred them was going to paint the cabinets after I completed the installation; their concern was literally having yet another person enter the house, not having two of us there together.) I agreed to do the painting to help them out, even though my hourly rate is higher than the painter’s (and they understood this). To reduce the inconvenience of my clients feeling they had to go elsewhere while I was working in their home, I primed, caulked, spackled, and applied the first topcoat to everything before it left the shop. That way I could just scuff, dust, caulk as necessary, and apply the second topcoat.
A note on joinery, etc.
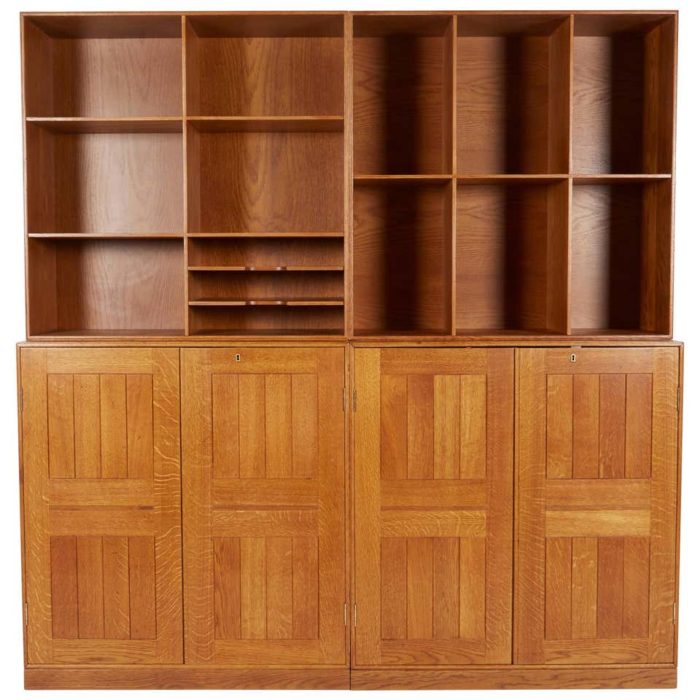
The original Mogens Koch pieces — at least, some of them — were built in solid wood, with exposed joinery. The budget for this job did not allow that. I built the basic modules using the same method as that described in my book Kitchen Think. After I had dry-fitted the main parts of each module (sides, top, and bottom), I laid out and cut the dadoes, then fit the dividers and shelves.
Nancy Hiller is a professional cabinetmaker who has operated NR Hiller Design, Inc. since 1995. Her most recent books are English Arts & Crafts Furniture and Making Things Work, both available at Nancy’s website.
 |
|
 |
|
 |
Business Insurance Is Non-NegotiableNancy Hiller’s livelihood is almost entirely dependent on her shop, and while insurance premiums are expensive she can’t afford to not pay them |








Comments
Hi Nancy, great blog post. I know I'm pretty late to the party with this question, but how would you attach the scribe stiles to the cabinets? If it were a painted piece I could see using a brad nailer and filling the holes, but how about that lovely walnut lower piece?
Log in or create an account to post a comment.
Sign up Log in