Selecting lumber for an invisible glued-up panel
In this master class episode, Tom McLaughlin demonstrates how he selects lumber and mills it to prepare for an almost invisible slip-matched panel joint.Sponsored by Lee Valley/Veritas
Welcome to this week’s edition of “Ben bragging about his job!”
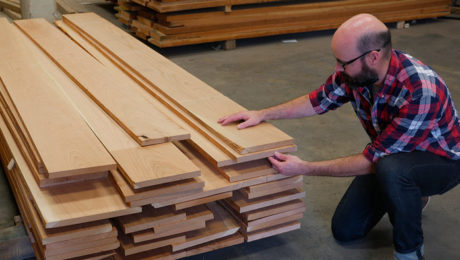
I’ve always been intimidated at the lumberyard and in turn, I always rush through my lumber selection. Many times, that means I instinctually buy the prettiest boards that I can find. Granted, this is better than instinctually buying the ugliest boards, but in my time working at Fine Woodworking I have learned that many times the prettiest board isn’t the best board for a piece of furniture. In the days before Covid, all of the woodworkers at the office would pile into a van and go to the lumberyard together as one big (kinda dorky) woodworking gang. Once we muscled our way into the lumber sheds, we’d help each other dig through stacks of hardwood pointing out grain elements or defects to each other along the way. It was a communal effort and for me an enormous education. I learned a huge amount those first few years reading a board with the likes of Mike Pekovich, Matt Kenney, and Anissa Kapsales.
In our first master class episode, Tom demonstrates
how he fine-tunes a design with sketches and mockups.
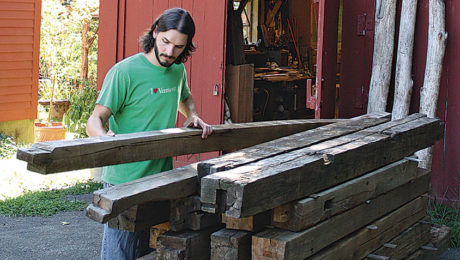
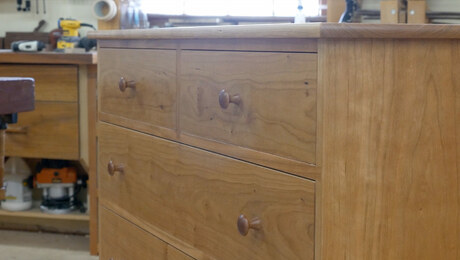
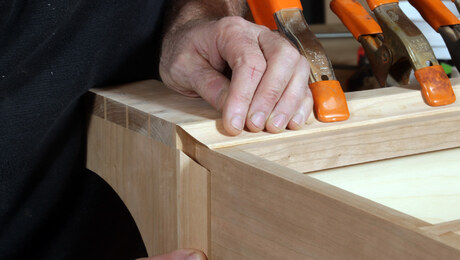
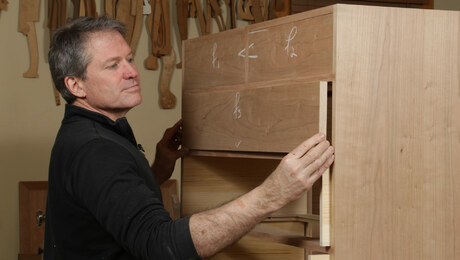
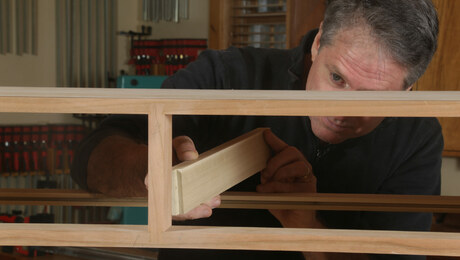
All of us at Fine Woodworking know how lucky we are to be surrounded by a wealth of woodworking talent, and in turn, we try to communicate as much of that knowledge as possible to you–our incredible readers and viewers. That’s why I am so happy that we asked Tom McLaughlin to start this project earlier in the journey than most videos; well before any sawdust had been made. In this video Tom tell us what he is looking for in a board and what throws up a red flag when inspecting a board. Then he takes us through the milling process and the decisions he makes before gluing up a wide panel. For this design, the form of the piece is the element Tom wants to show off, so he doesn’t want the grain of the top to overwhelm the piece. In the end Tom decides on a slip-matched top and pulls off an almost invisible glueline.
-Ben Strano
 |
|
 |
|
 |
|
 |






Comments
What an awesome guy! Aside from an incredible craftsman, Tom is an absolute joy to get to know in these videos. His genuine happiness and love for the craft and honest discussion of the meaningful relationship with his mentor, come through so well in this series. Cannot wait for the next one!
A fine little lesson in lumber selection and prep. Well .... apart from this:
A proper table saw - with a sliding carriage and (one suspects) all the anti-finger-loss gubbins - stands in the background whilst the lad pushes a plank past an unguarded TS blade with no riving knife, adopting the stance and pushing procedure that is often the precursor to a thumbless hand or a plank-shaped dent in the forehead.
You Yanks! Every time I see this sort of thing in a US mag or vid, I cringe with horror and the awful anticipation of blud, lots of blud.
Will you never learn?
Lataxe
"You Yanks…" Really?
Straight from your best selling book; "How to Win Friends and Influence People"
I'm not American but I find this offensive.
There’s no like button, but I like your comment. What’s the old saying? Nothing nice to say….
From his use of the word "Yanks" I am going to break a rule of mine and 'assume' he is English… I'm London born but to an Irish family. His racist remarks sicken me and I find it to be the case more and more as I get older. I tend not to give these kind of people a pass any more. There is no room for them in my world.
Take care rssllshelly
Tom, cherry is the #1 go to species for fine furniture at least here in the northeast but the heart and sap wood color variances can leave one with a lot of waste or excessive glue joints, how do you work around that? Do you apply a coat of dye to the cherry before finishing it or simply exploit it as sometimes that could also be desirable?
That’s a great question, and certainly one of the considerations much more common with the nature of the variances in Cherry. This project is forgiving if one side is darker than the other since each surface plane looks slightly different in the light. But as you saw in this video, one key is to glue up each panel from the same plank if at all possible, and cull away sap wood unless you prefer to include it as a “decorative” stripe. But in cases where it can’t be avoided, I do like to use, as you mentioned, an aniline dye stain that acts as a harmonizing “toner” without noticeably altering the color appearance of natural Cherry. My favorite “go to” color for this is by Woodfinishing Enterprises, Item no. 85-0143-3, “Early American Maple Medium Amber”, 1/2 tsp per 16 oz water.
Hope that helps! Tom
Tom, I really enjoyed this, it shows how a straightforward process, which is often neglected, leads to the optimum joint.
just one comment/question - I noticed your Festool mitre saw was set up with no dust extraction connected on top, so the sawdust could be seen heading for the window. There was a much larger duct which might be connected at the back, but why leave the easier option on top doing nothing?
Thanks, I’m glad you’re enjoying it. And yes, you noticed accurately I do not have the dust hose connected to the ideal extraction point on the chopsaw. I am awaiting having a dedicated Festool vacuum beneath, in the cabinet, that will auto start each time the saw is activated.
Thanks again!
The timing is perfect for this video. I am starting a new project and selecting board orientation. I will make sure to take this into account.
Thank you for sharing the finer points of the invisible glue line! I’ve often wondered about the details of how some joints are invisible and others...aren’t. I did have a question—you did the first joint and plane pass then said to wait a day, then returned for the meat of the video. But the last thing you mention is bringing the boards to final thickness. Can that be done last without compromising that perfect glue joint? I was under the impression you would do final thickness then make these joints. Or can you do either?
Thanks, glad you found it helpful! And yes, I would wait until after I had brought the panel to final thickness, after having allowed it to stabilize. I moved forward into showing the final joint edging process simply in the interest of time.
Thanks again! Tom
Log in or create an account to post a comment.
Sign up Log in