Making custom brass hardware
Clark Kellogg shows you how to make your own metal hardware using many of the tools you already own, plus a handful of others.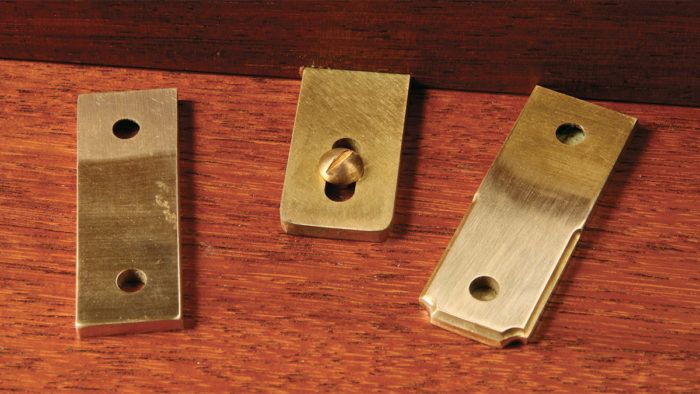
Synopsis: When you’ve spent months designing and building a future heirloom, why settle for hardware that looks store-bought? You can make your own using many of the tools you already own, plus a handful of others. Here’s a list of what you need to get up and running to make your own hardware, and a starter project that will teach you the skills you need.
Although I like to think of myself as a woodworker, almost every project I build tends to involve at least a few metal components, if not by design then by necessity. Commercial hardware is generic in both style and function, and therefore often poorly suited to the task. If I’m going to spend months designing and building something intended to outlast me by 100 years, why settle for hardware that looks store-bought or mediocre?
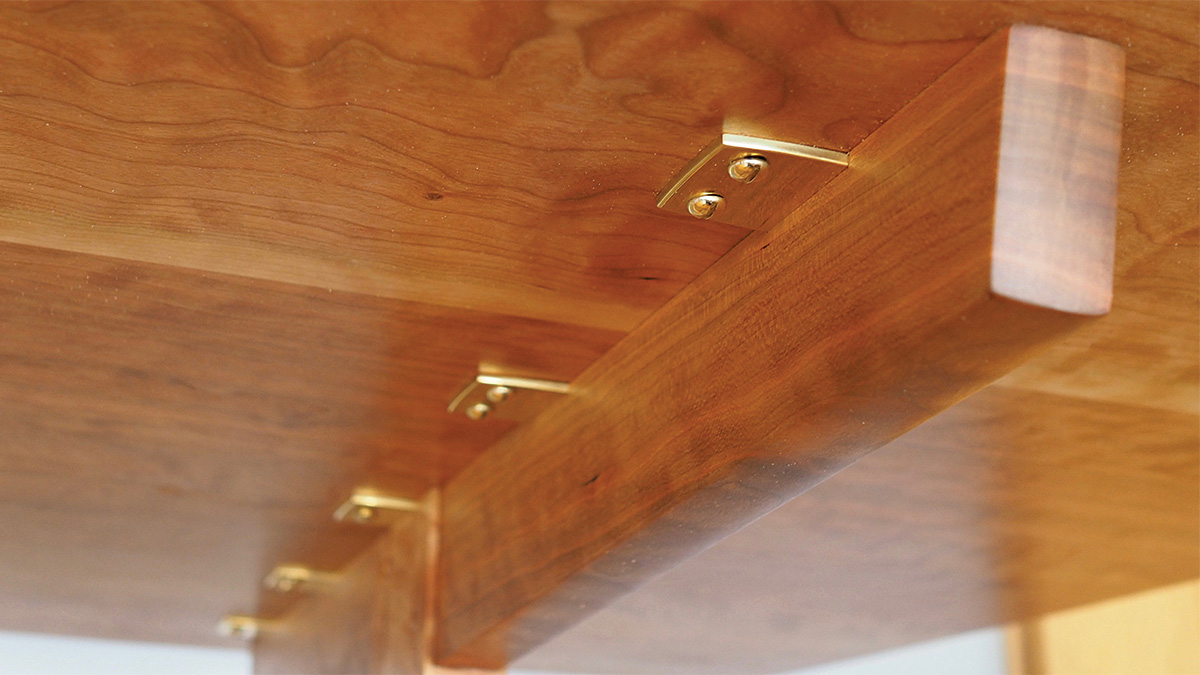
The good news is that you already own many of the tools needed to make your own hardware, and it will only take another handful to start making beautiful, useful parts out of metal. To keep you from getting lost in a machinist’s catalog that’s the size of a phone book, I’ll give you an essential list of tools and materials to get you up and running, along with a starter project—brass tabletop fasteners—that will let you develop many key skills.
Start with brass bar stock
Brass is the perfect material for furniture hardware. It’s affordable, readily available, easy to work, and it ages to a warm patina that goes great with almost any wood. And like most metals brass comes in various sizes of flat and round bar stock, which you can simply cut to length for almost any hardware component, leaving you minimal shaping to do.
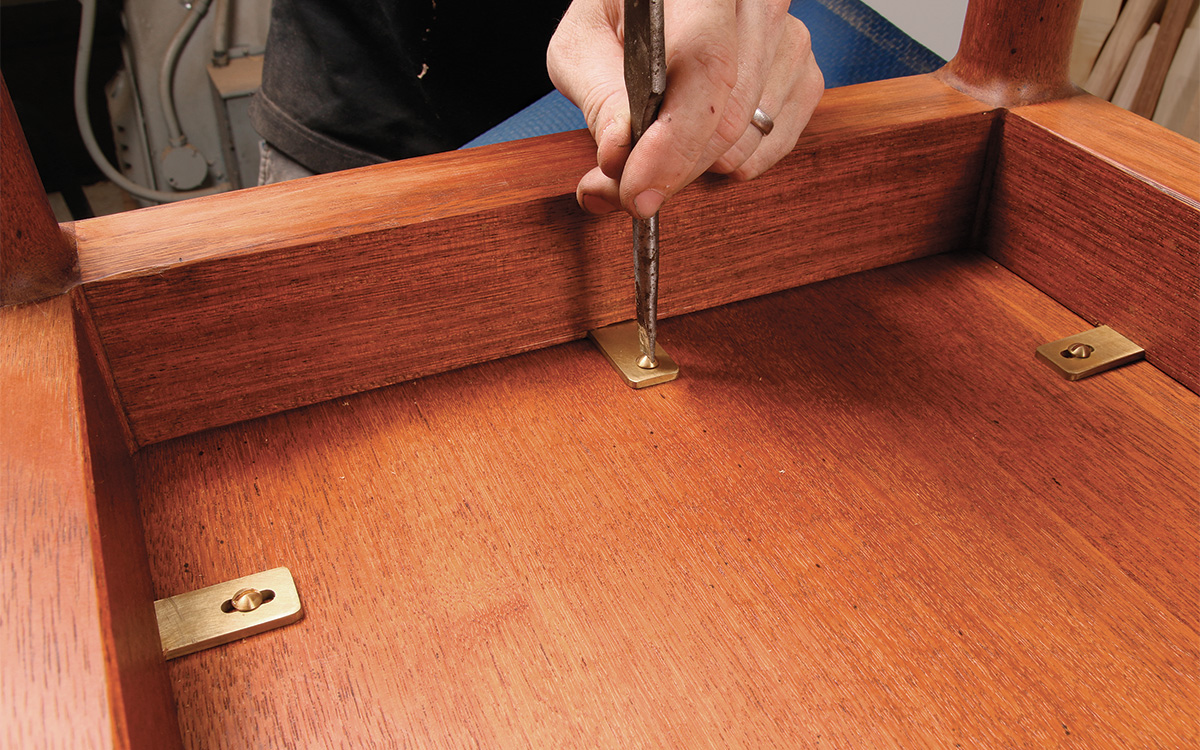
But you probably won’t find what you need—such as 1/8-in.- thick brass bar stock—at a local hardware or art-supply store. Those tend to carry flat stock that’s 1⁄16 in. or thinner. If you’re in a city with an industrial base, you might be able to find a local dealer specializing in the “red” metals: brass, bronze, and copper. I’ve had good luck with Morris Metals here in Houston, as well as Metal Supermarkets, a nationwide chain. Online there are several very good sources that specialize in small orders, such as McMaster-Carr and onlinemetals.com. Be sure to order #360 “ultra-machinable” brass. While brass can be milled with most woodworking machines, it is imperative that pieces be held securely. Brass tends to grab sawblades and drill bits, and there is a very real risk of your workpiece instantly becoming a propeller or projectile.
Wide range of easy finishes
You have a few finishing options. The simplest is just to sand everything to 400 grit, for a “brushed” finish. The best way to sand metal is to adhere the paper to a flat surface and rub the part on it. The other option is polishing brass to a bright finish: Start with 220-grit, follow with 400- and 600-grit wet-or-dry paper—all stuck to something flat—and then scrub with 0000 steel wool. Or buy a Scotch-Brite deburring wheel for your bench grinder. Then you can stop sanding at 400 grit, and polish the brass in a tiny fraction of the time. I use the wheel to soften hard corners, too.
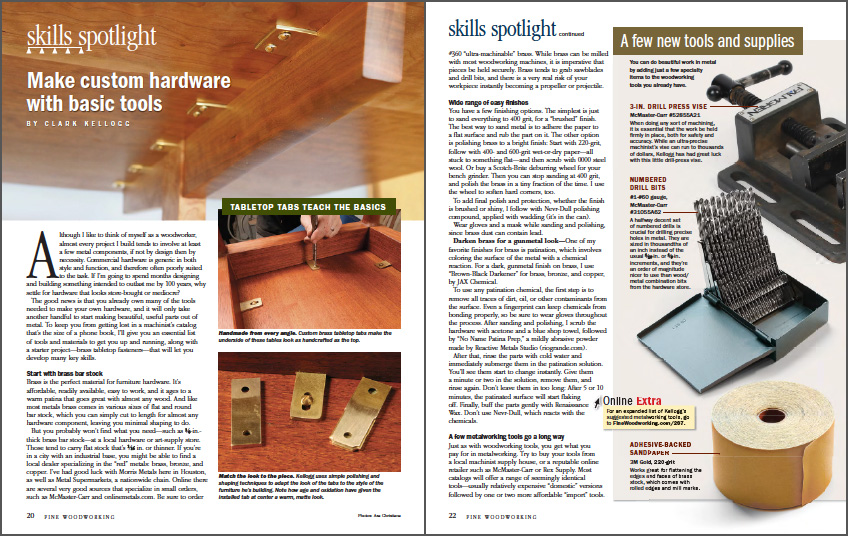
From Fine Woodworking #287
To view the entire article, please click the View PDF button below.
 |
|
 |
|
 |







Comments
Enjoyed this article!, very interesting and informative. It has me wanting to do this starter metal working project to add an elegant touch to a hall table project as a first attempt and then go from there. The magazine article on page 22 points to an "Online Extra" for an expanded list of Clark's metalworking tools. I've looked but cannot find it - is it posted?
Log in or create an account to post a comment.
Sign up Log in