A missing face in SketchUp
A missing face in SketchUp can be a frustrating thing. In this video, Tim Killen demonstrates how he cures this common problem.Periodically, friends and students send me SketchUp projects along with a description of the problem encountered. A frequent problem is getting a “face” and a frustration trying to fix it. There are just so many things that can affect the “making” of a face. There is no Face command, so you can’t make it happen – you’re reliant on SketchUp to close-up that component.
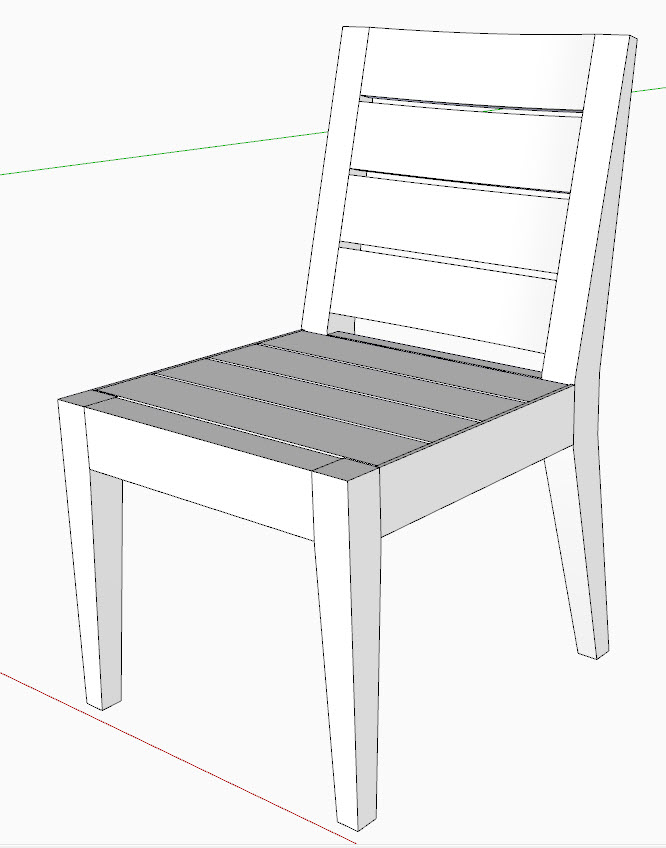
I recently received the following model with this face problem. While making changes to a Front Leg Component, some of the faces disappeared, and could not be recovered by the student. You can see below, the missing back side of the Front Leg. Also because of the adjustment to the Leg width, a gap appears at the connection to the Seat Rails.
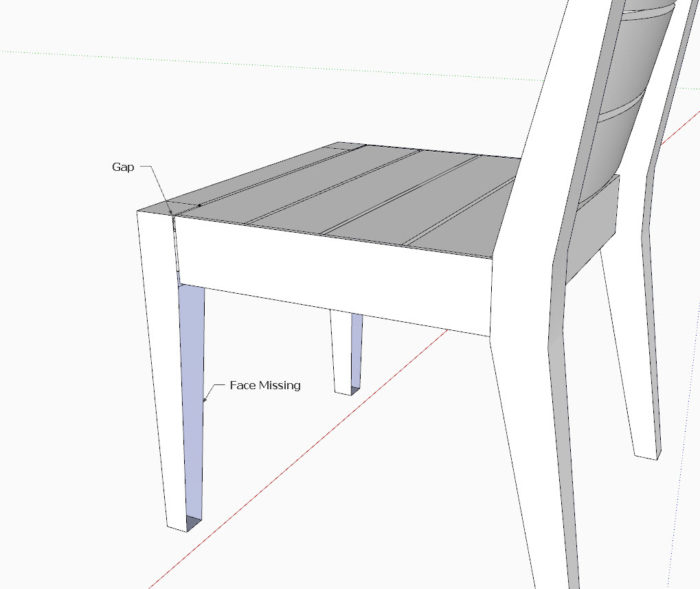
After setting up a Zoom conference, I shared my SketchUp screen and began by copying the Front Leg and moving it away from the chair assembly. This is a typical first step in correcting a problem with a component – it makes it easier to see and to fix the problems.
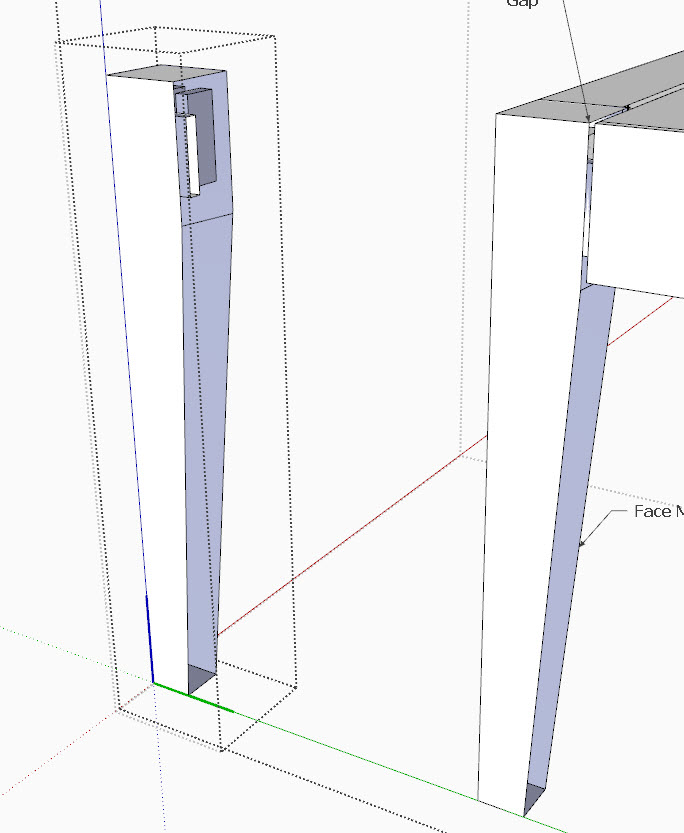
After inspecting for some rogue lines intruding on the space, my next step in solving a “face” problem is re-drawing the the boundary edges. While drawing that boundary, it became clear that the horizontal line where the taper begins was misplaced. You can see this misplaced line below. Upon placing a correct line on the red axis, the faces immediately appeared. The video below shows that process and the immediate closure of faces. At this stage, the mortise protrudes through the face and must be modified.

By using the Rectangle Tool on the perimeter of the mortise, the face appeared that was moved flush with the Push/Pull Tool. Then the mortise face is erased. This completes the fixes to the Leg.
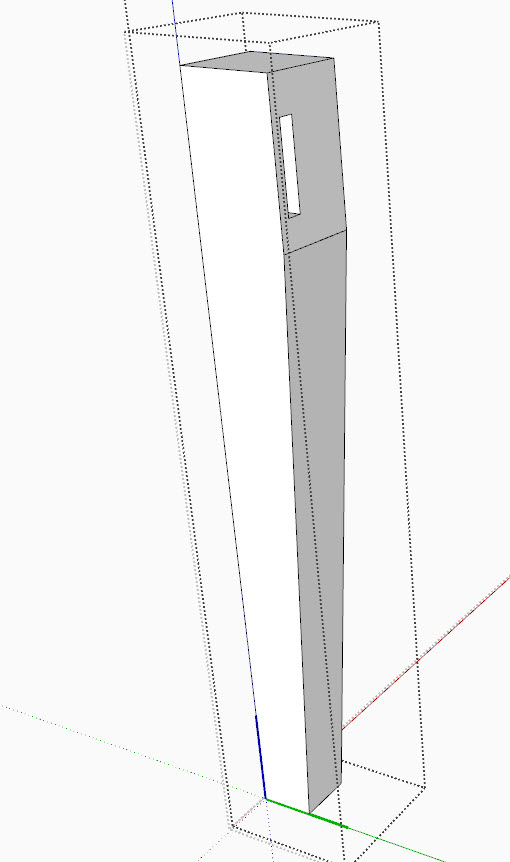
Now I was ready to fix the Gap issue with the Seat Rail. I turned on X-ray, used a left-to-right Select Box, then with the Move Tool closed the Gap. I did another left-to-right Select Box (shown below) to cut the tenon length to fit the depth of the mortise. These steps are shown clearly in the video.
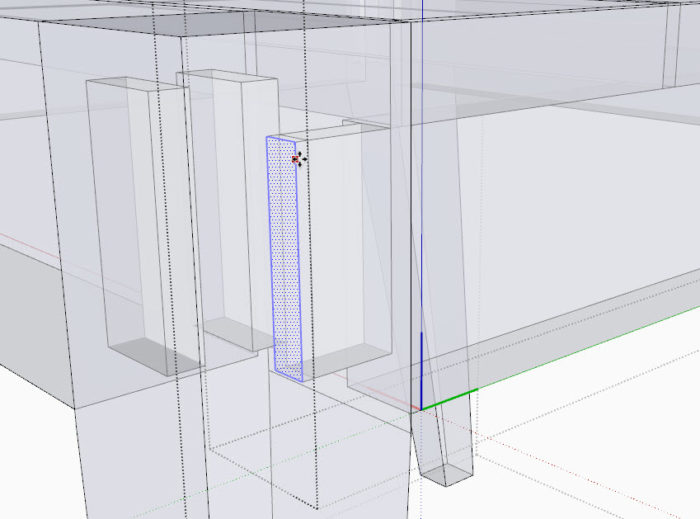
The adjustments are made and the SketchUp drawing is ready for the shop work.
Tim
KillenWOOD.com




Log in or create an account to post a comment.
Sign up Log in